Alright, let's talk about something that might seem a little dramatic at first glance: how to get the head off your Craftsman weed eater. Now, before you picture some kind of macabre gardening horror movie, let's take a deep breath and get cozy. Think of it less as a "decapitation" and more as a friendly tune-up, a chance to give your trusty yard-beast a little spa treatment. Ever wonder why it's even possible to detach the head? It's actually pretty neat when you think about it. It’s like a modular spaceship for your lawn! You can swap out parts, upgrade, or just get to those stubborn bits that need a little extra TLC. It's all about making your life easier and keeping that grass in check, right?
So, why would you even want to remove the head in the first place? Maybe the string is all tangled up, like a spaghetti monster decided to have a party in there. Or perhaps you're looking to swap out the old, worn-out head for a shiny new one, or even upgrade to a different type of trimmer head for a specific job. Maybe you just want to give it a good clean. Whatever the reason, it's a totally normal part of weed eater ownership. It’s like taking off a hat – sometimes you just need to do it.
The Mystery Unveiled: What Exactly Is the "Head"?
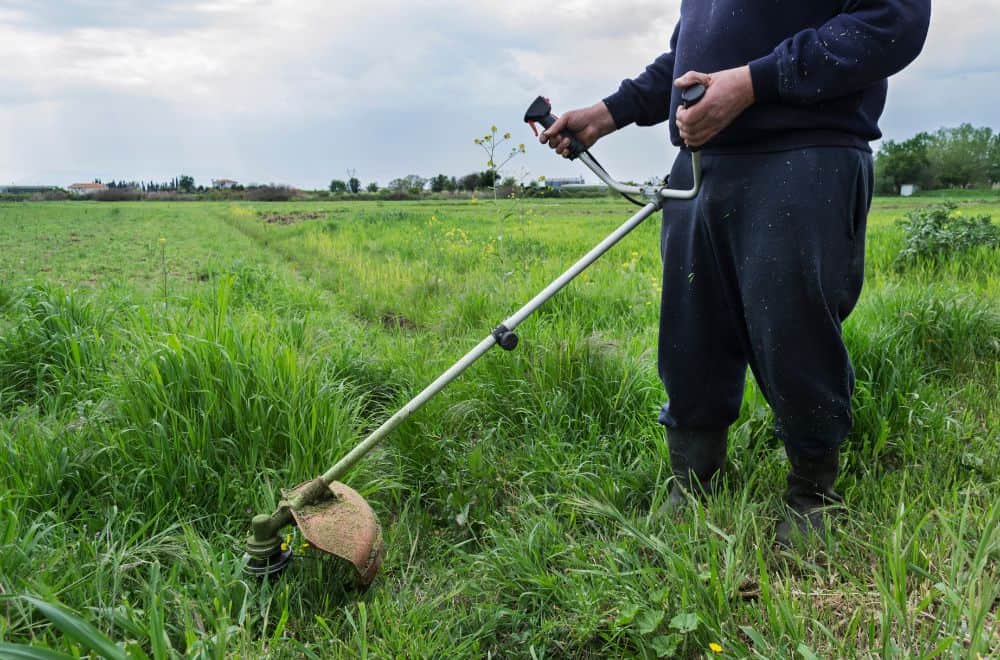
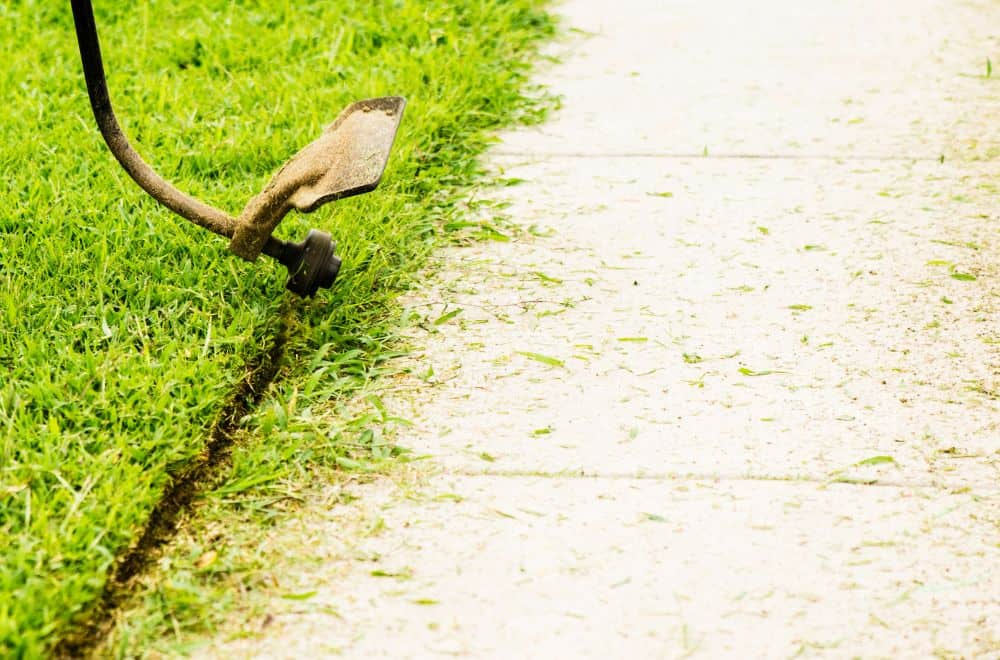
Before we dive into the how-to, let's get clear on what we're talking about. The "head" of your weed eater is that spinning gizmo at the very end, the part that actually does the cutting. It's where the magic (and sometimes the frustration) happens. It houses the string, the mechanism for feeding it out, and is usually the part that takes the brunt of the work. Think of it as the business end, the part that gets all the glory. It's like the engine of a car, but instead of roaring down the highway, it's serenading your dandelions into submission.
Craftsman, bless their toolbox-loving hearts, tends to make their equipment pretty straightforward. This is a good thing! It means you're not going to need a degree in engineering or a secret handshake to get this done. Most of their weed eater heads are designed for relatively easy removal and reattachment. It’s all about accessibility and making it user-friendly. They understand that not everyone wants to spend an hour wrestling with their tools.
Step One: Safety First, Always!
Now, even though we're keeping it chill, safety is still king. Before you even think about touching that head, make sure the weed eater is off. Seriously. Like, really off. And not just turned off, but also unplugged if it's electric, or the spark plug wire disconnected if it's gas-powered. You don't want any accidental surprises. Imagine trying to remove a hat while someone's still wearing it – not ideal. We're aiming for a calm, controlled operation here, not a spontaneous combustion event. Double-check that power source is completely cut off. It’s that simple, but it’s the most important step.
Also, it's a good idea to have a clear workspace. Clear away any clutter, loose objects, or curious pets that might get underfoot. Think of it as preparing your operating theater. A clean, organized space makes everything smoother and less prone to accidents. Plus, if you drop a tiny screw (and let's be honest, it happens!), it'll be easier to find.
The Tools of the Trade (You Probably Have Them!)
Don't panic thinking you need a specialized toolkit for this. Usually, you'll only need a few common items. Most Craftsman weed eater heads are designed with user-friendliness in mind, meaning they often require just a basic screwdriver, maybe a wrench, or sometimes even just your hands. It’s like building with LEGOs, but for your lawn care equipment. Simple, intuitive, and surprisingly satisfying.
The exact tools you need might vary slightly depending on your specific Craftsman model. So, it's always a good idea to have a quick peek at your owner's manual if you still have it. It's like the instruction booklet for your lawn care adventure. If the manual has gone on a walkabout, don't fret! We can usually figure it out with a bit of observation.

Finding the Release Mechanism: Where's the Magic Button?
This is where the real fun begins! Most Craftsman weed eater heads have a clever little way to detach. Often, you'll find a small screw or a bolt that holds the head in place. Sometimes it's visible right on the side or the bottom of the head. Other times, it might be a little more hidden, requiring you to rotate the head to find it.
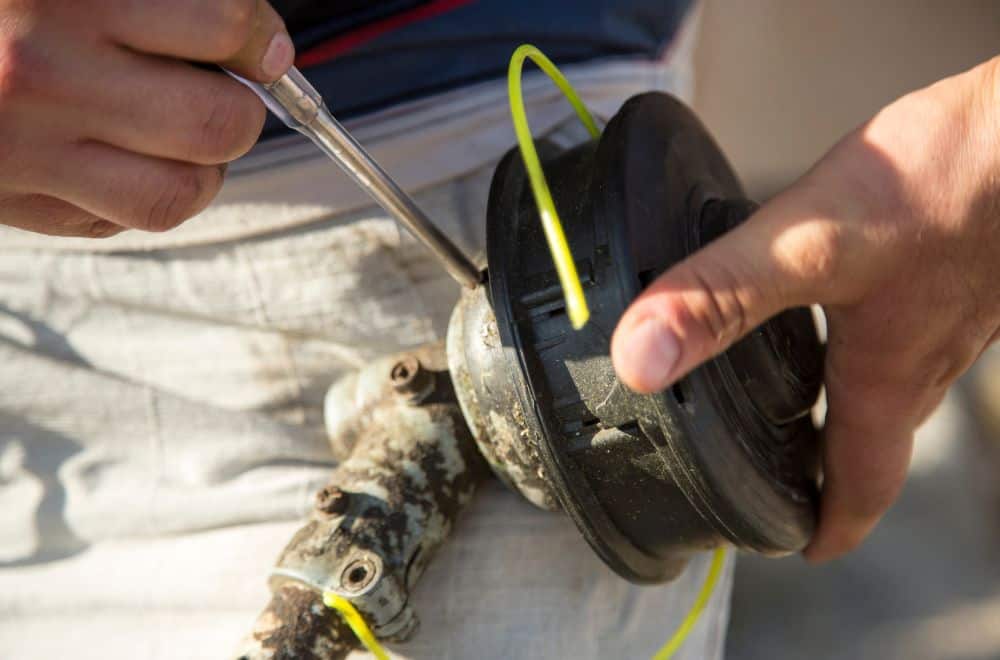
Think of it like a treasure hunt. You're looking for that one special piece that unlocks the whole thing. For some models, you might need to insert a small tool (like a hex wrench or a flathead screwdriver) into a specific hole on the side of the head. This often acts as a locking pin release. You might need to push and turn simultaneously. It’s a little dance between you and the weed eater!
The Actual Removal: Gentle Persuasion is Key
Once you've located the fastener or the release mechanism, it's time for the gentle persuasion. If it’s a screw or a bolt, use your screwdriver or wrench to turn it counter-clockwise. Remember, lefty loosey, righty tighty. It's a mantra we all learn, isn't it? Don't force it! If it feels stiff, take a moment. Sometimes a little wiggle or a gentle tap can help. We're not trying to break anything here; we're just trying to be friends with our equipment.

If your model has that release pin hole, insert the appropriate tool and push. You might need to apply a bit of pressure while simultaneously trying to turn or pull the head. This is where that "friendly tune-up" vibe comes in. You're coaxing it, not conquering it. Imagine you're helping a shy turtle come out of its shell. Patience and a gentle touch go a long way.
The "Pop" or the "Slide": What to Expect
When you've successfully disengaged the locking mechanism, the head should either slide off, or you might hear a satisfying "pop" as it detaches. It's like when a puzzle piece finally clicks into place. There might be a bit of resistance as you pull it away, especially if there's some string still wrapped around the spindle. Just give it a steady, even pull.
Sometimes, especially on older models, there might be a bit of gunk or dirt that's making things stick. A quick wipe-down with a damp cloth can sometimes work wonders. It's the little things that make a big difference, right? Don't be surprised if a bit of string or debris comes with it. That's perfectly normal. It's all part of the weed eater's anatomy.

Reattachment: The Reverse Journey
Putting the head back on is, thankfully, usually the reverse of taking it off. Line up the new or cleaned head with the shaft, making sure any splines or grooves are properly aligned. You might need to twist and turn it a bit to get it to seat correctly. It's like putting a cap back on a bottle; it needs to be aligned properly to screw on smoothly.
Once it’s in place, reinsert and tighten any screws or bolts you removed. Again, snug is good, but don't overtighten. You don't want to strip the threads. And if you used a release pin, make sure it clicks back into place securely. A quick tug will let you know if it’s locked on properly. You've just given your Craftsman weed eater a little makeover, and it's ready to get back to its grass-slaying duties!
So there you have it! Removing the head of your Craftsman weed eater isn't some daunting task reserved for mechanics. It's a simple process that allows you to maintain your equipment, troubleshoot issues, and even upgrade. It's all about understanding your tools and giving them the attention they deserve. Happy trimming!