There's something incredibly satisfying about taking a little DIY project and seeing it transform a part of your home. Installing an outside light on vinyl siding might sound a bit technical, but honestly, it's a project many homeowners find surprisingly rewarding and even a little bit fun! It's popular because it's an accessible way to boost your home's curb appeal, enhance security, and make your evenings more enjoyable, all without needing a contractor.
For beginners, this is a fantastic entry point into home improvement. You get to learn some basic electrical safety and familiarize yourself with common tools. Families can enjoy the added security of well-lit entryways, making it safer for kids coming home after dark or just giving peace of mind when you're away. And for the hobbyists out there, it’s another notch on your DIY belt, a chance to experiment and personalize your outdoor space with a touch of your own style.
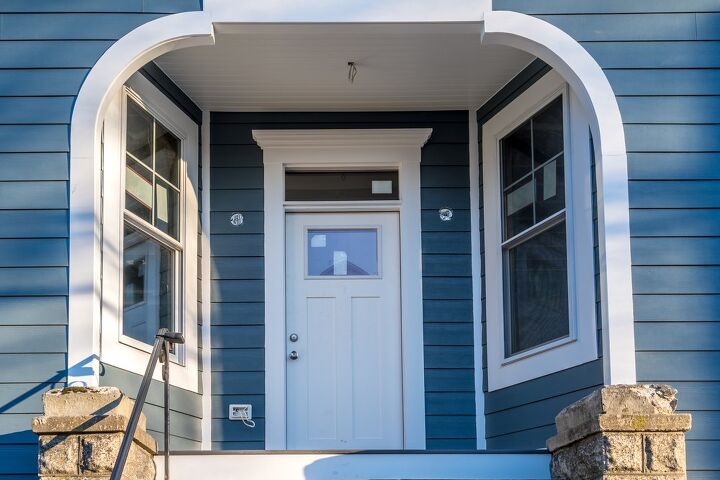
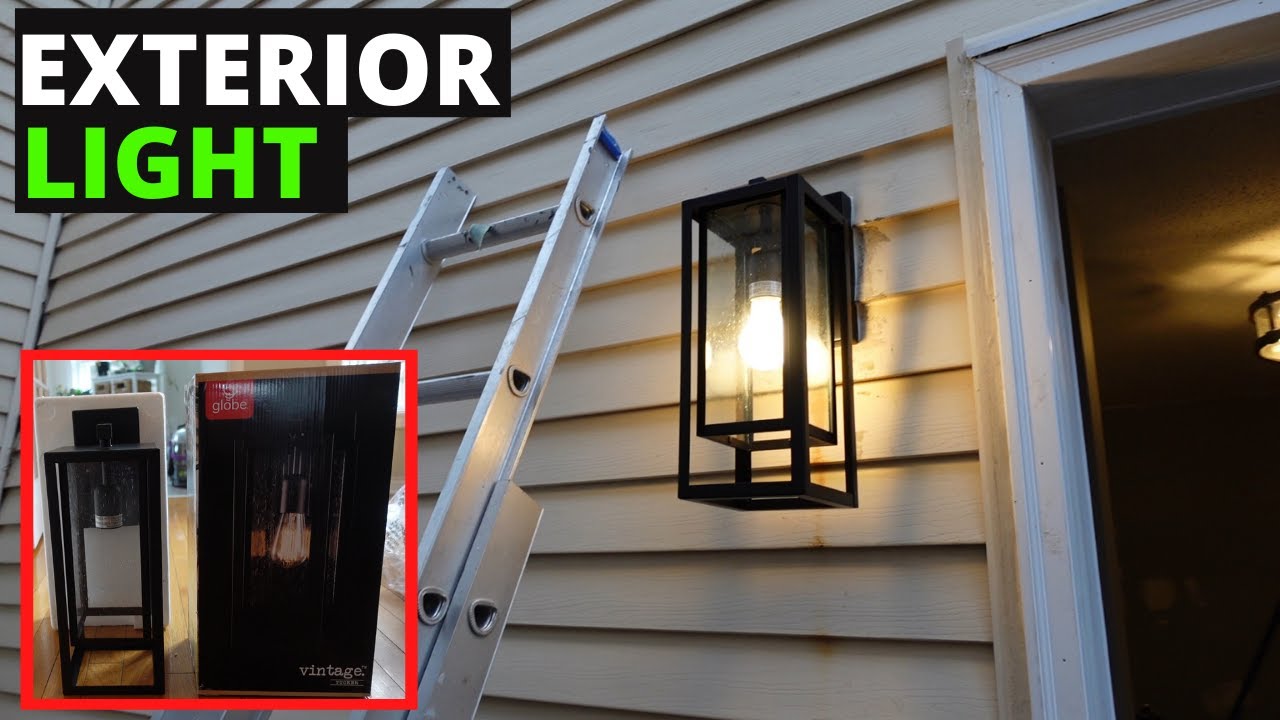
The beauty of this project is its versatility. You can install a simple, classic porch light above your front door for a welcoming glow. Or, perhaps you’re thinking about security lights with motion sensors to deter unwanted visitors. Some folks even get creative with decorative lantern-style fixtures that add a charming touch to a patio or garden pathway. You could also consider solar-powered options if you want to go the eco-friendly route and avoid running new wiring altogether. The possibilities really depend on what you want to achieve!
Getting started is easier than you might think. First things first, always turn off the power to the circuit you’ll be working on at your breaker box. This is the most important step for safety. Next, choose the location for your new light. You'll need access to a power source, which might mean tapping into an existing outdoor outlet or running a new line – though for simplicity, tapping into an existing, conveniently located one is often the easiest path.
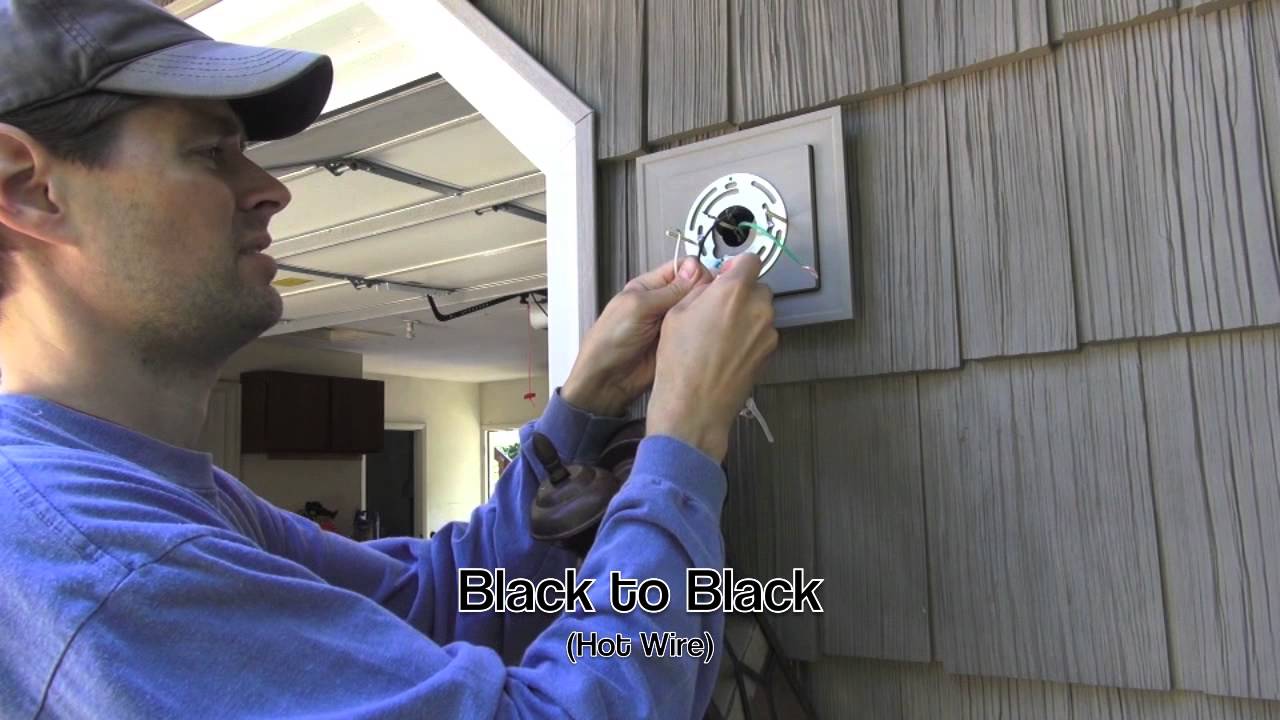
When it comes to the siding itself, there are special mounting blocks designed specifically for vinyl. These blocks provide a stable, flat surface for your light fixture and prevent water from seeping behind the siding. You'll typically screw the mounting block directly into the studs of your house, which gives it a solid foundation. Then, your light fixture mounts to this block. For the electrical connection, you'll be connecting wires inside a weatherproof junction box. Just remember to match wire colors correctly – black to black (hot), white to white (neutral), and green or bare copper to the ground screw. Take your time and double-check your connections!
Once everything is wired up and secured, turn the power back on at the breaker. Flip that switch and admire your handiwork! It’s amazing how a simple light can make such a big difference. You’ve not only added functionality and security but also a welcoming ambiance to your home. It’s a small project with a big impact, and the sense of accomplishment is truly a highlight.