Alright, let's talk roofs. Specifically, metal roofs. And even more specifically, those unsung heroes: furring strips. Yeah, I know, "furring strips" doesn't exactly scream "rockstar." But trust me, these little wooden guys are the real MVPs behind a perfectly installed metal roof. Think of them as the scaffolding for your shiny new metal hat. Without them, your roof would be a sad, saggy mess.
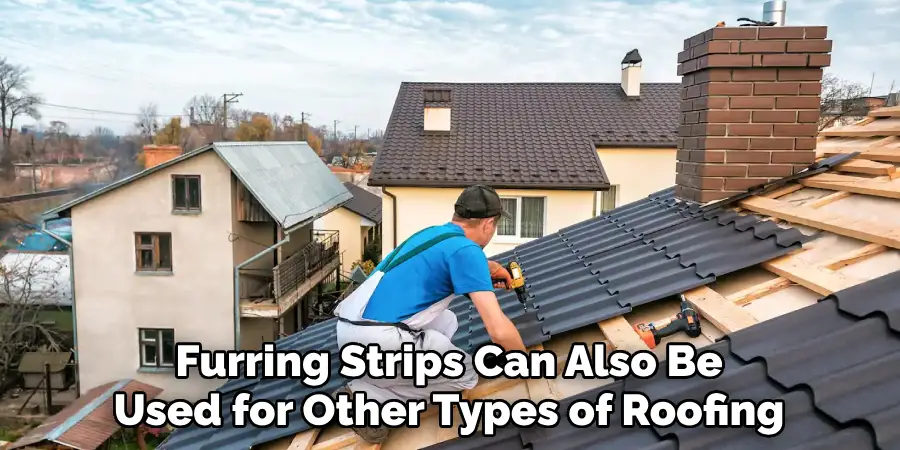
So, why are we even chatting about this? Because metal roofs are cool! They're sleek, durable, and honestly, they make your house look like it’s ready for a sci-fi movie. And the best part? Installing them isn't some arcane wizardry. It's totally doable. And the furring strips? They’re the secret handshake. The insider knowledge. The thing that makes you say, "Hey, I know how this works!"
The Mystical World of Furring Strips
What exactly are furring strips? Imagine thin strips of wood. That's pretty much it. Usually pine or fir. They're like the picket fence of the roofing world, but much more important. They create an air gap. A ventilation space. A little breathing room for your roof. Why do we need breathing room? Because hot air loves to hang out. And if it hangs out too long under your metal roof, things can get… weird.
Think of it like this: you’re wearing a super-duper-tight, non-breathable plastic suit on a hot summer day. Not fun, right? Your roof feels the same way if it can't breathe. The furring strips prevent that suffocating feeling. They let the heat escape, keeping your attic cooler. And a cooler attic means a happier house. And a happier you. It’s a win-win-win!
Why They’re More Than Just Wood Sticks
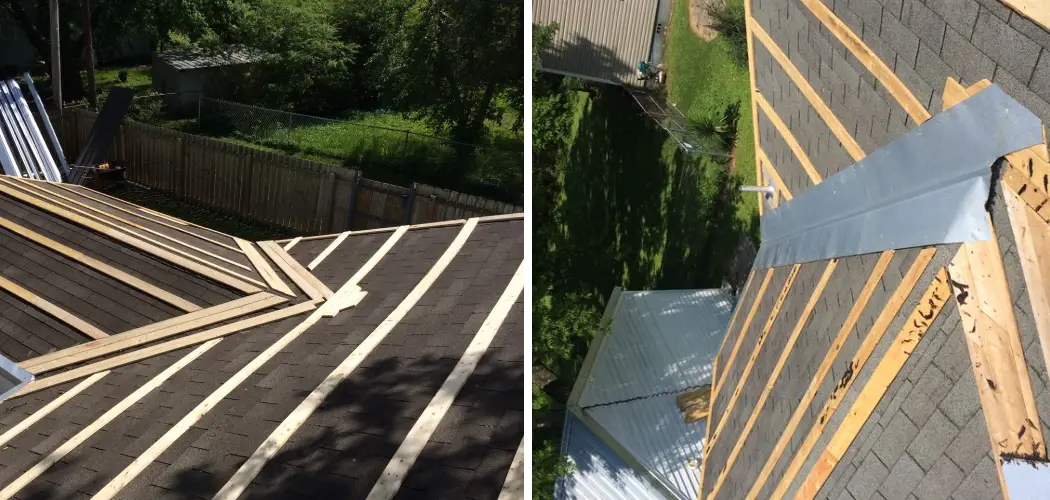
But wait, there’s more! Furring strips aren’t just about ventilation. They provide a level surface for your metal panels. roofs are rarely perfectly flat. They have dips and bumps. Trying to screw metal panels directly onto a wonky surface is a recipe for disaster. The furring strips level everything out, ensuring a smooth, clean installation. It’s like laying down a perfectly smooth canvas before painting your masterpiece.
And here’s a quirky little fact for you: the term "furring" actually comes from the old practice of using animal fur to insulate. While we’ve moved on from animal pelts for roofing (thank goodness!), the idea of adding an extra layer for insulation and structure remains. So, in a way, we're honoring our ancestors, just with a bit more lumber and a lot less fluff.

The Installation Adventure Begins!
Okay, so you’re convinced furring strips are awesome. Now, how do you get them on there? Don't worry, it's not rocket science. Think of it as a fun DIY challenge. A test of your handy-person skills. You’ve got this!
First things first, safety first! Helmets, gloves, sturdy shoes. You’re on a roof, after all. It's not the most stable playground. Always double-check your footing. A little wobble on the ground is fine, but a wobble on a roof? Not so much.
Now, let's talk about the surface you’re attaching these strips to. Usually, it's your existing roof deck. This could be plywood or OSB. Make sure it's in good shape. No rotted bits. No major cracks. If it looks a bit iffy, you might need to do some repairs first. We’re building on a solid foundation, remember?
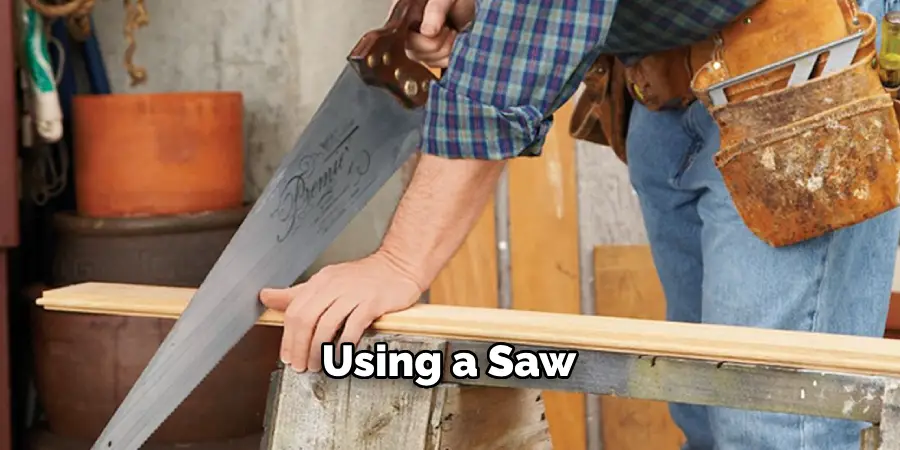
Measuring Twice, Cutting Once (The Old Saying Rings True!)
This is where the precision comes in. You’ll need to measure your roof and mark out where your furring strips will go. Typically, they’re installed perpendicular to the direction of your metal panels. Think of it as creating a grid. Most metal roofing systems have a recommended spacing for these strips. It's usually around 16 or 24 inches on center. Always check your specific metal roofing manufacturer's instructions. They know their stuff!
Get your measurements right. Seriously. This is not the time to eyeball it. Use a tape measure. A chalk line is your best friend for drawing straight lines. Nobody wants a wonky grid. It’s like a crooked smile – it just looks off.
The Nitty-Gritty: Attaching the Strips
So, you've got your lines. You've got your perfectly cut furring strips. Now what? Time to attach them! You’ll be using screws. Specifically, screws that are long enough to go through the furring strip and firmly into the roof deck. You don't want these babies pulling out in the next big windstorm.
Start at one end and work your way across. Make sure each strip is straight and securely fastened. You're not just screwing them down; you're creating a solid base. Think of each screw as a little handshake with the roof deck. A firm, reliable handshake.
Pro tip: Don’t overtighten the screws. You don’t want to strip the wood. Just snug them up. The goal is a secure connection, not a mashed-up piece of lumber. It’s a delicate dance between firm and gentle.
Dealing with the Unexpected (Because Roofs Are Like That)
Roofs are rarely perfectly flat rectangles. You’ll encounter vents, chimneys, and other roof-dwelling obstacles. This is where you get to be a bit of a problem-solver. You might need to cut your furring strips to fit around these things. It’s like a jigsaw puzzle, but with a much better view.
Measure carefully around any penetrations. Make sure your cuts are clean. You want a nice, tight fit. No gaps. Gaps are the enemy of a good roof. They let water in. And water is not our friend in this scenario.

And if you’re going over an existing roof (which is sometimes done, but again, check your local building codes and manufacturer’s specs), you might encounter some unevenness from the old shingles. The furring strips help bridge those little gaps. They’re the patient mediators of the roofing world.
The Grand Finale (Almost!)
Once all your furring strips are in place, take a step back. Admire your handiwork. You've created a beautiful, level, and breathable foundation for your shiny new metal roof. You’ve essentially built the runway for your roof's grand entrance.
This step, while seemingly simple, is absolutely crucial. It’s the difference between a roof that lasts for decades and one that starts giving you grief in a few years. It’s the unsung hero part, remember? The little guy that makes the big guy look good.
So, the next time you see a sleek metal roof, think of the humble furring strip. Think of the careful measurements, the straight lines, and the secure screws. It’s a testament to good old-fashioned craftsmanship. And hey, maybe it’ll inspire you to tackle your own roofing project. Just remember to be safe, have fun, and always, always read the instructions!


