So, you’ve decided to grace your humble abode with the sophisticated touch of chair rail. You’re picturing elegant dining rooms, stately hallways, the whole nine yards. But then you remember: you don't own a nail gun. Gulp. Does this mean your dreams of wainscoting wonders are destined to remain just that – dreams? Absolutely not, my friend! Fear not, for I, your trusty guide to DIY-ing without the industrial firepower, am here to tell you that installing chair rail without a nail gun is not only possible, but it can be a surprisingly satisfying, albeit slightly more… meditative… experience. Think of it as a workout for your biceps and a masterclass in patience. Plus, you’ll avoid that whole "accidentally shooting a nail through the TV" scenario, which, let's be honest, is a bonus for most of us.
First things first, let's talk about what chair rail actually is. It's that decorative molding that typically runs horizontally around a room, about a third of the way up from the floor. Its original purpose was to, you guessed it, protect your wallpaper (or plaster, back in the day) from the backs of chairs as they were pushed away from the table. Imagine a world where chairs were just… aggressive. Anyway, it's now mostly for looks, adding a lovely architectural detail that can make a room feel more finished and, dare I say, fancy.
Gathering Your Arsenal (The Low-Tech Edition)
Alright, so you’re not going to be unleashing a barrage of nails. What are you going to need? Well, a few key players:
The Wood (The Star of the Show)
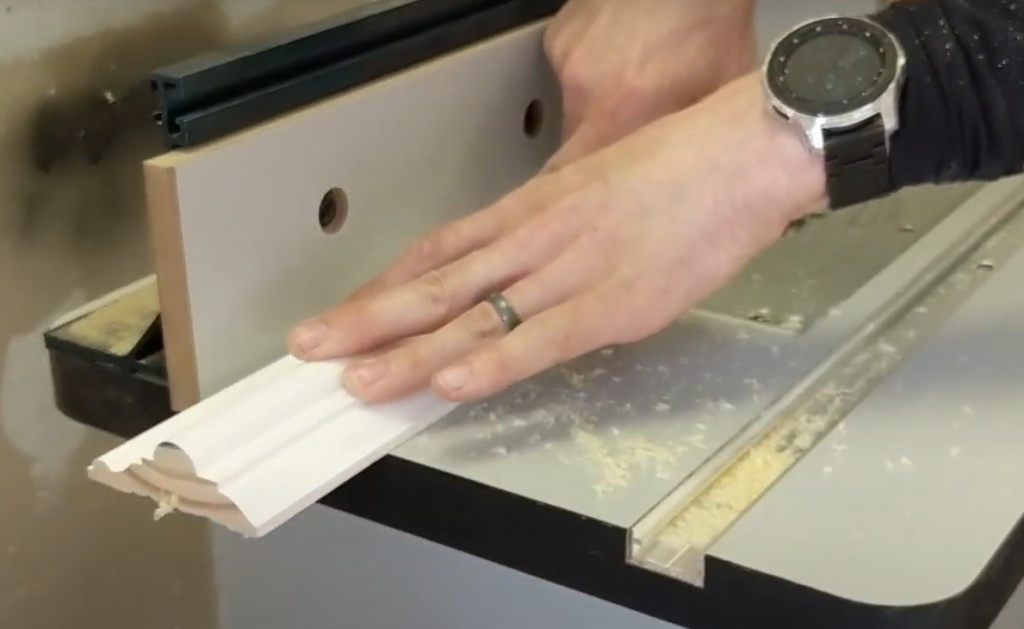
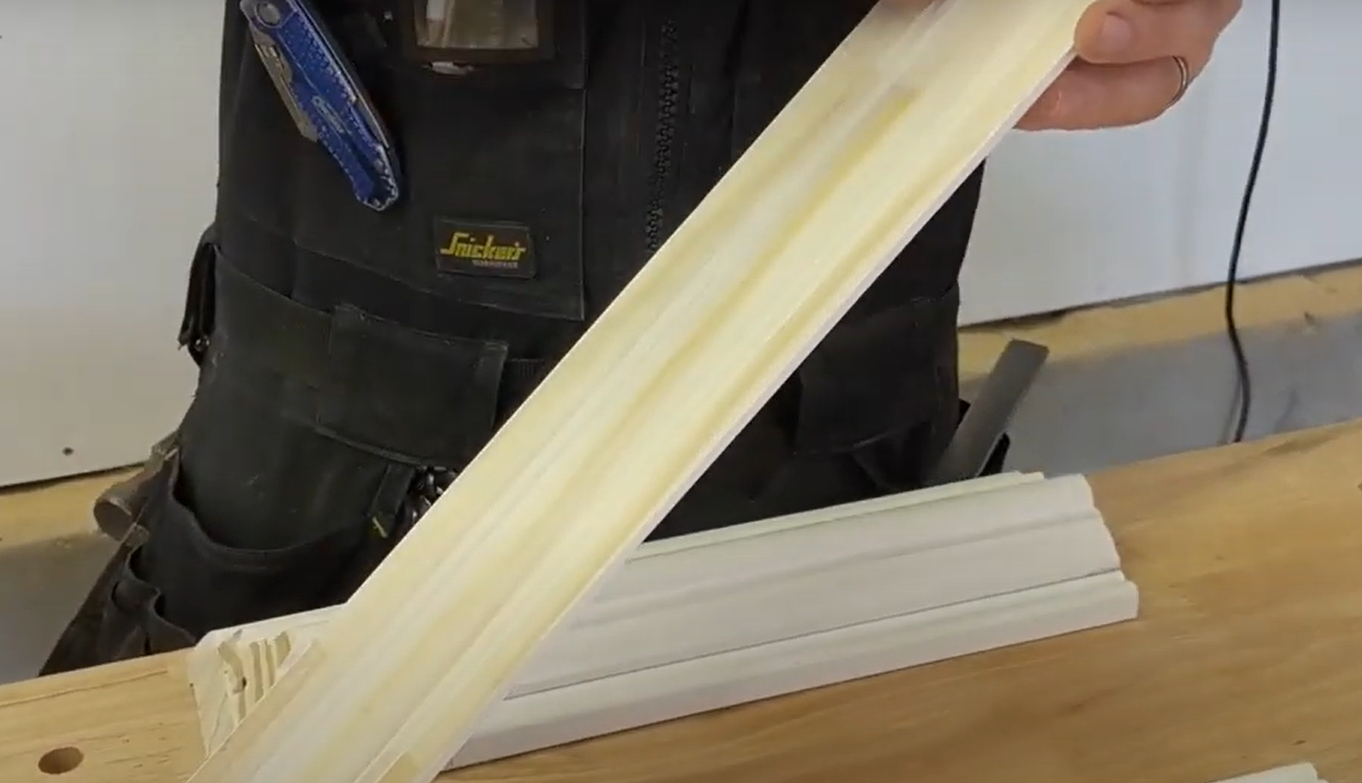
You'll need your chair rail molding. This comes in all sorts of profiles and materials, from classic pine to fancy MDF. For the nail-gun-averse among us, I'd lean towards something a bit lighter, like a good quality pine. Heavy stuff can be a tad more stubborn when you're dealing with manual labor. Measure, measure, and then measure again. It's like the carpenter's motto, but for us mortals, it's more like "measure until your brain hurts, then measure one more time just to be safe." Trust me, nobody wants to run out of molding mid-project, or worse, have a gap that could swallow a small rodent. Pro Tip: Buy a little extra! A buffer zone is always a good idea. It's like having an extra life in a video game, but for home improvement.
The Fasteners (Your Tiny, Mighty Heroes)
Since we’re ditching the nail gun, we’re embracing the humble nail. But not just any nail! We're talking about finish nails. These bad boys are skinny and have a small head, making them easy to sink into the wood and then hide later. You'll want them long enough to go through your molding and get a good grip on the wall studs (more on those later!), but not so long that they poke through the other side of your wall and give your neighbor a surprise piercing. A 1 1/2 inch or 2-inch finish nail is usually a good bet. And for the love of all that is holy, get yourself a good hammer. Not one you found in a garage sale that looks like it's been through a wrestling match. A balanced, comfortable hammer will be your best friend.
The Tools of the Trade (No Fancy Gadgets Required)
Beyond the nails and hammer, you’ll need:
- A Tape Measure: Obviously. Unless you have a magical internal measuring device, which, if you do, please, for the love of all that is good, share your secrets.
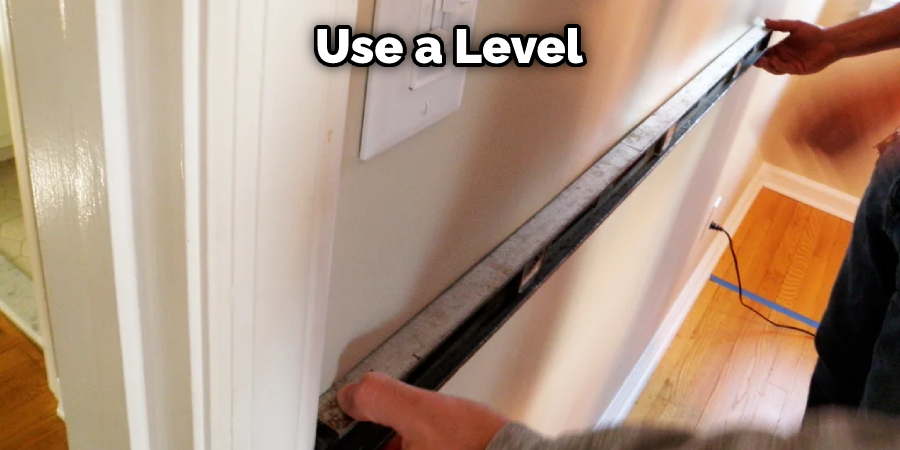
- A Level: This is your sanity saver. A crooked chair rail is like a bad toupee on a bald head – it just looks wrong. Get a good, long one.
- A Stud Finder: This is crucial. You must nail into studs. This isn’t optional. Think of studs as the skeletal system of your walls. You can't just hang your fancy molding on drywall alone, unless you want it to end up on the floor doing the limbo.
- A Pencil: For marking your lines, your stud locations, and maybe the occasional motivational doodle to keep you going.
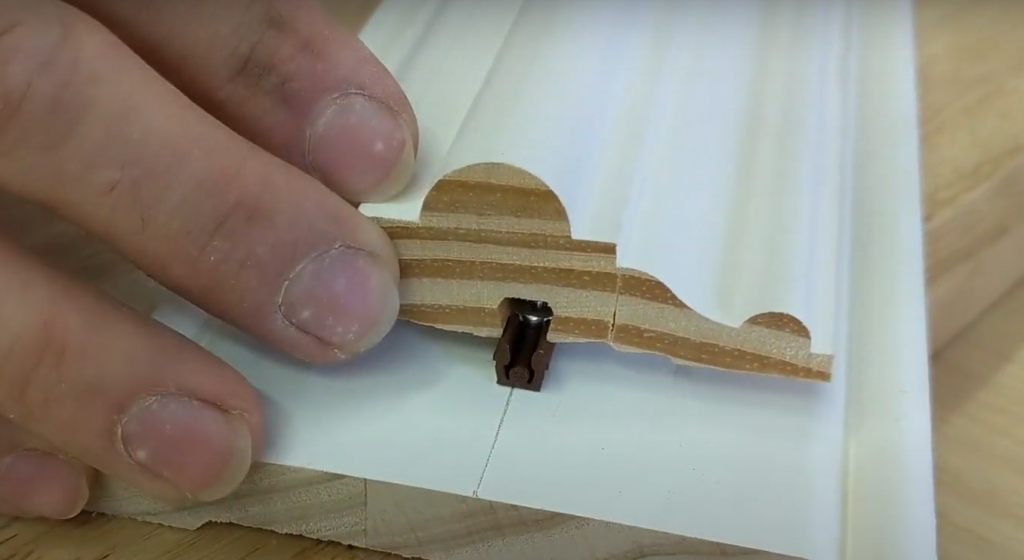
- Wood Glue: This is your secret weapon for those tricky joints and to give your nails extra oomph.
- A Miter Saw (or a Hand Saw and a Miter Box): This is for those all-important angled cuts at the corners. If you're feeling particularly adventurous and want to channel your inner lumberjack, a hand saw and miter box will work, but prepare for a serious arm workout. A miter saw makes life infinitely easier, and if you don't have one, consider borrowing or renting. The precision it offers is a game-changer.
- A Nail Set: This little guy is your best friend for driving those nail heads just below the surface of the wood, ready for filling.
- Wood Filler: To hide all those nail holes and any minor imperfections.
- Caulk: For a seamless finish where the molding meets the wall.
- Sandpaper: For smoothing out any rough spots.
Prep Work: The Foundation of (Almost) Success
Before you start whacking away, you need to prep. This is where the real magic happens, the part where you transform a bland wall into a canvas for your chair rail artistry. First, clean your walls. Dust bunnies are not a decorative accent. Give them a good wipe-down.
Next, find your studs. Seriously, don't skip this. Run your stud finder along the wall where you plan to install the chair rail. Mark the center of each stud with your pencil. You want to hit at least one stud with every piece of molding, preferably more. Imagine your chair rail as a very fancy, very thin bridge. Studs are the pillars that hold that bridge up. Without them, it's just… sad and saggy.
Now, determine the height. The general rule is about a third of the way up from the floor. You can use your level and pencil to draw a faint guideline around the room. This is your visual roadmap. Pro Tip: Hold a chair up to the wall and see where the back hits. That's a good indicator for your chair rail height. Ingenious, I know!
The Art of the Cut: Angles, Angles, Everywhere!
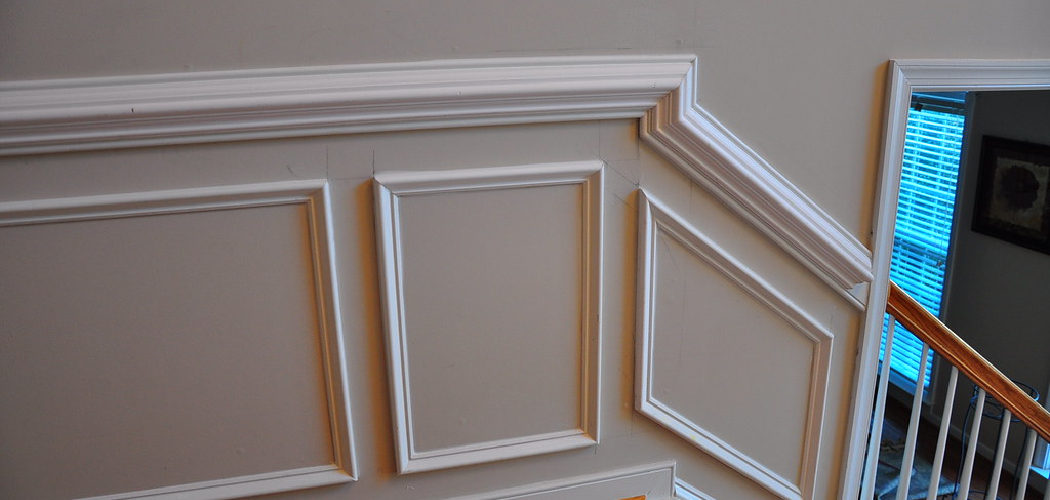
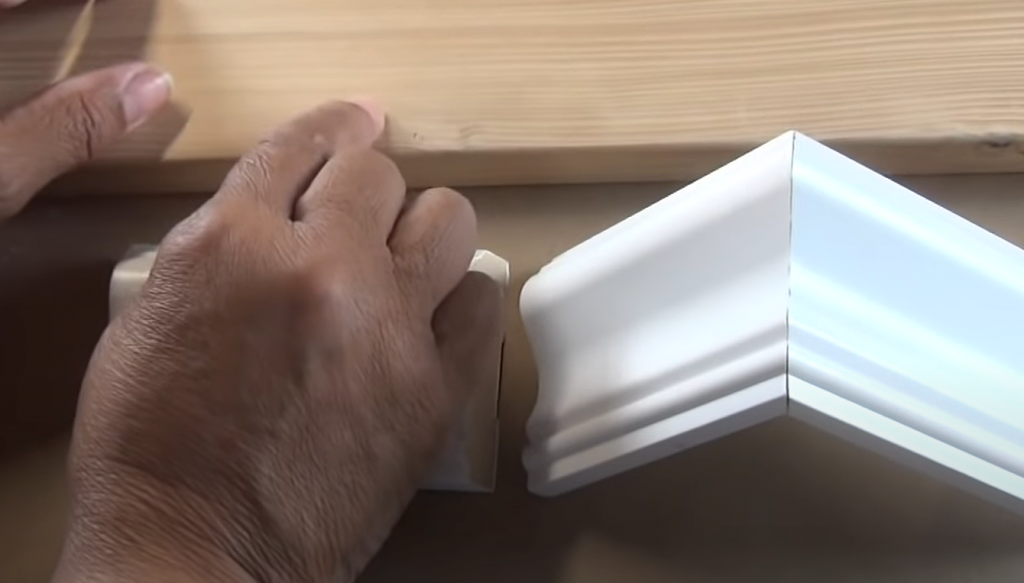
This is where things get geometrically interesting. Most rooms have corners, and corners require angled cuts. We're talking miter cuts, my friends. For standard 90-degree inside and outside corners, you'll need to cut your molding at a 45-degree angle. A miter saw is your best friend here, ensuring those perfect, seamless corners. If you're going the hand saw route, take your time, use that miter box like it's your precious cargo, and embrace the slight wobble. It’s character!
Measure the length of each wall section, then make your cuts. Key takeaway: Cut one end, place it, then measure for the second cut. It's far easier to trim a little more than to add wood back. You can do it! Think of yourself as a sculptor, but with less marble and more wood dust. And definitely less dramatic shouting.
The Nailing (and Gluing) Process: Patience is a Virtue
Here we go. The moment of truth. Take your first piece of molding. Apply a thin bead of wood glue to the back of it. This adds extra holding power, making those nails work that much harder. Now, hold that piece up to your wall, aligning it with your pencil line. Get your level involved. Ensure it’s perfectly straight. This is not the time to be shy with the level.
Once it's level, it's time for the hammer and nails. Start at one end, and gently tap the first nail into the wood, aiming for a stud. Don't go all Hulk Smash right away. A few gentle taps to get it started. Then, with more conviction, drive the nail in. Aim for about a 30-degree angle, making sure the nail goes into the stud. Space your nails every 16 to 24 inches. You want solid support, but you don't want to turn your molding into a pin cushion.
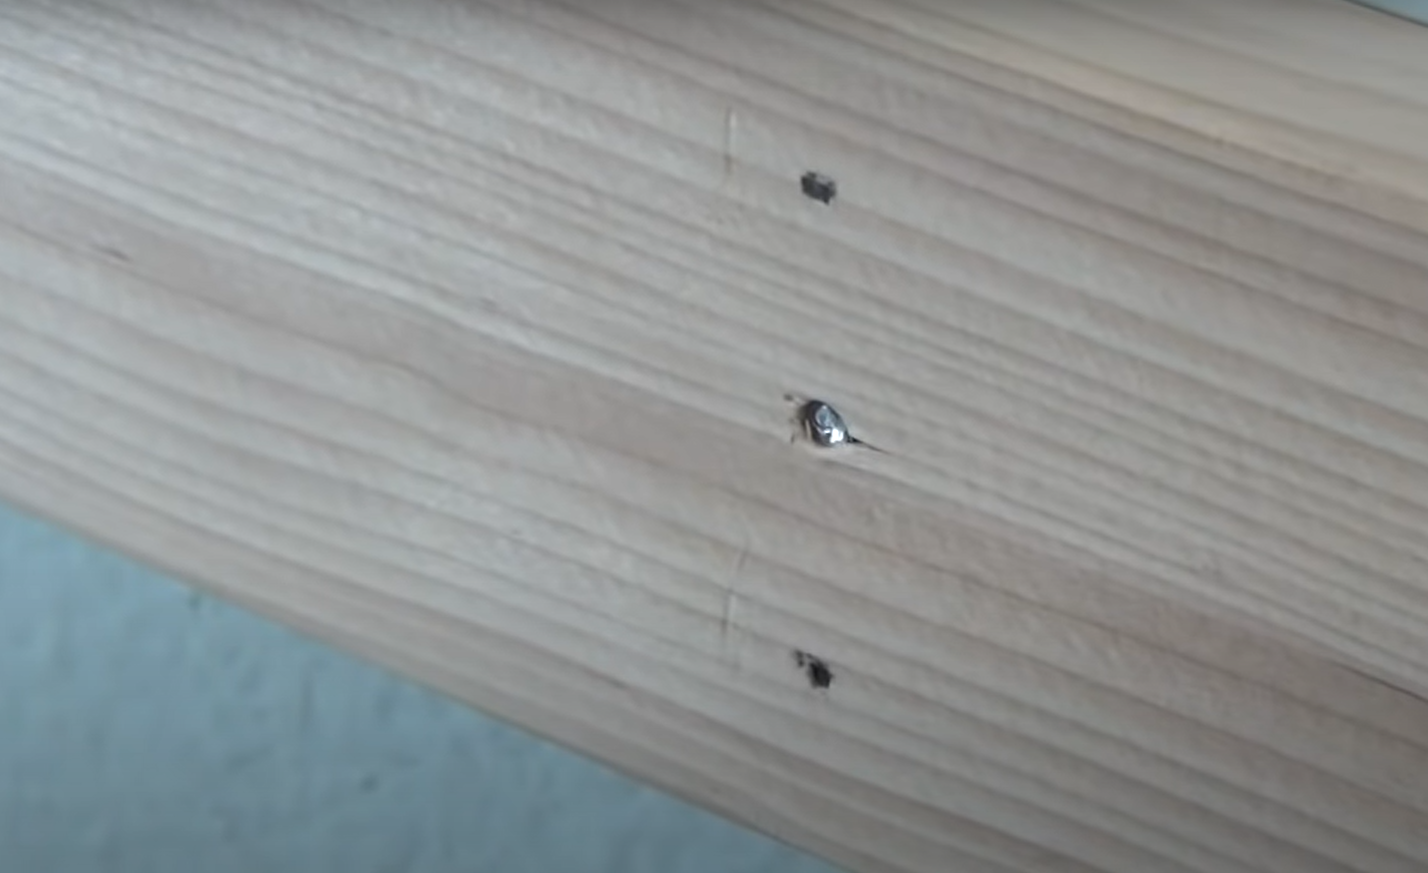
After the nail is in, but not all the way flush, grab your nail set. This is a small metal tool that you place over the nail head. Then, give the nail set a tap with your hammer. This drives the nail head just below the surface of the wood, creating a small divot that you can easily fill later. It’s a subtle but crucial step for a professional look. If you're feeling like a cowboy, you might be tempted to just hammer them flush, but trust me, the nail set is your friend. It’s the difference between a DIY job and a "wow, who did that?" job.
Repeat this process for the entire room. It will take time. It might get tedious. You might start talking to your hammer. This is all normal. Take breaks, have a beverage (water is good, but a celebratory adult beverage after the last nail is hammered is even better). Remember why you're doing this: for that chic, sophisticated chair rail!
The Finishing Touches: Making it Perfect
Once all your molding is up, it’s time for the grand finale. Grab your wood filler. Fill all those little nail holes. Don't be stingy, but don't overdo it either. You want to fill them flush with the surface of the wood. Let the filler dry completely – check the product instructions for drying times. They are, surprisingly, often accurate.
Once dry, it's time for a little sanding. Lightly sand over the filled nail holes and any rough spots on the molding. You want everything to be smooth to the touch. Think of it as giving your chair rail a spa treatment. After sanding, wipe away all the dust. A damp cloth works wonders.
Finally, caulk! This is the secret to making your chair rail look like it grew out of the wall. Apply a thin bead of paintable caulk along the top edge where the molding meets the wall, and along the bottom edge if needed. Smooth it out with your finger or a damp cloth. This fills any tiny gaps and creates a seamless transition. It’s like magic, but it’s just caulk. Glorious, gap-filling caulk.
Now you're ready to paint (if your molding isn't pre-finished) and admire your handiwork. You did it! You conquered chair rail installation without a single whir of a nail gun. You embraced the sweat, the minor aches, and the sheer satisfaction of a job well done, all with good old-fashioned tools and a can-do attitude. Go ahead, pour yourself that celebratory drink. You've earned it!