Hey there, fellow yard warrior! So, your trusty Craftsman weed eater has decided to give you the silent treatment? That pull cord, the one that's supposed to roar to life like a tiny, angry beast, is just… flopping around like a sad, defeated noodle? Don't you worry your pretty little head about it. We've all been there. It's like when your favorite comfy socks mysteriously vanish from the laundry – frustrating, but usually fixable!
Think of your weed eater's pull cord like the starter button for a tiny, gasoline-powered superhero. Without it, it's just a very expensive, very colorful piece of plastic and metal. But fear not! We're about to embark on a little adventure into the guts of your weed eater, and trust me, it's not as scary as it sounds. We’re talking basic tinkering, not brain surgery. So grab a comfy seat, maybe a beverage of your choice (mine’s usually coffee, but you do you!), and let's get this thing purring again.
So, Your Pull Cord is Doing the Macarena... Backwards
Alright, first things first, let's identify the enemy. Is the cord completely broken? Did it snap somewhere inside? Or is it just not engaging the starter mechanism properly? Sometimes, it's as simple as a little bit of debris jamming things up. Other times, a component has decided to take an early retirement. But whatever the reason, we're going to tackle it with the grace of a gazelle and the determination of a squirrel hoarding nuts for winter.
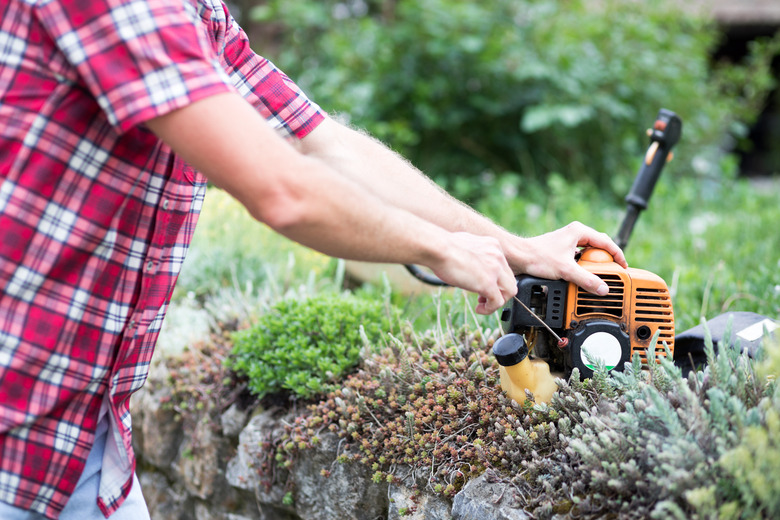
Before we dive in, a quick safety PSA. Always, and I mean always, make sure your weed eater is completely off. Unplug it if it has an electric start (though most Craftsman pull-cords are good ol' gas guzzlers), and if you've been using it, let it cool down. Nobody wants a surprise hot metal encounter, right? We're fixing things, not auditioning for a fire-breathing act.
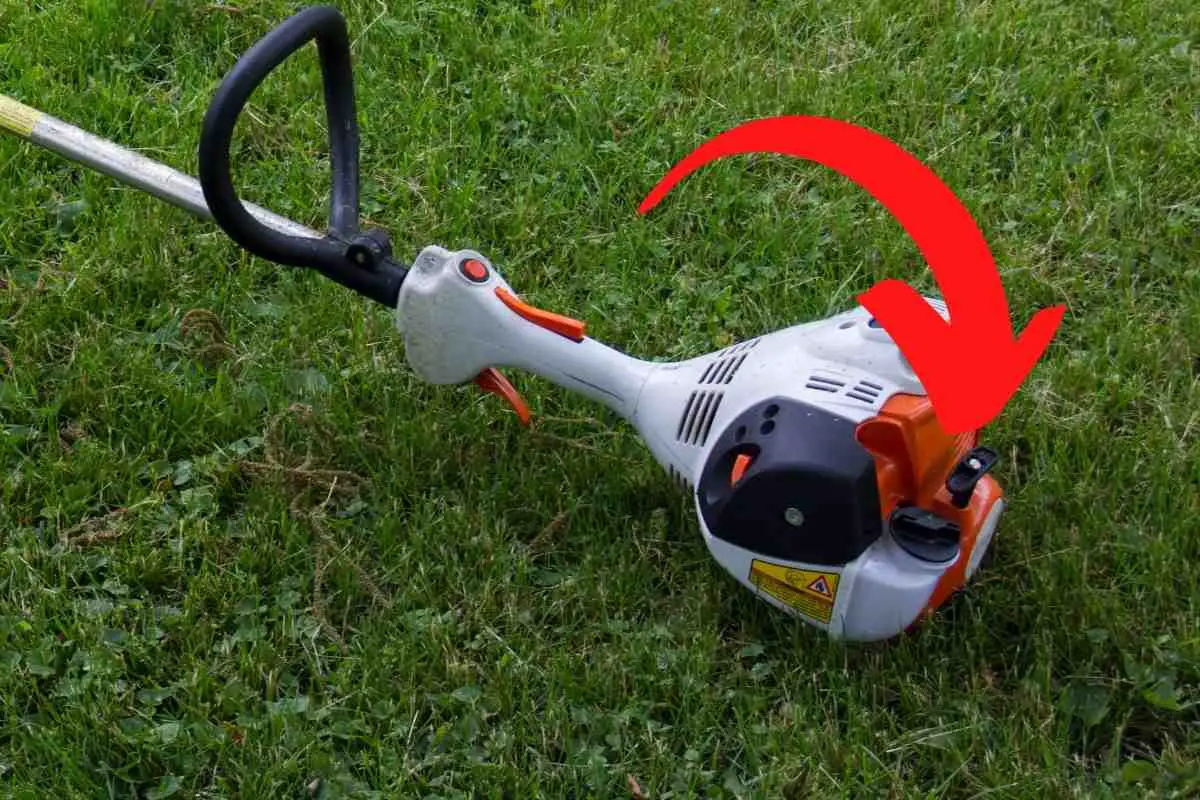
Step 1: The Visual Inspection – Is it Obvious?
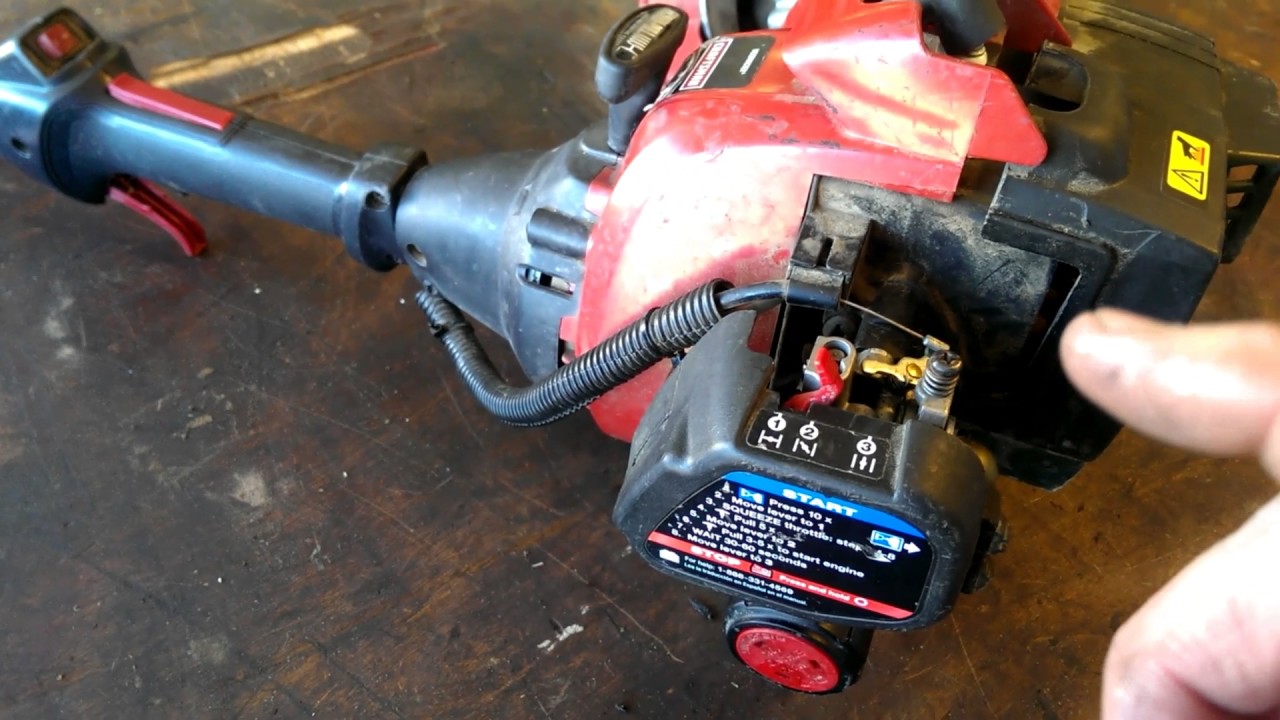
Let's start with the easiest thing: a good old-fashioned look-see. Pop off the starter housing. This is usually a plastic cover that holds the pull cord mechanism. On most Craftsman models, there are a few screws holding this bad boy in place. Grab your trusty screwdriver – a Phillips head is usually your best bet. Don't overtighten them when you put it back on, or you might strip the plastic. We want it snug, not a wrestling match.
Once the housing is off, take a peek. Can you see where the cord might have snapped? Is there any visible damage to the pulley or the spring? Sometimes, the cord just slips off the pulley. If that's the case, congratulations! You've found the culprit, and it's often a simple fix. Imagine finding your car keys right where you left them – pure bliss!
Look closely at the spring. This little guy is responsible for rewinding the cord. If it looks mangled, broken, or unhooked, that's a potential problem. Also, check the pawls (small metal teeth that engage the starter mechanism). Are they bent or missing? These are the unsung heroes of the pull-start system, doing all the hard work with a satisfying click.
Step 2: The Cord Itself – Is it Weary?
If the cord looks okay, let's examine it for wear and tear. Has it gotten frayed? Is it thinning in spots? Over time, the constant tugging and retracting can wear down even the toughest cords. Think of it like your favorite pair of jeans – after a lot of love, they start to show it. If the cord is significantly frayed or looks like it's about to give up the ghost, it's probably time for a replacement.
Replacing the cord isn't rocket science, but it can be a little fiddly. You'll need to untie the old cord from the handle, then carefully thread the new one through the housing and attach it to the pulley. Make sure you get the right length! Too short and it won't reach, too long and it’ll get tangled. It's like trying to thread a needle after a particularly long day – patience is key!
A word of caution: when you're removing the old cord, pay attention to how it's routed. Take a picture with your phone if you need to! It'll save you a headache later. And when you're threading the new cord, make sure it runs smoothly through any guides or channels in the housing. A kink in the hose, or in this case, a kink in the cord, will cause issues.
Step 3: The Spring – The Rewind Rumble
The recoil spring is a crucial, often overlooked, component. If your pull cord doesn't snap back with a satisfying thwack, the spring is likely the culprit. It could be broken, dislodged, or simply not wound correctly.

This is where things can get a tad more involved. You might need to carefully disassemble the recoil mechanism to get to the spring. Be prepared for a bit of a coiled-up surprise! Springs under tension can be a bit… energetic. It's best to wear safety glasses for this part, just in case. We don't want any unexpected projectiles flying around your workshop. Imagine a tiny metal Slinky launching itself across the room – not ideal!
If the spring is broken, you'll need to replace it. You can usually find replacement parts online or at your local small engine repair shop. Make sure you get the exact spring for your Craftsman model. They aren't universal, much like socks, they come in specific sizes and tensions. When you're reassembling, ensure the spring is properly seated and wound. It’s a bit like putting a puzzle together, but with more potential for "ouch!" if you're not careful.
Step 4: The Pulley and Pawls – The Engagement Engineers
The pulley is what the cord wraps around, and the pawls are those little metal bits that grab onto a flywheel or gear to start the engine. If either of these is damaged, your weed eater isn't going to start.
Inspect the pulley for any cracks or excessive wear. If it’s damaged, it's time for a new one. For the pawls, check if they're bent, broken, or stuck. Sometimes, a bit of grime can prevent them from engaging. A good cleaning with some carburetor cleaner or a degreaser can work wonders. If they're bent, you might be able to gently straighten them, but if they're broken, a replacement is in order.

Reattaching the pulley and ensuring the pawls are in good working order is key. When you pull the cord, you want to hear those satisfying clicks as the pawls engage. It’s like a tiny, mechanical victory song.
Step 5: Putting it All Back Together – The Grand Finale
Once you've identified the problem and replaced any necessary parts, it's time for the triumphant reassembly. This is where all your hard work pays off!
Carefully put the starter housing back on. Make sure all the screws are in their correct spots. Don't force anything. If it feels like you're fighting it, stop and re-check your alignment. We're aiming for smooth sailing, not a Hulk-smash situation.
Now for the moment of truth. Give that pull cord a good, firm tug. Did it recoil smoothly? Did you hear that beautiful click of engagement? If you did, take a deep breath and give it another pull, a bit more enthusiastically this time. Hopefully, your weed eater will roar to life like it's ready to conquer the dandelions!
If it still isn't cooperating, don't get discouraged. Sometimes it takes a few tries, or maybe you missed a small detail. Go back through the steps, or consult your Craftsman weed eater's manual. They often have helpful diagrams and troubleshooting tips.
When to Call in the Cavalry (or Just a Friend Who's Good at This Stuff)
Look, not everyone is a natural-born mechanic. If you've gone through all these steps and your weed eater is still stubbornly refusing to start, or if you’re just not comfortable digging into it, there's no shame in asking for help. That’s what friends and local repair shops are for!
Sometimes, a professional can spot a problem that’s invisible to the untrained eye, or they might have specialized tools that make the job easier. Think of it as outsourcing your frustration. Plus, you get to keep your hands clean and your temper intact. It's a win-win!
The Sweet Reward of a Working Weed Eater
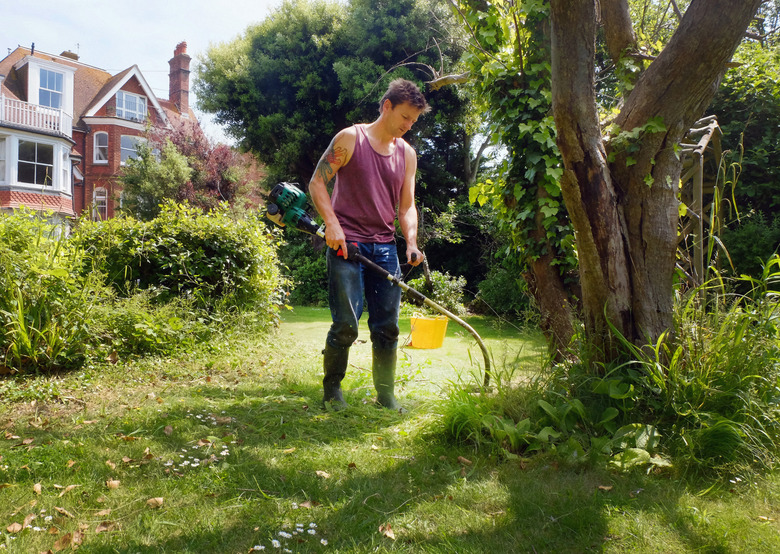
There’s a special kind of satisfaction that comes from fixing something yourself, especially a tool that’s essential for keeping your outdoor oasis looking its best. You’ve conquered the pull-cord beast, and now your Craftsman weed eater is ready to do its duty, neatly trimming those pesky edges and making your lawn look like it just stepped out of a magazine spread. Go ahead, give yourself a pat on the back (or maybe a celebratory ice cream cone!). You earned it!
So next time your pull cord throws a tantrum, remember this little guide. With a little patience, a few basic tools, and maybe a dash of humor, you can get your Craftsman weed eater back in the game. And isn't that a wonderfully empowering thought? Now go forth and conquer those weeds, you magnificent lawn-care guru!