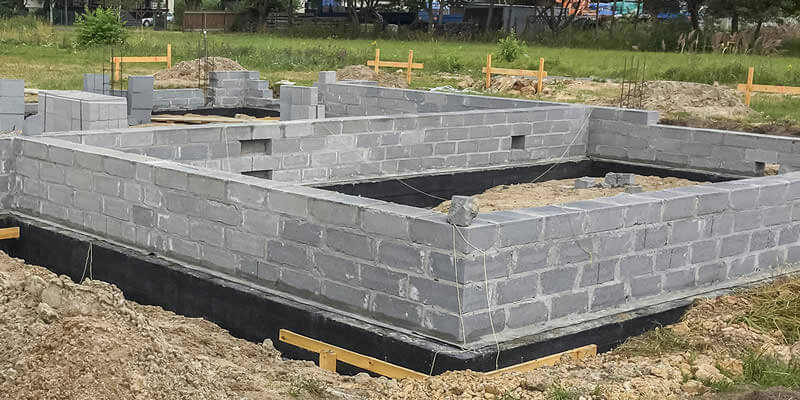
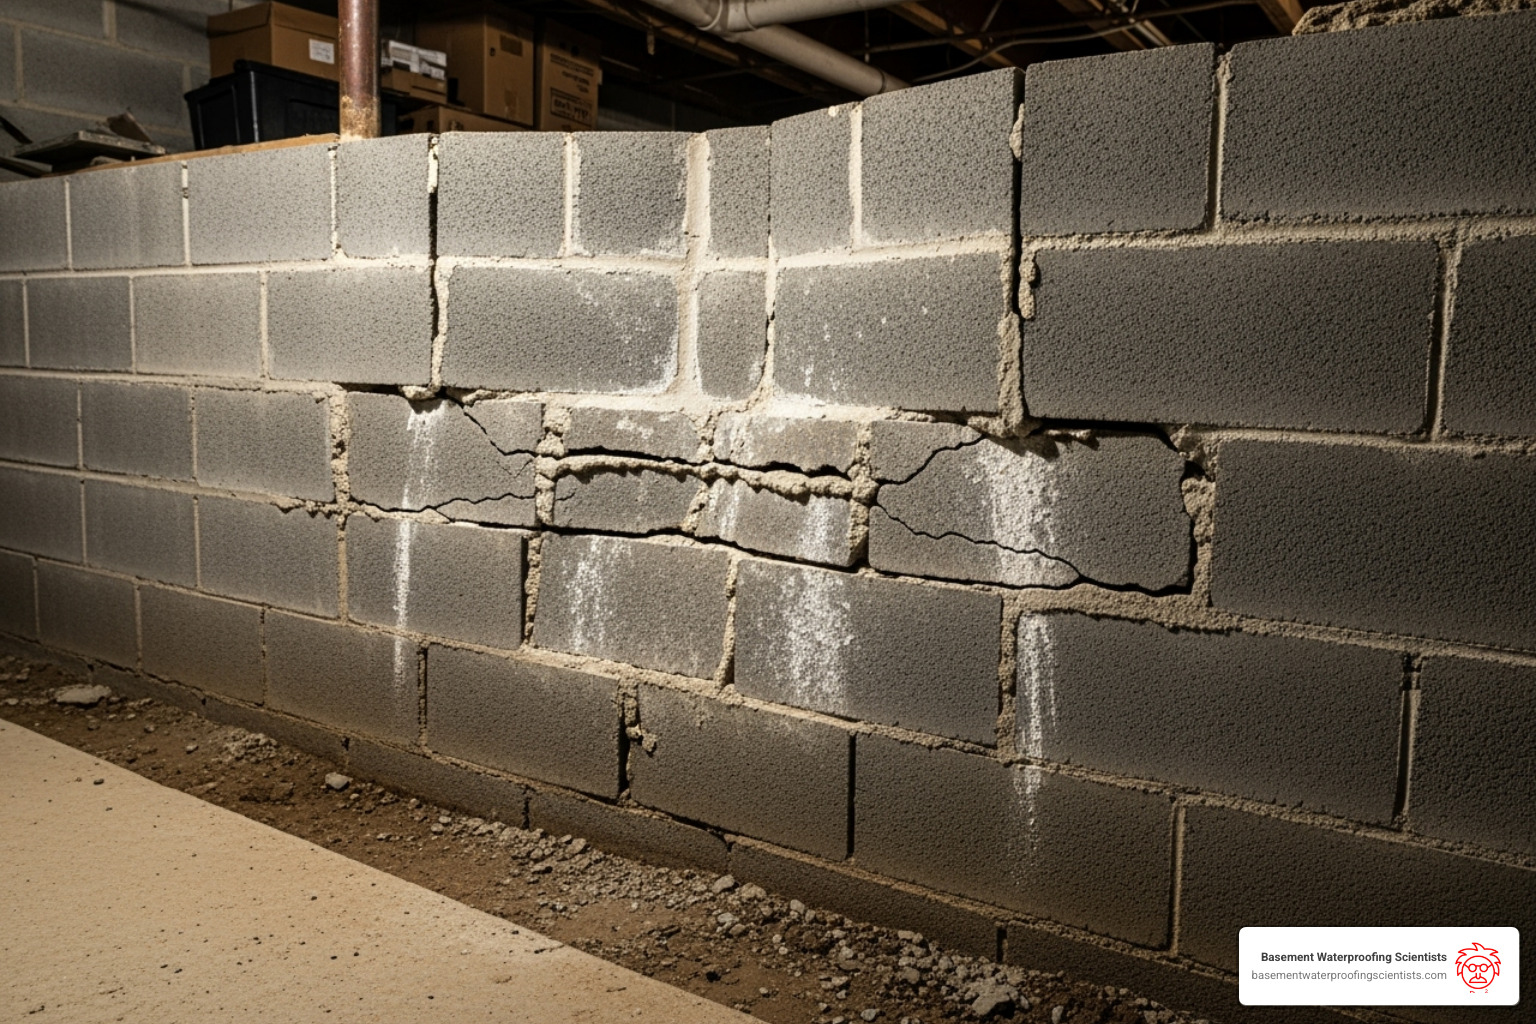
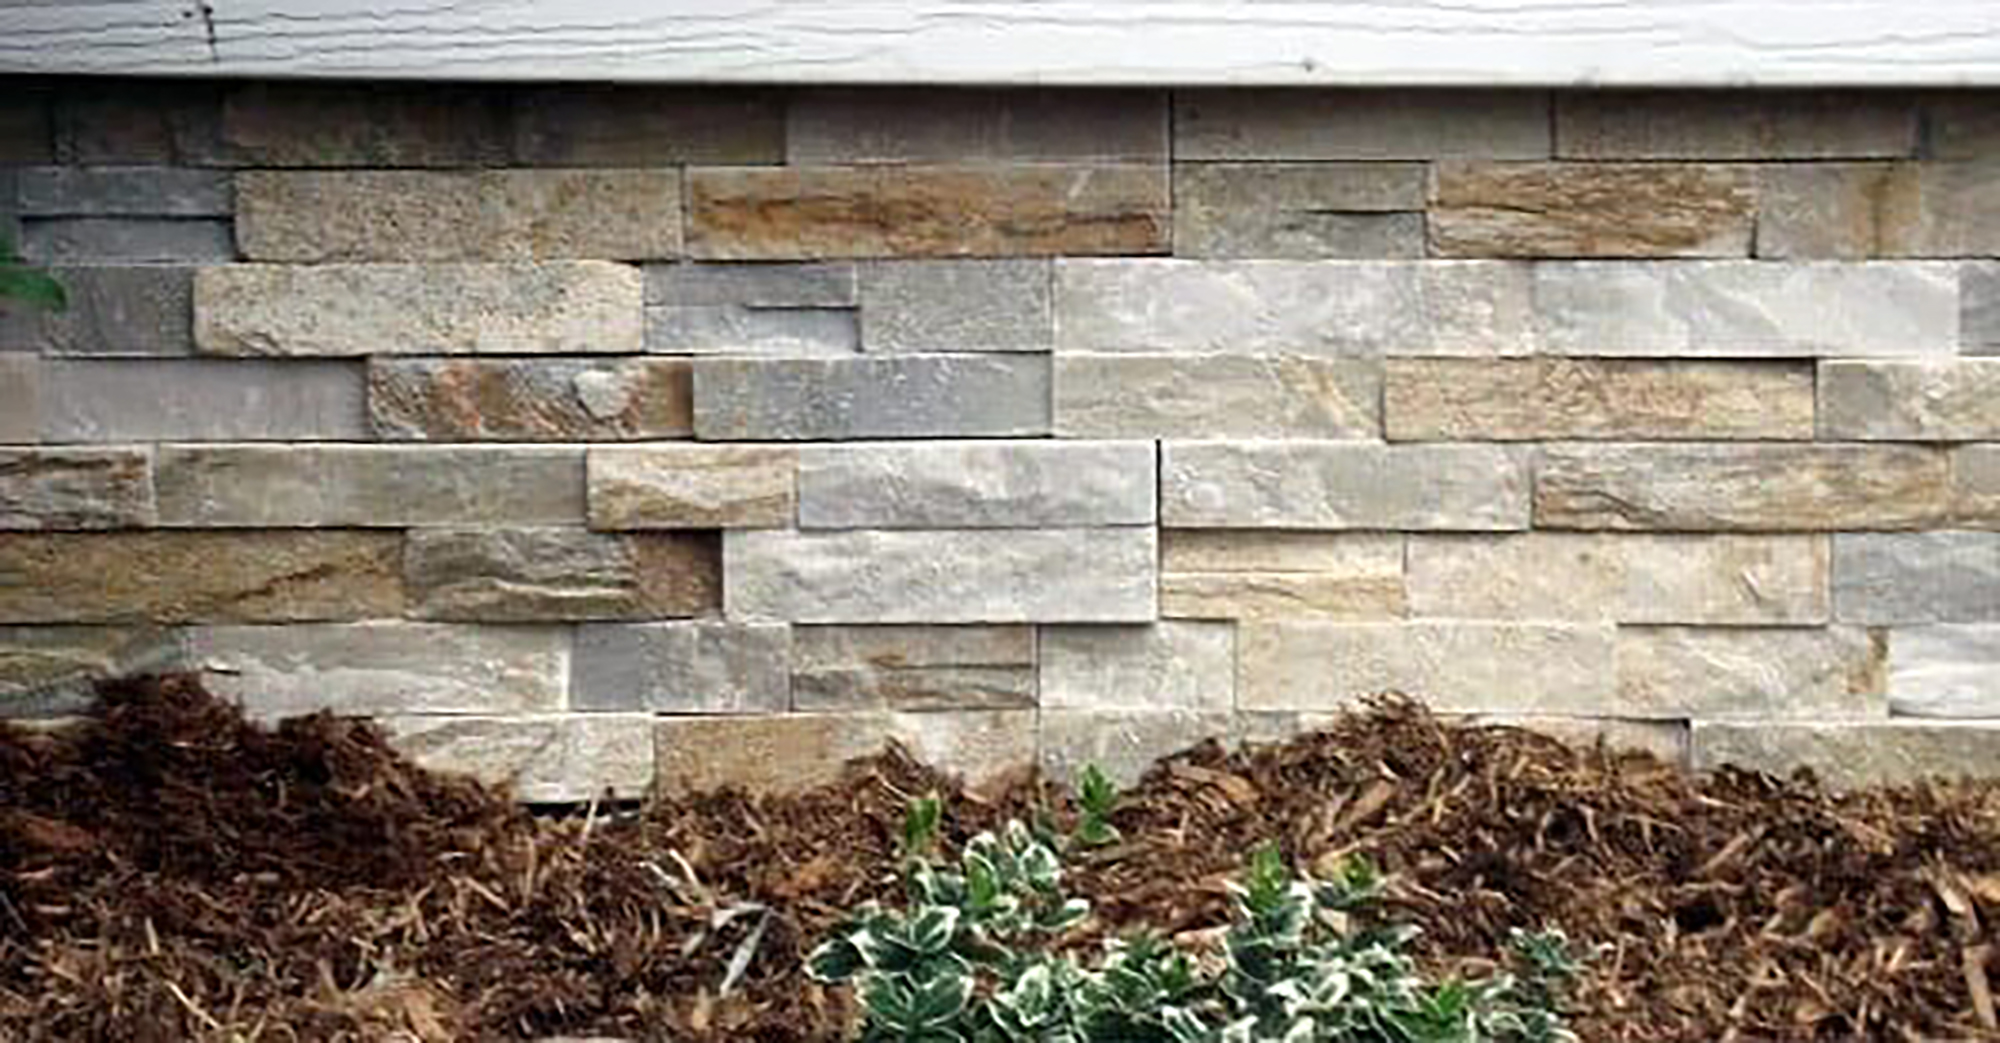
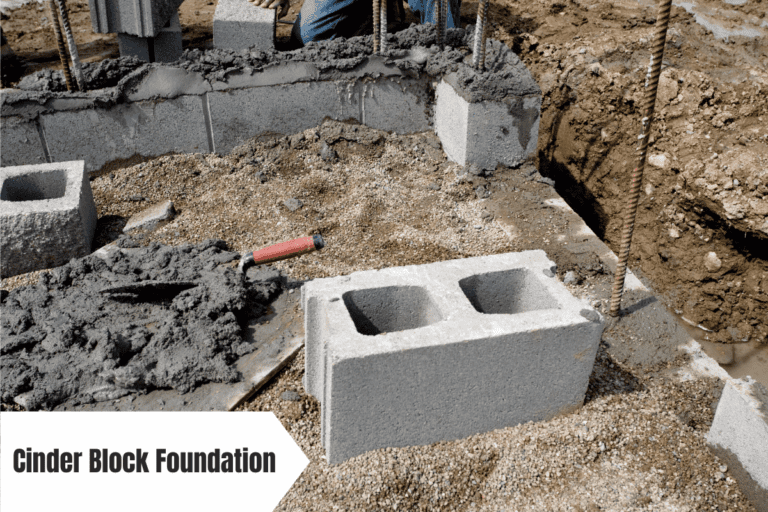
You know, I remember once, a few years back, I was helping my buddy Dave out with his garage project. He’d decided, with that glint in his eye that usually means "I have a terrible idea but I'm going to do it anyway," that he was going to finish the basement. Sounds exciting, right? More living space, a place for his ever-expanding collection of vintage video games. So, we’re chipping away at the old concrete floor, making space for plumbing, and I notice it. This tiny little crack, no bigger than a fat worm, snaking its way up one of the cinder blocks near the exterior wall. Then another. And another. Suddenly, Dave’s dream of a man cave looked a lot more like a potential flood zone. It turns out, those little cracks, seemingly insignificant, were the canary in the coal mine for a much bigger problem: a foundation that had seen better days. And that, my friends, is how I learned that even the humblest cinder block foundation can have its fair share of… well, holes.
So, if you're like Dave and me, and you've been staring at your cinder block foundation and thinking, "Hmm, that looks a bit swiss-cheesy," you're probably wondering what on earth you're supposed to do about it. Don't panic! It’s not the end of the world, and you don't necessarily need to call in the foundation wizards for a small fortune. Sometimes, it's just a matter of knowing how to patch up those little blemishes and keep your home standing tall and proud. Think of it like giving your foundation a bit of a spa treatment. A little bit of filling, a bit of smoothing, and voila! Good as new… almost. Let's dive into how you can tackle those holes yourself.
The "Why" Behind the Holes: A Little Detective Work
Before we grab our trowels and get all DIY-crazy, it’s worth taking a moment to understand why these holes are appearing in the first place. It's not just for fun, you know. Usually, it’s a sign of something else going on. Have you had any water issues? Maybe some of those tiny cracks are letting moisture seep in, which then freezes and expands in the winter, making the cracks bigger. Classic winter mischief, right?
Or perhaps it's just good old-fashioned age. Cinder blocks, bless their porous hearts, aren’t exactly immortal. Over decades, they can crumble a bit, especially if they've been subjected to a lot of pressure or poor drainage around your house. Think of it like a favorite old t-shirt. It’s served you well, but eventually, the fabric starts to wear thin. That’s kind of what’s happening here.
Sometimes, it could even be related to soil movement. If the ground around your foundation is expanding and contracting significantly with changes in moisture, it can put stress on the blocks, leading to cracks and openings. It's like a gentle, but persistent, hug from Mother Nature that’s a little too tight. So, before you start filling, take a good, hard look. Are the holes big and numerous? Are they accompanied by bowing walls or other serious signs of structural distress? If it looks like a major structural issue, then yes, you absolutely need to call in the professionals. We’re talking about filling small-to-medium holes and cracks here, not rebuilding your entire foundation with a toothpick and some chewing gum. You got this, but also, know your limits!
Gathering Your Arsenal: What You'll Need
Alright, detective work done. You've identified your target. Now, what do you need to conquer these holes? Don't worry, it’s not rocket science. You won't need a hazmat suit or a laser welder.
- Safety First!: Always, and I mean always, wear safety glasses and gloves. Cinder dust and mortar can be a real party pooper for your eyes and skin. A dust mask is also a good idea if you’re dealing with a lot of crumbling.
- Stiff Bristle Brush: This is your primary cleaning tool. You need to get all that loose debris, dirt, and old mortar out of the holes. Think of it as a deep clean for your foundation’s pores.
- Screwdriver or Chisel: For any really stubborn bits of old mortar or loose material that the brush can’t handle. A little persuasion might be needed.
- Bucket: For mixing your patching material. You know, the stuff that’s going to actually fill the holes.
- Trowel or Putty Knife: For applying the patching material. A small margin trowel is great for larger holes, while a putty knife works well for smaller cracks.
- Patching Material: This is the star of the show! For most cinder block holes, you’ll be looking at one of these:
- Hydraulic Cement: This stuff is awesome for wet areas or if you're concerned about water seeping in. It sets really fast, so you have to work quickly. Like, really quickly.
- Mortar Mix: Regular masonry mortar mix is your go-to for dry areas. You’ll mix it with water according to the package directions. This is more forgiving than hydraulic cement.
- Concrete Patching Compound: These are pre-mixed or come in bags that you just add water to. They’re designed for patching concrete and masonry.
Which one do you choose? Well, for general holes that aren't constantly exposed to water, a good mortar mix or concrete patching compound will do the trick. If you're dealing with a damp spot or want extra security against water intrusion, hydraulic cement is your friend. Just remember the speed thing with hydraulic cement – it's not for beginners who like to take their sweet time!
Diy Cinder Block Foundation DIY Concrete Block Bench | SIKA - Water: For mixing your mortar or patching compound. Keep a spray bottle handy too, for dampening the area.
- Optional: Bonding Agent: This can help new material stick better to old block. It’s a good idea for larger repairs.
So, before you head to the hardware store, have a quick inventory. What do you already have? What do you absolutely need? You don't want to be halfway through the job and realize you're missing a crucial ingredient, do you? That’s a recipe for frustration. And nobody wants that when they're already elbow-deep in masonry dust.
Step-by-Step: Operation Foundation Fix
Alright, gear up! It’s time to get your hands dirty. And I mean that literally.
Step 1: The Great Excavation (aka Cleaning the Hole)
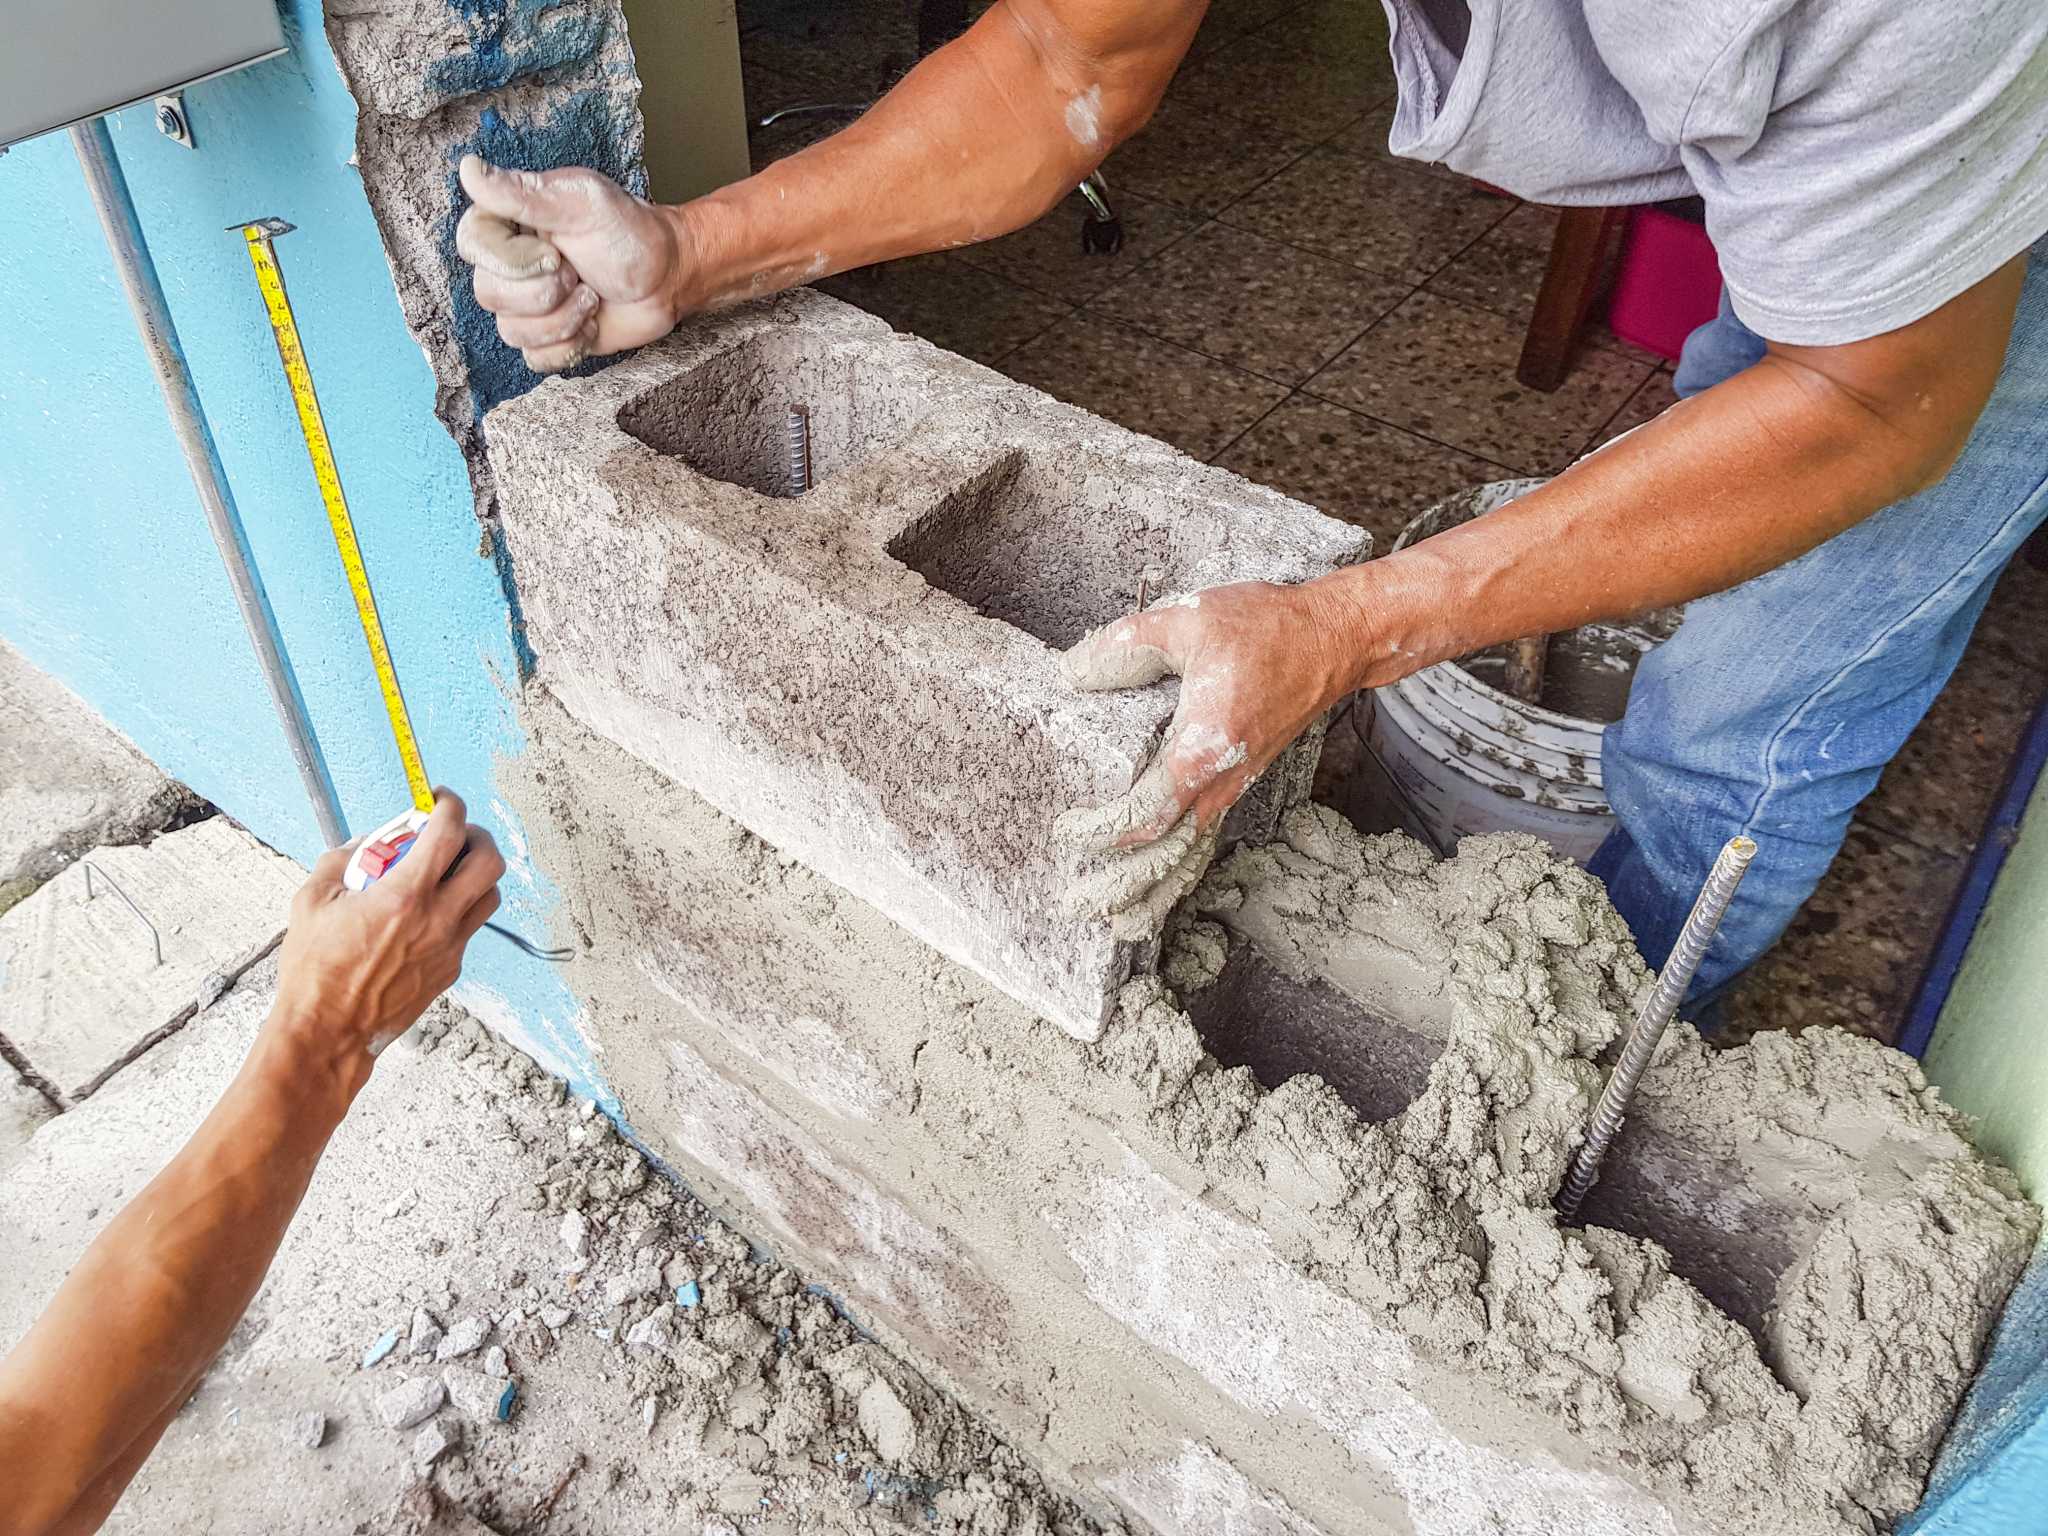
This is probably the most important step, and honestly, it's the least glamorous. You have to get all the loose bits out of the hole. Use your stiff bristle brush and really scrub. Get into every nook and cranny. If there are larger chunks of loose mortar or concrete, use your screwdriver or chisel to gently pry them out. You want a clean, solid surface for your new patch to adhere to. Imagine you’re prepping a canvas for a masterpiece. This is your foundation’s canvas!
Why is this so critical? Because if you fill over loose material, that patch isn't going to hold. It'll be like building a house on a pile of sand. Eventually, it's going to crumble and fall apart. So, be thorough. Get it all out. You might even want to vacuum out any dust that’s left behind. A little extra effort here will save you a lot of headaches down the road. Trust me on this one. My uncle once skipped this step, and let’s just say his basement ended up with a rather interesting water feature during the next heavy rain.
Step 2: Dampen the Scene (But Not Too Damp!)
Once the hole is clean, you need to dampen the area. Not soak it, mind you. Just a light misting with water from your spray bottle, or a quick pass with a damp sponge. This helps the patching material bond properly and prevents it from drying out too quickly, which can cause it to crack. Think of it as giving the thirsty block a little drink so it’s ready to accept its new filling.
If you're using hydraulic cement, you might even skip this step or just lightly mist. Hydraulic cement reacts with water to set, so too much pre-dampening can make it set before you can even get it in the hole. Read the instructions on your specific product, because they can vary. It's like following a recipe – you don't want to mess up the proportions!
Step 3: Mix Your Magic Potion (The Patching Material)
Now for the fun part! Follow the instructions on your chosen patching material exactly. This is not the time for creative interpretation. If it says add 2 parts water to 1 part mix, don’t just eyeball it. Use measuring cups or buckets.
For mortar mix, you're aiming for a consistency that's like peanut butter or thick oatmeal. It should be stiff enough to hold its shape on your trowel but still spreadable. If it's too dry, it'll crumble. If it's too wet, it'll be soupy and won't hold. You want that perfect Goldilocks consistency.
If you’re using hydraulic cement, mix only what you can use in a few minutes. Seriously. It sets fast. You’ll see it start to stiffen up very quickly. So, small batches are your friend here.
And if you're using a concrete patching compound, just follow the directions. They’re usually pretty straightforward. Oh, and if you’re using a bonding agent, you’ll typically mix that in according to its instructions, or apply it to the hole first before the patching material.
Step 4: Apply the Patch!
Here’s where your trowel or putty knife comes into play. Scoop up some of your mixed patching material and firmly press it into the hole. You want to fill it completely, pushing it in so there are no air pockets. For larger holes, you might need to apply it in layers, allowing each layer to set slightly before adding the next. This prevents sagging and ensures a stronger repair.
Don’t be shy! Really pack it in there. Use your trowel to smooth the surface, trying to match the texture of the surrounding cinder block as best you can. You’re not aiming for perfection here, just a solid, sealed repair. If you’re filling a crack, start at the deepest part and work your way out.
Pro Tip: If you’re filling holes in an area that might be subject to expansion and contraction, like near where a pipe enters the foundation, you might consider using a backer rod before applying the patching material. It's a foam rod that you push into the crack or hole to give the patching material something to push against, allowing for some movement without cracking the patch. It’s like giving your patch a little bit of wiggle room.
Step 5: The Smoothing and Curing Process
Once the hole is filled, smooth out the surface with your trowel. You can use a damp sponge or a damp brush to help blend the edges and create a more uniform look. Again, don’t stress about making it look like a factory finish. A good, solid patch is the goal.
Now, the curing. This is another crucial step that many people skip. The patching material needs time to harden and gain its full strength. This usually takes a few days. Keep the patched area damp during this curing period, especially if it’s hot and dry. You can do this by misting it with water periodically or covering it with damp burlap or plastic sheeting. Check the product’s instructions for specific curing times and recommendations.
This is especially important for mortar and concrete. They need moisture to cure properly. If they dry out too fast, they’ll be weaker and more prone to cracking. So, be patient! Your foundation will thank you.
When to Call in the Cavalry
As I mentioned earlier, this guide is for filling holes and cracks. It's for those little imperfections that can be addressed with a bit of DIY elbow grease. But there are definitely times when you need to call in the professionals.
If you see any of these, it’s time to hang up your trowel and pick up the phone:
- Large, gaping holes that are more than a couple of inches wide and deep.
- Foundation walls that are bowing, leaning, or shifting inward or outward.
- Cracks that are actively widening or that run horizontally across multiple blocks.
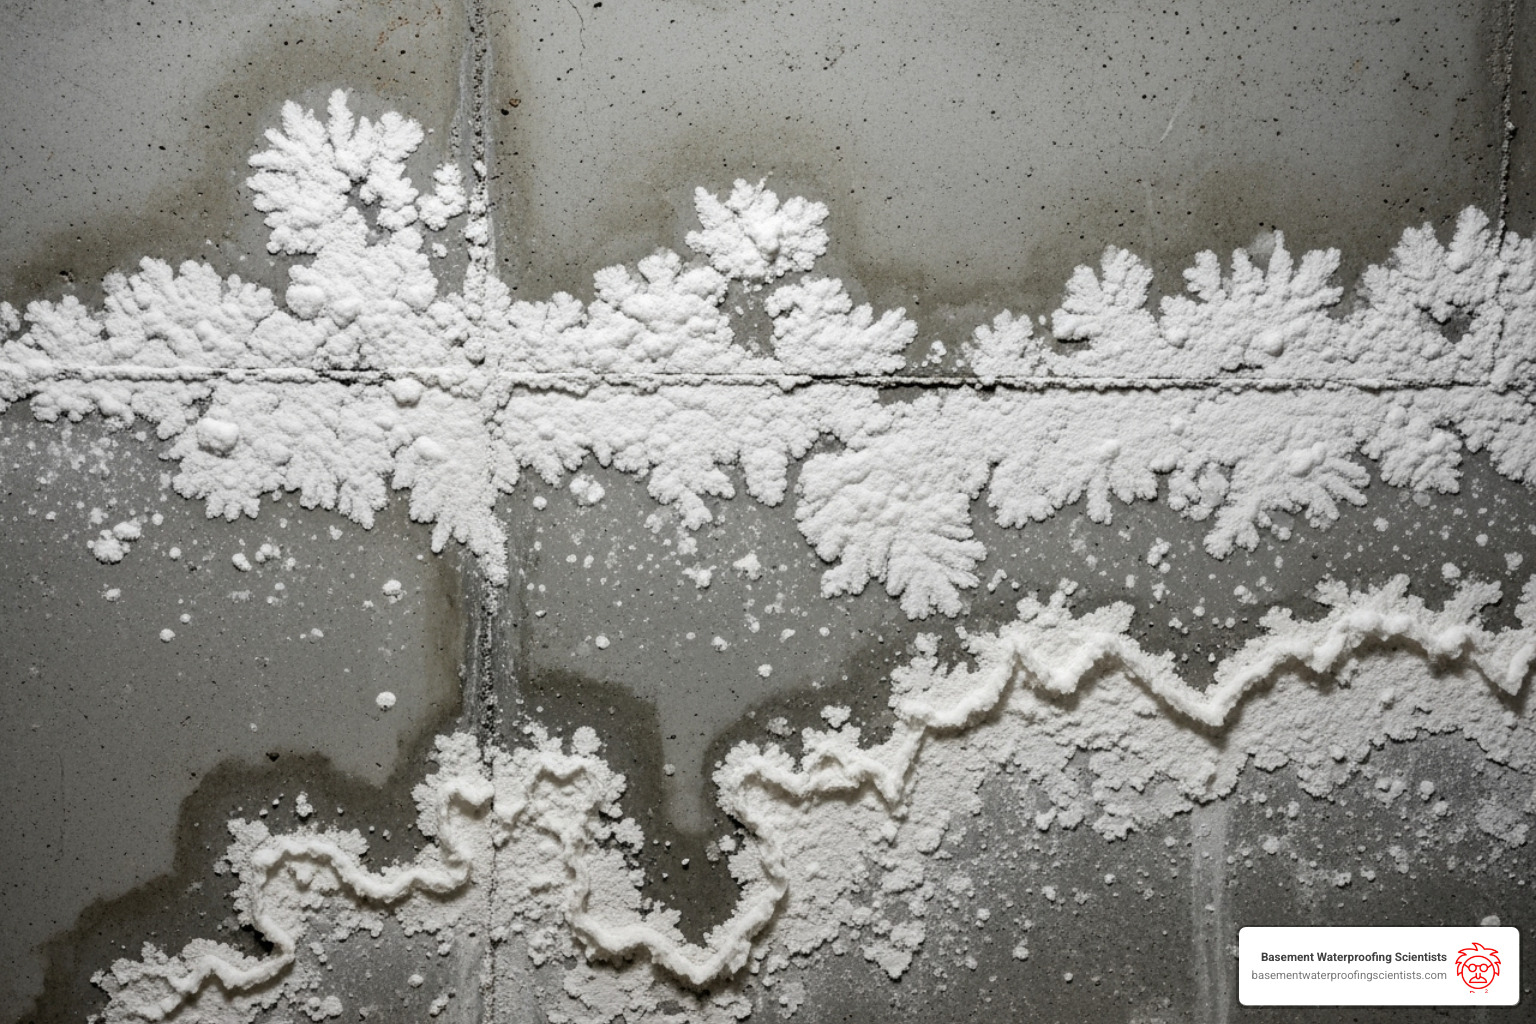
- Signs of significant water damage, like efflorescence (white powdery deposits) or active leaks that you can’t control.
- If you’re unsure about the extent of the problem. It’s always better to be safe than sorry when it comes to your home’s foundation.
A professional will be able to diagnose the underlying cause of the problem and recommend the appropriate structural repairs. They have the tools, the knowledge, and the experience to handle serious foundation issues. Don't try to patch up a crumbling wall with duct tape and hope for the best. That's a story that rarely ends well.
But for those manageable holes, those little reminders that your foundation is made of living, breathing (okay, not living, but you get the idea) material that needs a little TLC, you’ve now got the knowledge to tackle it. So, go forth, fill those holes, and give your foundation the attention it deserves. It’s a tough job, but somebody’s gotta do it. And hey, at least you'll have a good story to tell next time someone asks about your DIY adventures.