Alright, DIY superstars and budding home renovators, gather ‘round! Today, we’re tackling a little piece of trim magic that can make your walls go from “meh” to “magnificent.” We’re talking about quarter round, that charming little molding that hugs the base of your walls, hiding any pesky gaps and giving your room a polished, finished look. And guess what? We’re going to master the art of cutting it for those tricky outside corners. Don’t let the fancy term scare you; it’s easier than you think! Think of it as giving your walls a perfectly tailored hug.
Now, I know what some of you might be thinking. “Outside corners? My trim is going to have a party and I’m supposed to be the DJ?” Relax, my friends! This isn’t some mystical woodworking ritual that requires a PhD in geometry. We’re going to approach this with the same gusto you’d approach assembling IKEA furniture on a Saturday morning – with a healthy dose of optimism and maybe a little bit of coffee. And trust me, when you see those crisp, clean corners, you’ll feel like you’ve just conquered Everest… out of quarter round.
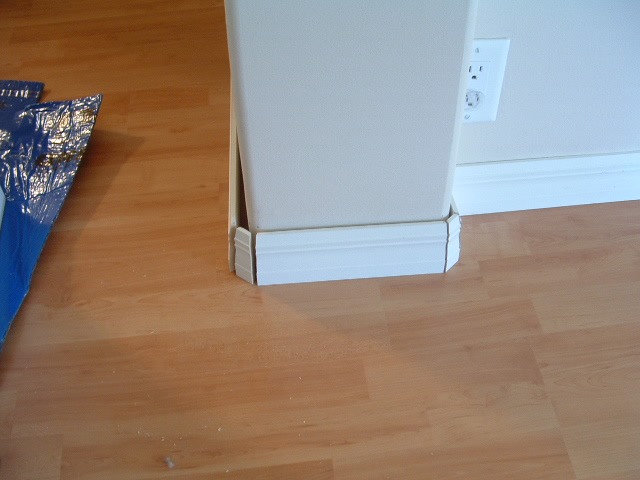
Imagine this: You’ve just laid down some gorgeous new flooring. It’s beautiful. It’s gleaming. But oh no! There’s a tiny, almost apologetic gap where the wall meets the floor. It’s like a shy little secret. That’s where our superhero, the quarter round, swoops in to save the day! It’s the unsung hero of the trim world, and we’re going to give it the heroic cut it deserves.
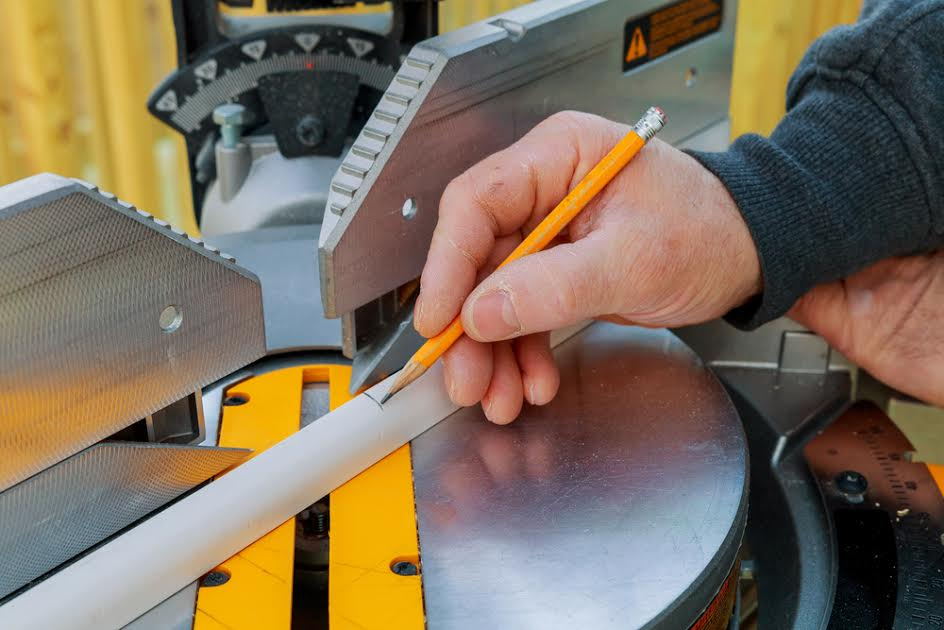
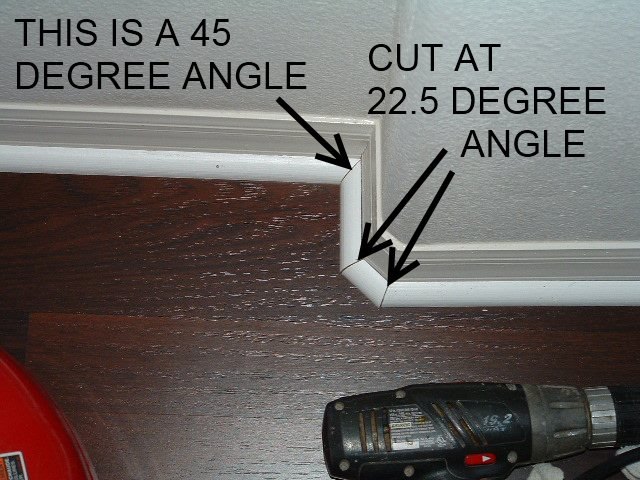
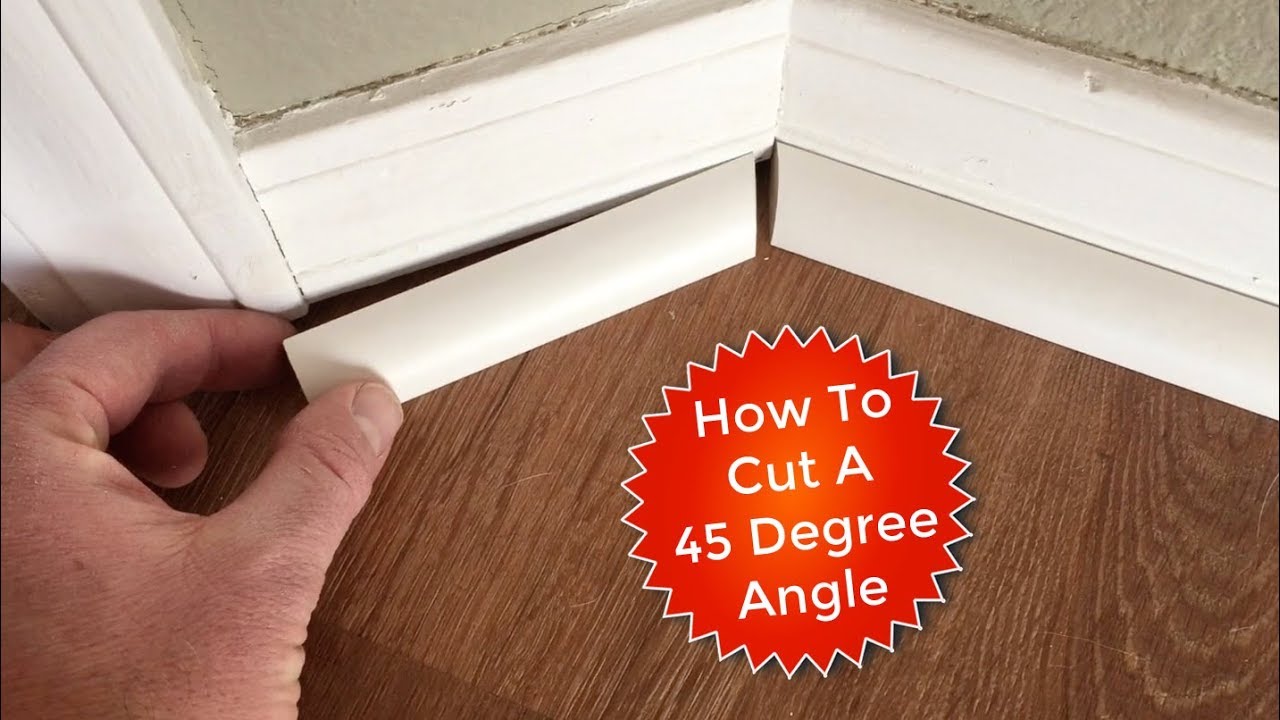
So, what’s the secret sauce to these perfect outside corner cuts? It’s all about the miter saw. If you don’t have one, consider this your official nudge to get one. It’s not just a tool; it’s your ticket to professional-looking trim work. Think of it as your trusty sidekick. And for these outside corners, we’re going to set our trusty sidekick to a very specific angle. It’s not just any old angle; it’s the angle that makes two pieces of quarter round kiss and become one perfect corner. We’re talking about a 45-degree angle. Yes, just 45 degrees! It sounds so simple, doesn't it? Because it is!
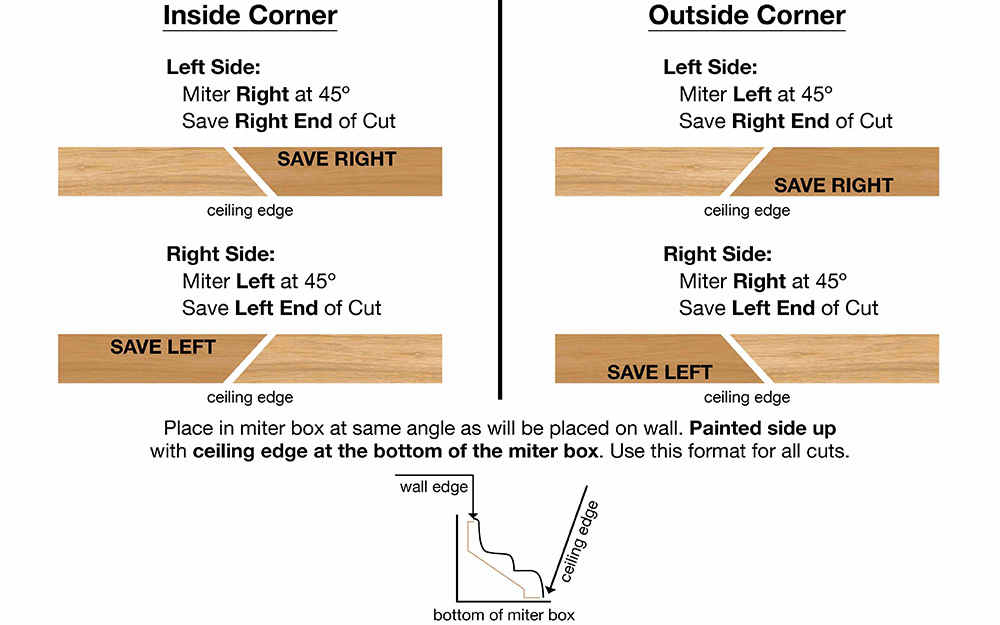
Now, here’s where the fun really begins. You’ve got your piece of quarter round. It’s probably feeling a bit… straight. A bit… unloved. We’re going to give it a glamorous makeover with a perfectly angled cut. And for an outside corner, it’s crucial to remember that your two pieces of quarter round will be on the outside of the corner, like they’re holding hands. This means you’ll be cutting each piece at a 45-degree angle, but in opposite directions. It’s like a graceful dance for your trim!
Here’s the super-duper-easy breakdown: Pick up your first piece of quarter round. Place it against the wall where the corner will be. Now, here’s the secret handshake: you’re going to set your miter saw to 45 degrees. For this first piece, imagine you’re making a slice that will go away from the wall. This is called a positive miter. It’s like the trim is leaning out a little bit from the corner. Don’t overthink it; just let the saw do its thing. Feel the power! Feel the precision!
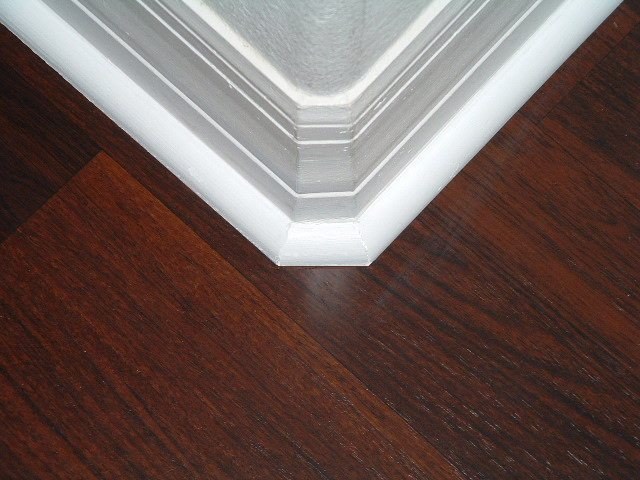
Then, you grab your second piece of quarter round. This is its dance partner! You’ll do the exact same thing – set your miter saw to 45 degrees. But this time, you’re going to cut it in the opposite direction. So, if your first cut was going left, this one goes right. It’s like a perfect mirroring act. These two cuts, when placed together, will create that seamless, professional-looking outside corner. No gaps, no weird angles, just pure, unadulterated trim perfection. It’s like they were born to be together!

A little tip from your friendly neighborhood trim whisperer: always, always do a test cut first. Grab a scrap piece of quarter round and make your 45-degree cut. Then grab another scrap and make the opposite 45-degree cut. Put them together. Do they fit snugly? Do they look like they belong in a magazine spread? If they do, you’re golden! If they look a bit like a confused duck, no worries! Just make a tiny adjustment to your angle and try again. It’s all about practice and patience, my friends. Think of it as a trim boot camp, but way more fun.
The beauty of this is that once you get the hang of it, you’ll be zipping through those outside corners like a seasoned pro. You'll be looking at walls and thinking, "Challenge accepted!" Your friends will come over, marvel at your impeccable trim work, and ask, "How did you DO that?" And you, with a knowing smile and a flick of your wrist, will say, "Oh, it was just a little miter saw magic and some 45-degree love." You’ll be the hero of your own home improvement story, armed with a tape measure and the power of a perfectly cut piece of quarter round. So go forth, embrace the angle, and let your trim shine!