Hey there, fellow lawn enthusiast! Ever find yourself staring at your trusty Troy-Bilt mower, ready to conquer that grassy jungle, only to be met with a sputtering, coughing, and generally unimpressed engine? Yep, we've all been there. It's like your mower's decided to stage a tiny, mechanical protest. And nine times out of ten, the culprit lurking in the shadows, holding your mowing dreams hostage, is a clogged carburetor. Don't let this little guy get you down! Cleaning a Troy-Bilt lawn mower carburetor isn't some mystical ritual performed by bearded wizards. It's actually a super achievable task that can save you time, money, and the sheer joy of a perfectly manicured lawn. Plus, learning to do it yourself? That's some serious DIY bragging rights right there!
Think of your carburetor as the engine's digestive system. It’s where the magic happens, mixing air and fuel to give your mower the go-go juice it needs to chug along. When it gets gummed up with old gas residue or tiny bits of debris, it's like trying to eat with a straw that's been blocked by a peanut M&M. Nothing good is going to come of it!
Ready to Become a Mower Whisperer? Let's Get Cleaning!
So, where do we begin this heroic quest to restore your mower's roar? First things first, safety first, folks! Make sure your mower is completely cool, completely off, and parked on a flat, stable surface. We're not trying to win any Darwin Awards here. Disconnect the spark plug wire – this is a crucial step to prevent any accidental firing while you're poking around. It’s like putting a "do not disturb" sign on your engine.
Now, let's talk tools. You won't need a whole toolbox filled with obscure gadgets. Mostly, you'll be looking for some basic wrenches (usually a 10mm or 7/16" is your friend), a screwdriver set (Phillips and flathead are your go-tos), some carburetor cleaner spray (this stuff is your best bud), a can of compressed air (for that satisfying "pfft!"), and a clean rag or two. Maybe even a small bowl or tray to catch any stray screws or little bits. Think of it as preparing your pit stop.
Locating the Mighty Carburetor
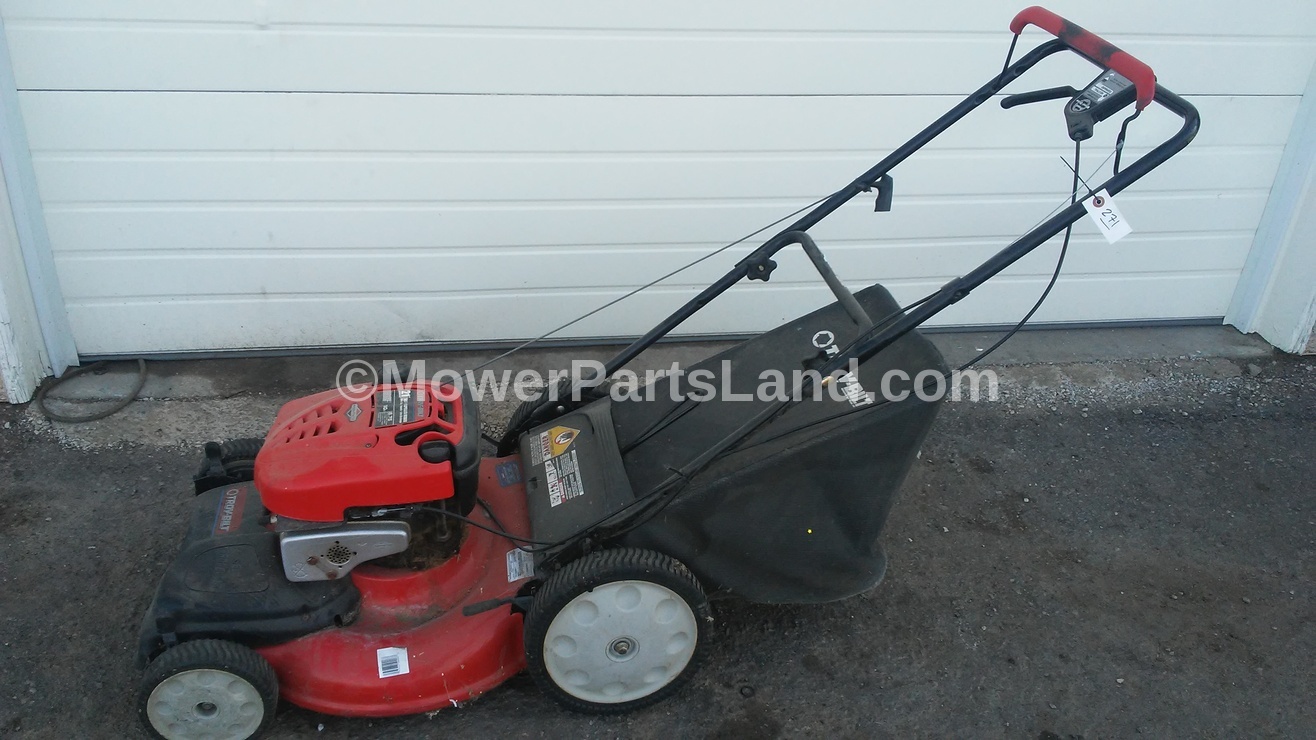
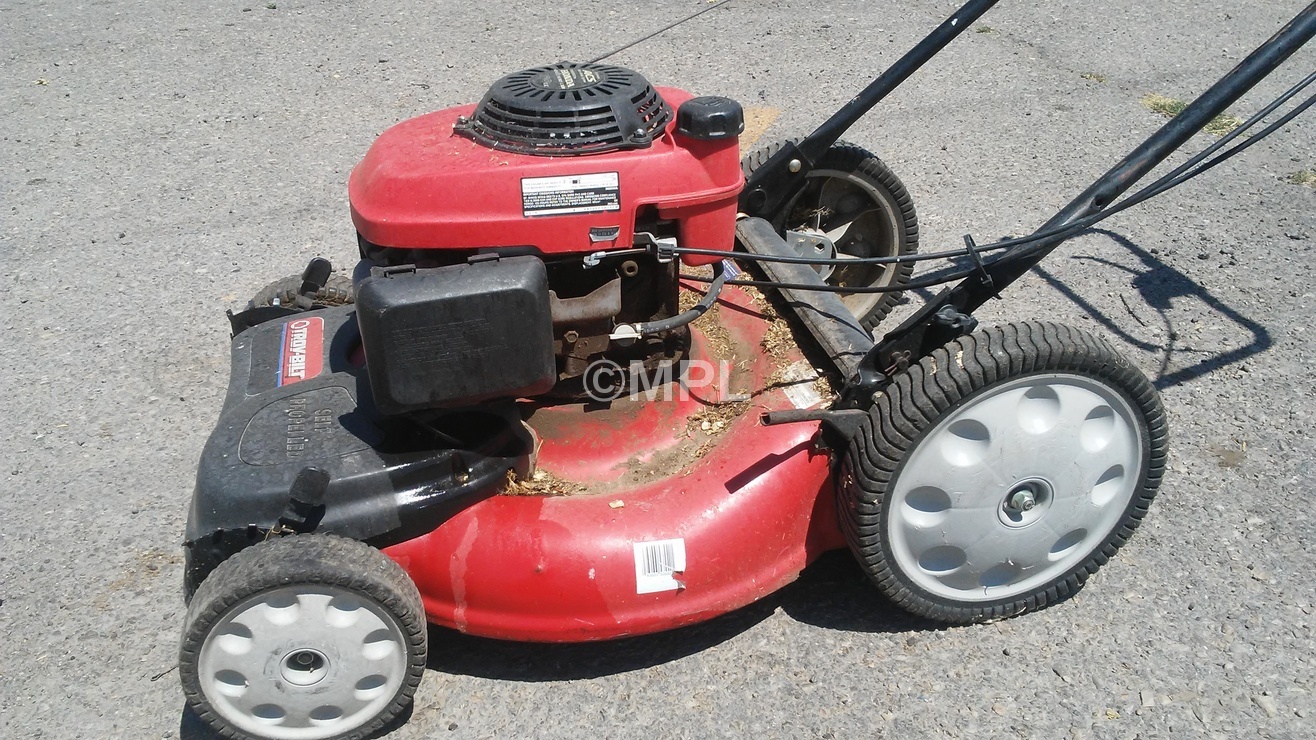
Your carburetor is usually a pretty distinctive-looking component. On most Troy-Bilt mowers, it's located on the side of the engine, directly connected to the air filter housing. You'll see a metal or plastic body with fuel lines and possibly a throttle linkage attached. If you're struggling to find it, don't panic! A quick peek at your owner's manual or a quick search online for your specific Troy-Bilt model can often pinpoint its exact location. It's like finding your car's ignition – once you know where it is, it’s obvious!
Once you've spotted it, take a moment to admire its intricate design. It's a tiny marvel of engineering, really. And soon, you'll be its personal spa therapist!

The Gentle Disassembly Dance
Alright, time to get hands-on. You'll typically need to remove the air filter housing first. This usually involves a couple of screws or wingnuts. Gently lift it off, and voila! Your carburetor is now in full view, looking a little less intimidating. Next, you'll need to disconnect the fuel line. Be prepared for a tiny drip of fuel – have that rag handy! Just pull the clamp back with pliers and slide the hose off. Easy peasy.
Now comes the actual carburetor removal. There are usually a few bolts or nuts holding it to the engine. Carefully unscrew these. Keep an eye on any linkages or springs attached – you might want to take a quick photo with your phone so you remember how to put it all back together. It's like a puzzle, but a fun, greasy puzzle!
As you lift the carburetor off, notice the gasket between it and the engine. You might need to replace this if it looks worn or damaged. A good gasket ensures a proper seal, and we want all the good stuff going into the engine, not leaking out!

Taking Apart the Carburetor Itself
Now that you have the carburetor in your hands, it’s time for a closer inspection. You'll likely see a float bowl at the bottom, held on by a single screw or nut. Carefully unscrew this. Inside, you'll find the float and the needle valve. These are crucial parts! Gently remove them. Be extra careful with the needle valve; it’s a delicate little fella.
The main part of the carburetor contains the jets and other passages. These are the tiny pathways where the fuel and air get mixed. This is usually where the gunk likes to hide. You might need to unscrew a larger fitting or two to access these internal components. Again, if you're unsure, a quick visual reference from your manual or an online video can be a lifesaver. Don't force anything; if it feels stuck, double-check that you've removed all the fasteners.
The Cleaning Ritual: Where the Magic Happens
This is where the real fun begins! Grab your can of carburetor cleaner. This stuff is designed to dissolve all that nasty varnish and grime. Start by spraying it liberally into all the openings and passages you can find. Pay special attention to the main jet and the idle jet – these are the tiny holes that are most prone to clogging. You should see the gunk start to dissolve and wash away. It's like giving your mower a refreshing, chemical shower!

If you have compressed air, now’s the time to put it to good use. Blast air through all those passages. This will help dislodge any stubborn debris and ensure everything is squeaky clean. You can also use a very fine wire (like a guitar string or a tiny drill bit, being super careful not to enlarge the holes) to gently poke through the jets. The goal is to ensure those tiny holes are completely clear, allowing for proper fuel flow. Think of it as unblocking a microscopic highway.
Don't forget to clean the float bowl itself. Swish some cleaner around in there and wipe it out with your rag. Make sure all the parts are dry before reassembly. We don't want any lingering moisture causing new problems.
Reassembly: Putting It All Back Together
Now, it’s time to reverse the disassembly process. Reassemble the jets and the float mechanism. Gently place the float back in, followed by the needle valve. Reattach the float bowl. Remember that gasket we talked about? Pop that new one in if you replaced it. Then, carefully reattach the carburetor to the engine, making sure any linkages and springs are in their rightful places. Don't forget to reconnect the fuel line, ensuring the clamp is secure. And finally, put that air filter housing back on.

As you reassemble, a little voice of triumph might start to whisper in your ear. You're doing it! You're bringing your mower back to life!
The Moment of Truth!
With everything back in place, it’s time for the grand finale. Reconnect the spark plug wire. Take a deep breath. Turn the key (or pull the cord!). Listen to that sweet, sweet sound of your Troy-Bilt roaring to life! It’s a sound of victory, of accomplishment, and of a perfectly maintained machine. You might even want to do a little happy dance. Go ahead, you’ve earned it!
Cleaning your carburetor isn't just about fixing a problem; it's about empowering yourself. It’s about understanding your equipment and taking pride in its maintenance. Every time you tackle a task like this, you learn something new and gain a little more confidence. It’s a stepping stone to becoming a more self-sufficient and capable individual. And who knows what other mechanical marvels you might conquer next? Maybe that stubborn weed wacker? Or that slightly eccentric leaf blower? The world of DIY is your oyster, and your Troy-Bilt is just the beginning!
So next time your mower starts giving you the silent treatment, don't despair. Roll up your sleeves, gather your tools, and embrace the challenge. You'll not only have a purring lawnmower, but you'll also have the incredible satisfaction of knowing you can handle it. Now go forth and mow with pride!