Alright, so you’re staring at your Ryobi table saw, right? And you're thinking, "Man, this blade is looking a little… sad." Maybe it's all gunked up, or perhaps it's just lost its cutting edge. Whatever the reason, it's time for a blade swap. Don't panic! It's not rocket science, and you definitely don't need a fancy engineering degree. Think of it like changing a tire on your car, but way less dirty. Probably.
So, grab yourself a coffee – or your beverage of choice, no judgment here! – and let's chat about how we're gonna get that shiny new blade onto your Ryobi.
First Things First: Safety First, Always!
Seriously, this is the most important part. We're dealing with a whirling disc of sharp metal here, so we gotta be smart. Ever seen one of those cartoon characters with a missing finger? Yeah, we're aiming to avoid that look.
So, what's the absolute first thing you do? Unplug that bad boy. Unplug it. Like, completely disconnect it from the wall. No power means no accidental spinning, which is exactly what we want. Don't just turn it off; yank that cord like you just remembered you left the oven on. Better safe than sorry, right?
And while we're on the topic of safety, got your safety glasses? Good. Put 'em on. They make you look smart, and they protect your eyeballs. Always a win-win. Gloves are a good idea too, especially if your old blade is a bit grimy. Nobody wants tetanus from a rusty saw blade, do they?
Gather Your Tools
Okay, so we've unplugged the saw and we're sporting our safety gear. Now, what do we need to actually do the job?
Most Ryobi table saws come with a nifty little tool, usually an Allen wrench or a hex key. This is your magic wand for this operation. If you can't find it, or if it's mysteriously vanished into the workshop Bermuda Triangle, a standard 5/16-inch hex key should do the trick. You can grab one at any hardware store for a few bucks. Think of it as an investment in your woodworking future.
You'll also want a rag. A clean, soft rag. For wiping things. And maybe your new blade. Speaking of which…
Picking Your New Blade: The Fun Part!
This is where you get to be a little bit of a blade connoisseur. What are you cutting?
If you're doing a lot of rip cuts (cutting with the grain), a high-tooth-count blade might be your jam. More teeth equal a smoother cut, which means less sanding later. Who doesn't love less sanding?
If you're doing more crosscuts (cutting across the grain), a lower-tooth-count blade might be just the ticket. They're often a bit more aggressive.
And if you're feeling fancy, you could even get a combination blade. It's like the Swiss Army knife of saw blades! They're designed to handle both rip and crosscuts reasonably well.
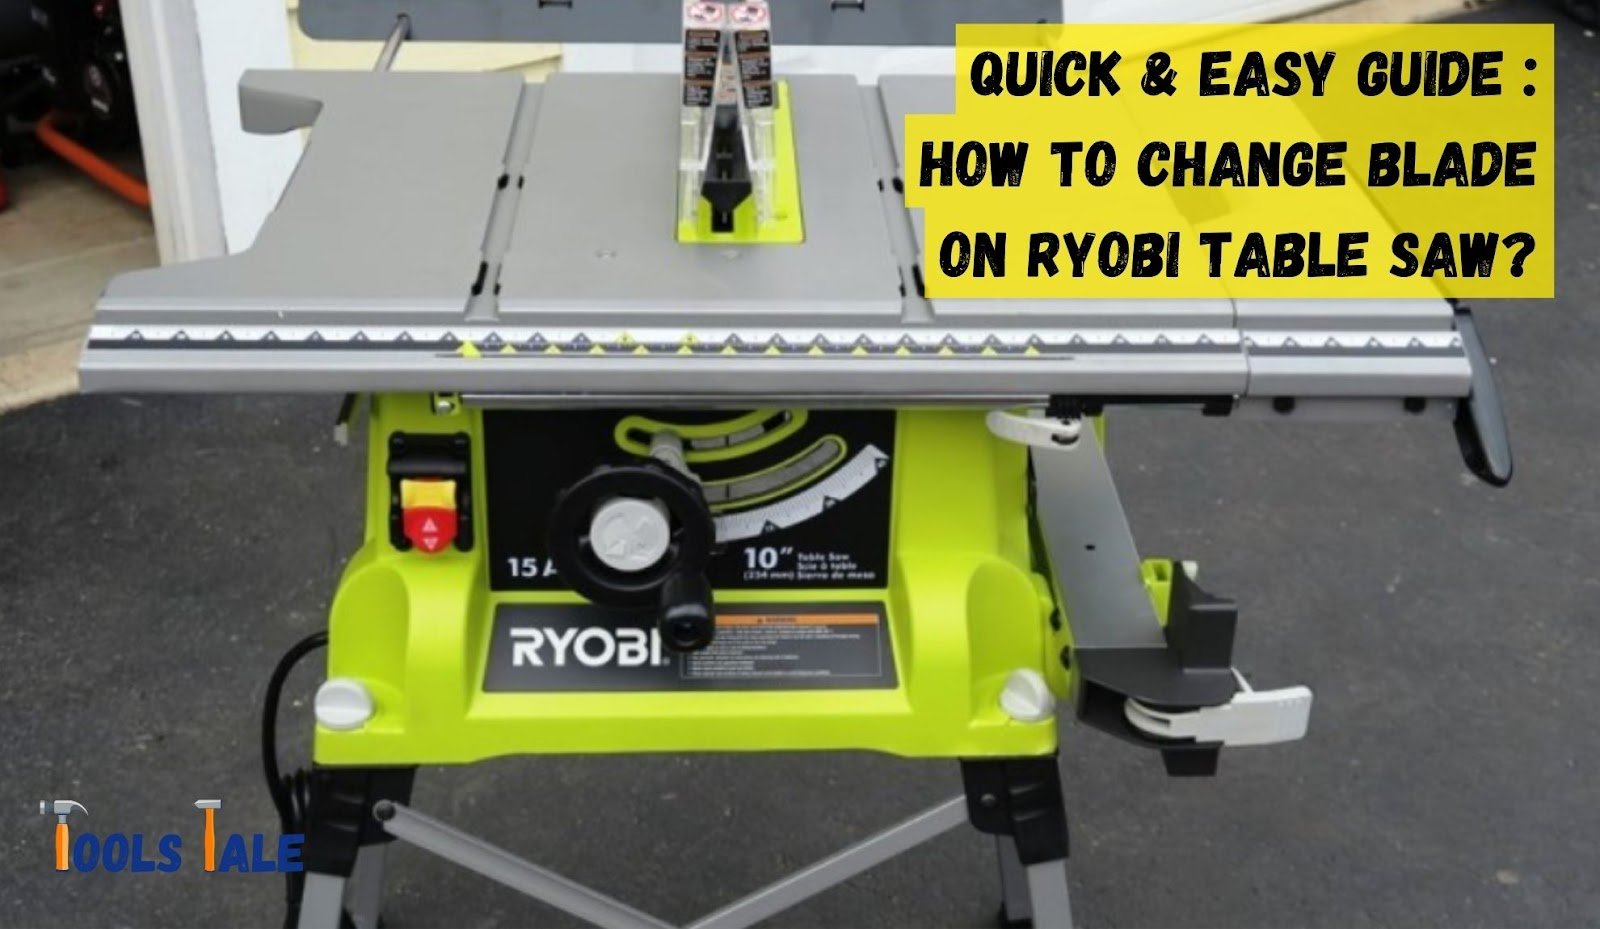
Whatever you choose, make sure it’s the right size for your saw. Ryobi table saws usually take a 10-inch blade. Double-check your manual if you're unsure. We don't want any "oops, this doesn't fit" moments, do we?
Getting That Old Blade Off: The Moment of Truth
Alright, deep breaths. We're going in. You'll find a couple of bolts or screws that hold the blade guard and maybe the riving knife (that's the little metal splitter thingy behind the blade). You'll likely need that hex key we talked about. Just loosen them up and gently remove the guard. It might be a little stiff, but don't force it.
Now, for the blade itself. You'll see a large nut on the arbor (that’s the shaft the blade spins on). This nut is holding the blade in place. And this is where it gets a tiny bit tricky, but totally doable.
Here's the trick: you need to stop the arbor from spinning while you loosen that nut. How do you do that? Most Ryobi table saws have a little hole or slot on the arbor. You can usually stick that hex key (or a similar-sized metal rod) into that hole. This will jam the arbor and prevent it from turning.

Now, take your wrench (the one that fits that large nut – it's usually 15mm or 5/8 inch, but again, check your manual!) and put it on the nut. You'll be turning it counter-clockwise to loosen it. Remember, "lefty loosey."
This might take a bit of muscle. You might have to give it a firm, steady pull. Don't be afraid to put some weight into it. Just remember, the arbor is locked, so you're not going to hurt anything.
Once that nut is loose, you can spin it off by hand. Be careful as you remove it, as there are usually washers in there too. Keep track of their order, just in case.
Then, gently slide the old blade off the arbor. See? Not so scary, right?
Cleaning Up Before the New Arrival
Before you slap on that beautiful new blade, take a moment to clean things up. Your arbor might have some sawdust or sticky gunk on it. Give it a quick wipe with your rag. This ensures the new blade sits nice and flat, which is crucial for accurate cuts and to prevent vibration.
You might also want to inspect the arbor itself for any damage. If it looks bent or dinged up, that's a different conversation, but for a simple blade change, a quick clean is usually all that's needed.

Installing Your Shiny New Blade: The Grand Entrance
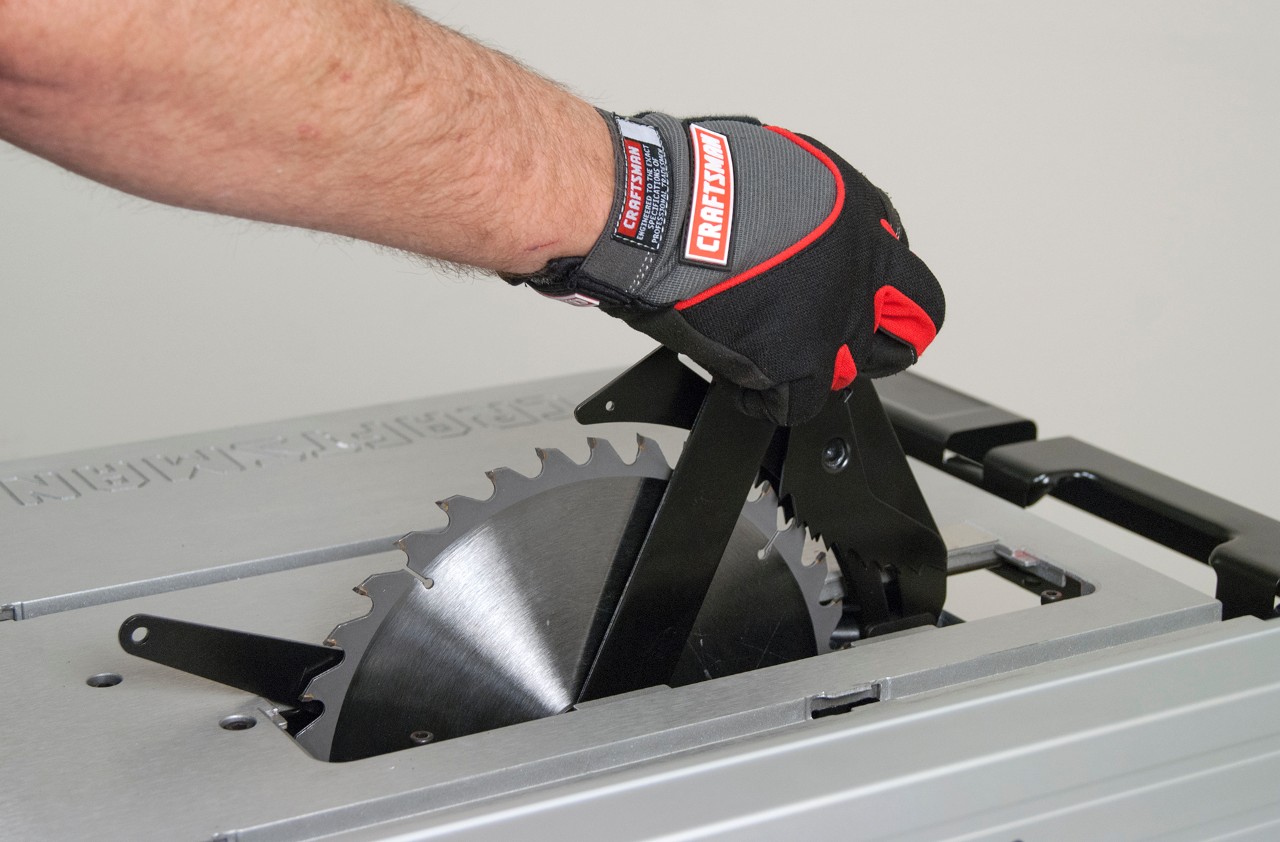
Okay, time for the star of the show! Grab your new blade, but be careful. Those teeth are still sharp, even if they're brand new.
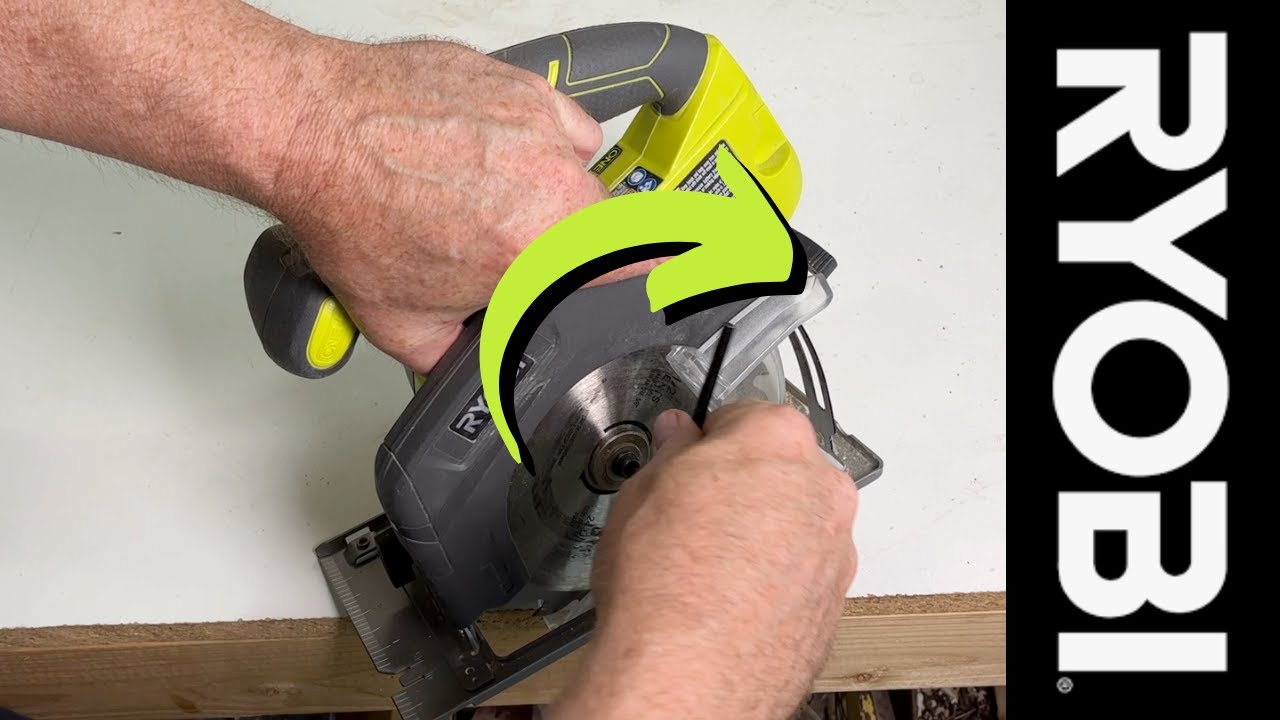
Slide the new blade onto the arbor. Make sure it's facing the right direction. Most blades have an arrow indicating the direction of rotation. You want this arrow to point in the same direction your saw spins. It's usually indicated on the saw housing as well. Getting this wrong means your saw will cut… badly. Or not at all. And that's no fun.
Now, put the washers back on (if you removed them) and then the nut. Again, remember the order. Now, you're going to tighten that nut. This time, you're turning it clockwise. "Righty tighty."
Just like when you were loosening it, you'll need to lock the arbor again with your hex key to keep it from spinning. Tighten that nut firmly. You want it snug, but you don't need to go full Hulk on it. Over-tightening can actually damage the arbor or the blade. Just make sure it's good and secure.
Give the blade a gentle spin by hand to make sure it moves freely and doesn't wobble. If it feels a bit rough or catches on anything, double-check that it's seated correctly and that the nut is snug.
Reassembling the Guards and Riving Knife
Now that your shiny new blade is in place, it's time to put everything back together. Reattach your blade guard. Those screws might feel a little fiddly, but just take your time.
If you removed your riving knife, put that back in too. It's that important safety feature that helps prevent kickback. Don't skip this!

Give everything a final check. Make sure all the screws are tight and that the guard moves freely. You don't want anything to be loose when that blade starts spinning. Safety first, remember?
Testing Your Work: The Moment of Glory
You've done it! You've successfully changed the blade on your Ryobi table saw. High five! But before you go diving into that epic project, let's just do a quick little test run.
Plug your saw back in. Slowly turn it on. Listen for any weird noises. Does it sound smooth? Does the blade spin true? Give it a minute to reach full speed.
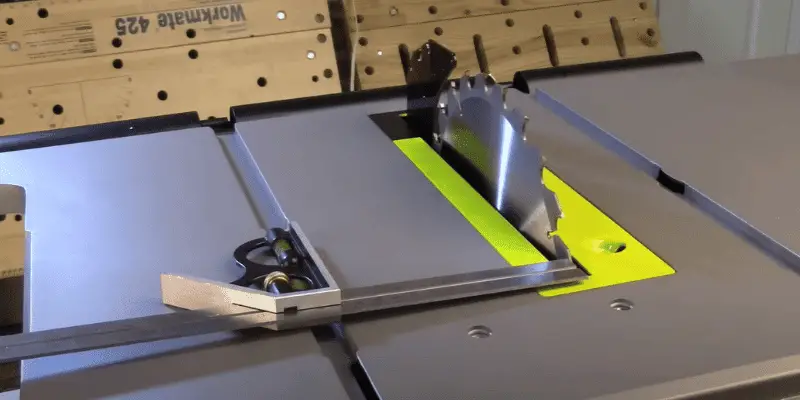
Now, grab a scrap piece of wood. Make a test cut. Does it slice through like butter? Is the cut clean?
If everything sounds good and the cut is clean, then congratulations! You're ready to tackle whatever woodworking masterpiece you have in mind. You've officially leveled up your DIY skills.
And hey, if something sounds off or the cut isn't right, don't despair. Sometimes it just takes a little fine-tuning. Double-check everything you did. Was the blade on straight? Is the nut tight enough (but not too tight)?
But usually, it's smooth sailing from here. So go forth and make some sawdust! You earned it.