
Ever find yourself staring at your Kenmore refrigerator, wondering about that little filter tucked away, silently doing its thing? It’s kind of like that mysterious button on your remote control you never quite figured out, right? Well, get ready to unlock a cool secret of your kitchen because today, we’re diving into the wonderfully simple world of changing your Kenmore refrigerator filter. Seriously, it’s way less intimidating than assembling IKEA furniture, and the payoff is chef’s kiss!
So, why even bother with this little guy? Think of your water filter as the unsung hero of your fridge. It’s constantly working overtime, like a tiny, dedicated superhero, battling impurities and making sure the water and ice that come out are as fresh and clean as a mountain spring. Over time, though, even superheroes need a break and a refresh. When that filter starts to get a bit sluggish, it’s like your favorite T-shirt after a million washes – it still works, but it’s not quite at its peak performance.
You might start noticing subtle changes. Maybe your ice cubes aren’t as clear as they used to be, or the water has a slightly… off taste. Nothing major, just a whisper of "Hey, maybe it’s time for a change!" It's also a good idea to just follow the manufacturer's recommendations. They usually suggest changing it every six months. Think of it like changing the oil in your car – essential maintenance that keeps everything running smoothly and prevents bigger issues down the line.
Now, before you panic and imagine yourself needing a PhD in appliance repair, let’s get real. Changing a Kenmore refrigerator filter is usually a breeze. Most models are designed with us regular folks in mind. It’s like they said, "Let’s make this easy enough that even someone who burns toast regularly can handle it!" And honestly, that’s a pretty sweet deal.
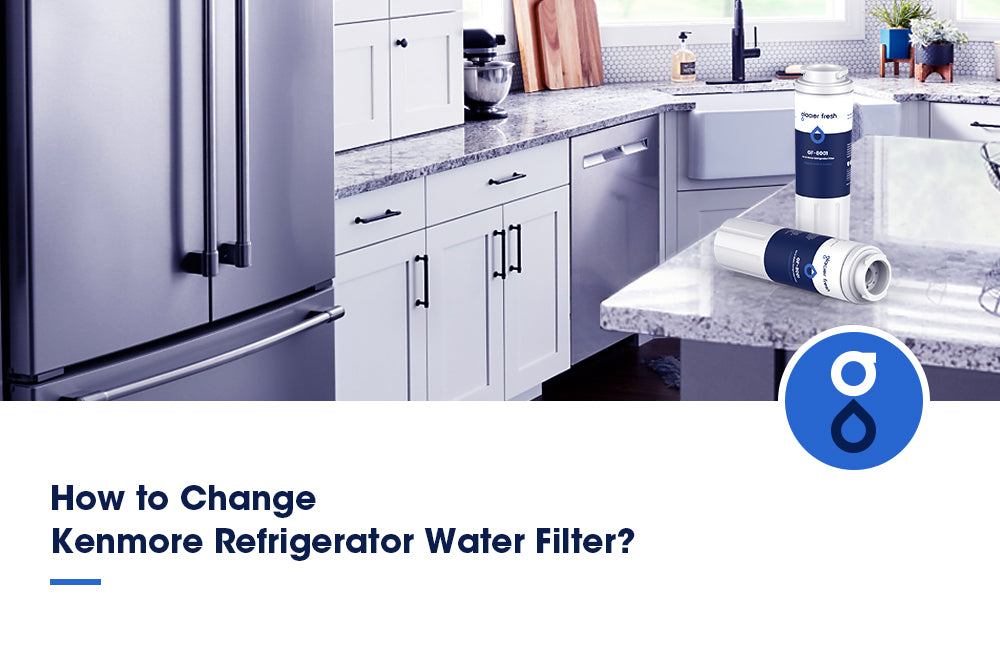
The first step, as with any DIY adventure, is to gather your supplies. You’ll need your new Kenmore water filter. Make sure you get the right one for your specific Kenmore model. This is super important, kind of like making sure you have the right key for a lock. You can usually find this information in your refrigerator’s manual, or by looking up your model number online. A quick Google search with "Kenmore refrigerator water filter replacement" and your model number should do the trick!
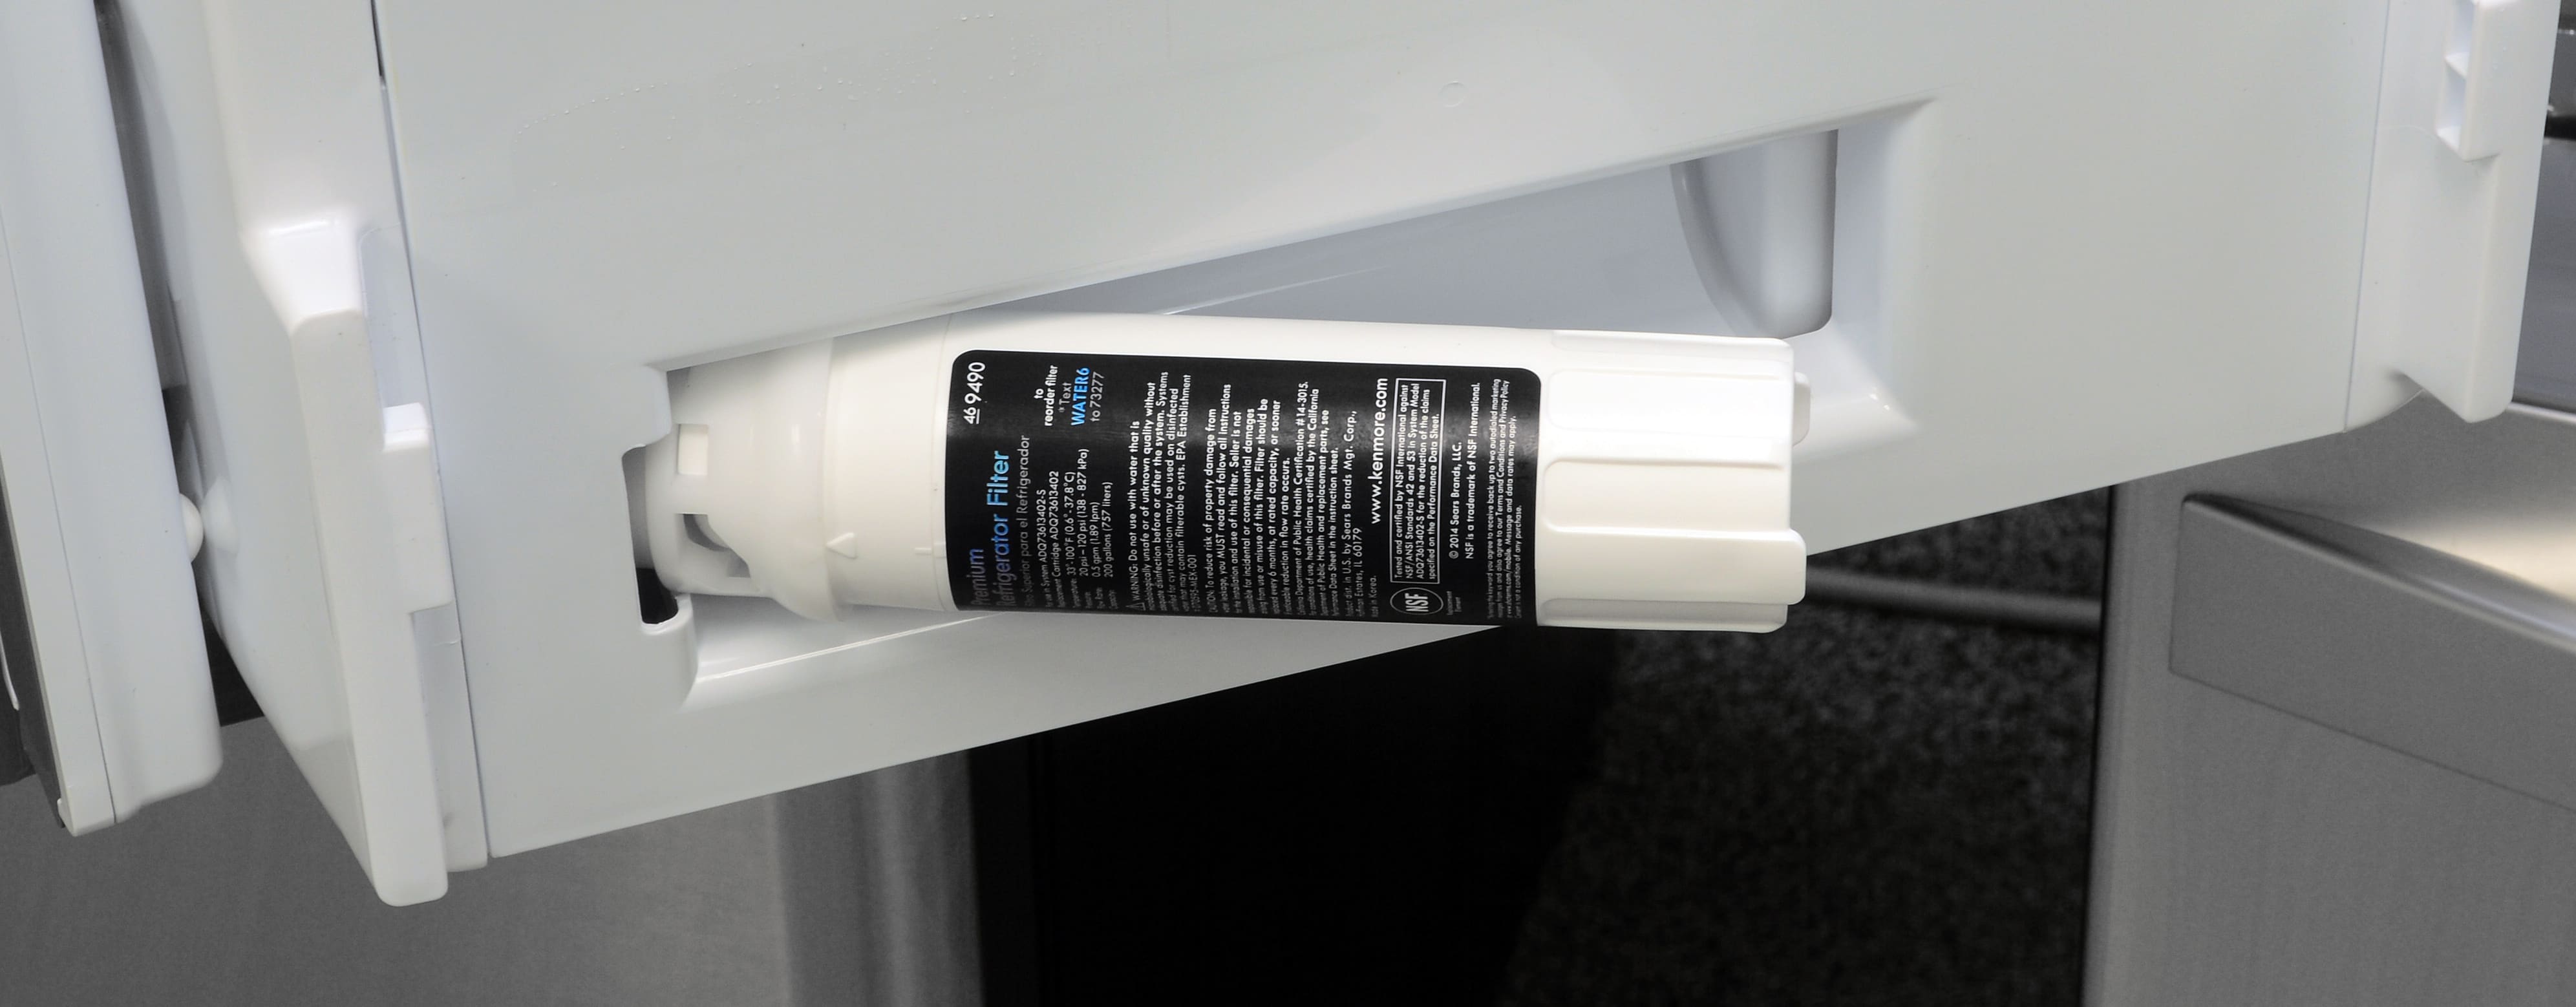
Once you have your shiny new filter, it’s time for the actual swap. And here’s the best part: in most Kenmore refrigerators, the filter is located in a super accessible spot. Some are in the upper right corner of the refrigerator compartment, behind a little grille or cover. Others might be found down in the base grille, the one you see at the bottom of the fridge. It really depends on your model, but they’re almost always in a place that doesn’t require you to be a contortionist.
Finding Your Filter: The Great Kenmore Hunt!
So, let’s say your filter is in the fridge compartment. You might see a little dial or a cover that you can gently push or twist to open. Sometimes, there’s a small button you need to press. It’s usually pretty intuitive. Think of it like finding the secret compartment in a video game – a little exploration, a little clicking, and voila!
If your filter is hiding in the base grille, that’s also super common. You’ll often find a similar latch or cover that you can pop open. This is where having a flashlight can be handy, just in case things are a bit dim down there. But again, it’s designed to be straightforward.
Pro tip: Before you start fiddling, it’s a good idea to turn off the water supply to the refrigerator. This is usually a valve located behind the fridge. If you’re not sure where it is, a quick peek at your manual or a quick online search for your fridge model can guide you. This is just an extra precaution to prevent any accidental water spills, because nobody enjoys a surprise kitchen flood, right?

The Big Reveal: Swapping Out the Old for the New
Once you’ve located your filter and perhaps turned off the water, the next step is to remove the old filter. This is often as simple as turning it counter-clockwise, like you’re unscrewing a bottle cap. You might hear a little hiss of air escaping – that’s normal! Some filters might have a little tab or a release mechanism you need to press. Don’t force it! If it feels stuck, re-check your manual or look for any specific instructions on your filter housing.
Now comes the moment of truth: inserting the new filter. Take your brand-new Kenmore filter and line it up with the housing. Most filters are designed to click or twist into place. You’ll want to push it in firmly and then turn it clockwise until it locks. You’ll often feel or hear a distinct click when it’s properly seated. It’s like putting the last piece of a puzzle in place – so satisfying!

Once the new filter is in, it’s time to turn the water supply back on. Let a few gallons of water run through the dispenser to flush out any air and any residual manufacturing materials. You might see some cloudy water at first, but that’s perfectly normal. Keep running the water until it becomes clear. This is also a good time to check for any leaks around the filter housing. If you see any drips, gently tighten the filter a bit more.
Some Kenmore refrigerators also have a little indicator light that tells you when it’s time to change the filter. After you’ve successfully swapped it out, you’ll want to reset this indicator. Again, your manual will be your best friend here. It usually involves pressing and holding a specific button or combination of buttons for a few seconds. It’s like telling your fridge, "Okay, buddy, we’re good to go for another six months!"
And that’s pretty much it! You’ve just successfully conquered the Kenmore refrigerator water filter change. Give yourself a pat on the back! You’ve not only maintained your appliance but also ensured that every glass of water and every ice cube is as pure and refreshing as can be. It’s a small task with a big impact, making your everyday life just a little bit better. So next time you grab a glass of water, you can sip it with the quiet satisfaction of knowing you’re a kitchen maintenance whiz. How cool is that?


