Ever dreamt of reclaiming that precious floor space in your room? You know, the space currently occupied by a perfectly functional, yet undeniably bulky, bed? Well, get ready to unleash your inner DIY superhero because we're about to embark on a mission to build a magnificent loft bed, a true game-changer for any room!
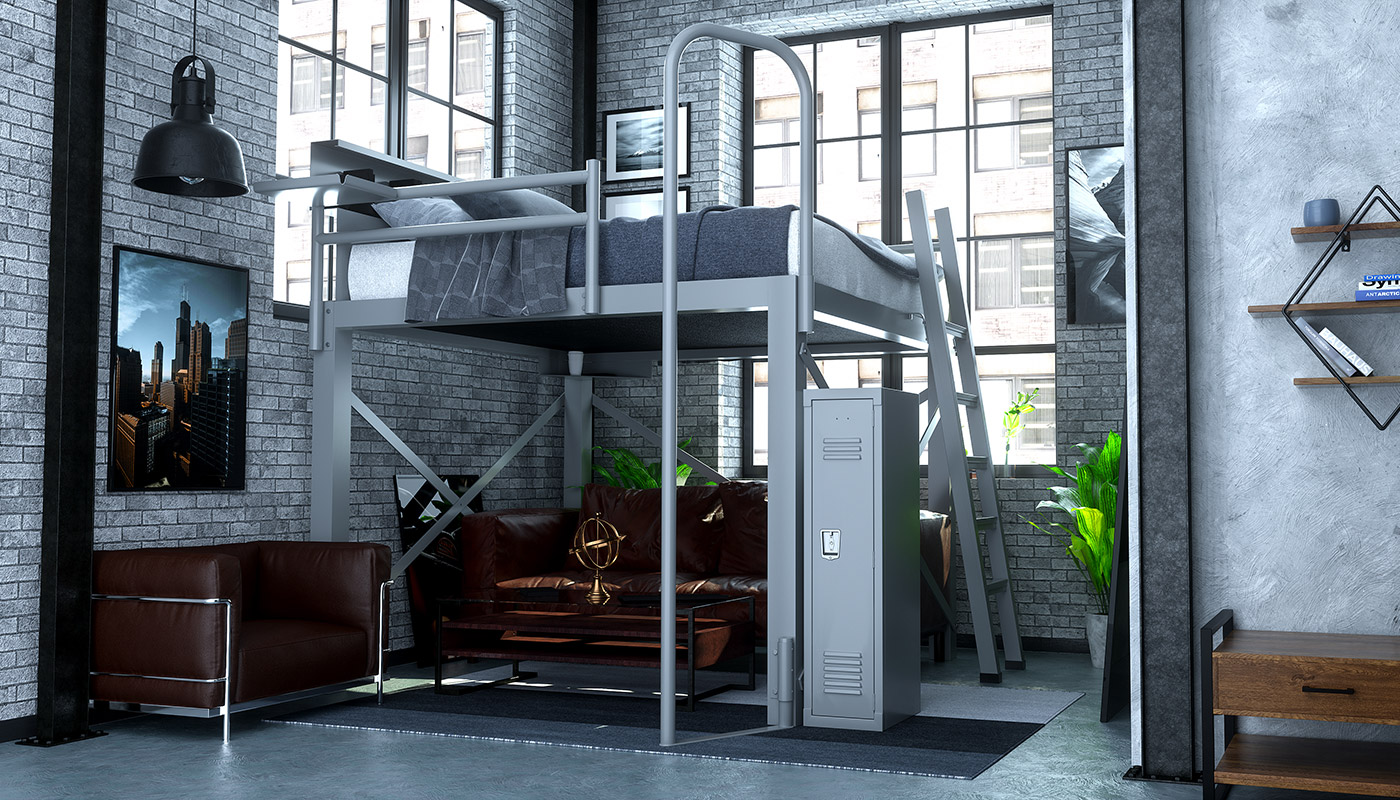
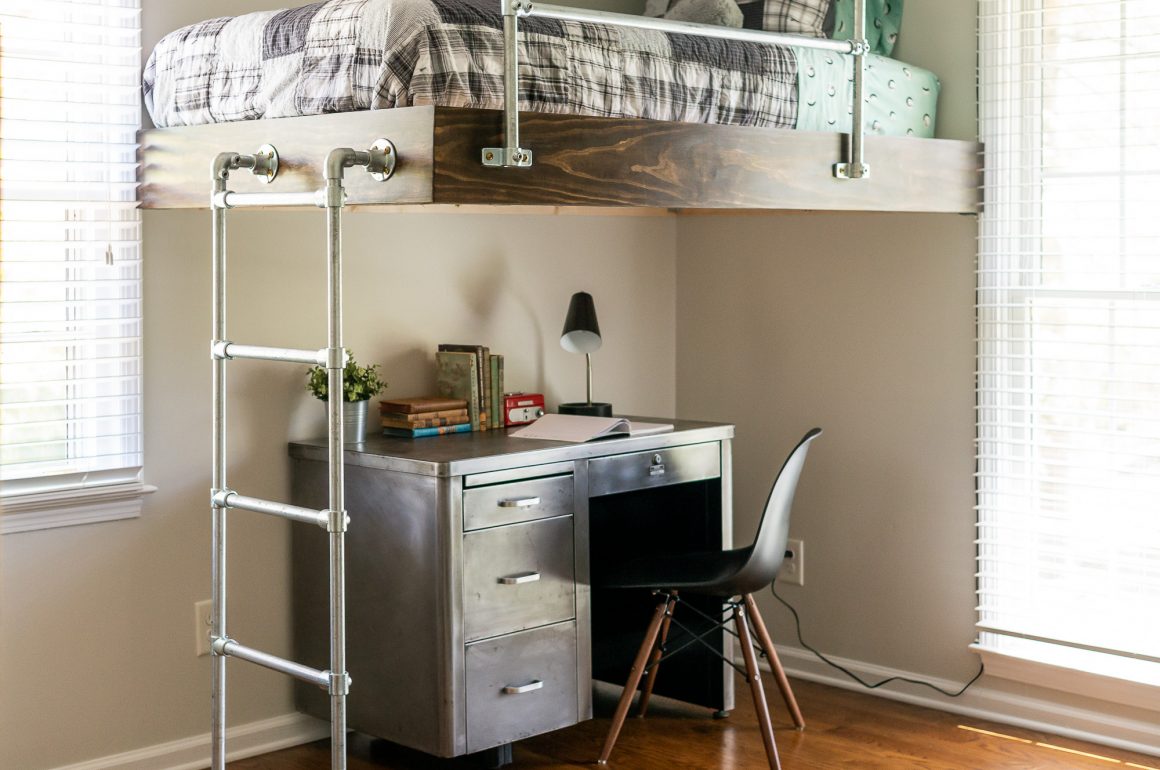
Imagine this: a cozy sleeping haven suspended in mid-air, leaving you with a vast, open expanse below for a desk, a reading nook, or perhaps even a secret dance floor. It’s like having a magical portal to a more organized and spacious reality!
Now, before you picture yourself scaling Mount Everest with a toolbox, let me reassure you. Building a wall-attached loft bed is totally achievable, even if your DIY experience is limited to successfully assembling IKEA furniture. We're talking about straightforward steps, readily available materials, and a whole lot of rewarding satisfaction.
Let the Adventure Begin!
First things first, let's talk about the superstar of our project: the wall attachment. This is where the magic happens, transforming your bed from a free-standing island to a secure, space-saving marvel. Think of it as giving your bed superpowers of stability and gravity defiance!
We'll be using some robust studs, those unsung heroes hidden within your walls. They are the bedrock of your loft bed's stability, so choosing the right ones and ensuring they're strong enough is key. No wobbly foundations here, my friends!
Gathering Your Tools of the Trade
Now, let's assemble our trusty band of tools. You'll need a trusty measuring tape – accuracy is your best friend here, like a perfectly timed punchline. A level is also crucial, ensuring your loft bed doesn't develop a quirky, tilted personality.
Don't forget your trusty drill! This is the engine of our construction, making holes and securing everything with the might of a thousand tiny tornadoes. Safety glasses are non-negotiable; we want to keep those precious peepers safe from flying sawdust, not looking like they've been through a minor explosion.
And of course, we'll need some sturdy screws and possibly some heavy-duty brackets. These are the hardworking minions that will hold everything together, ensuring your loft bed is as secure as a dragon's hoard of gold.
The Blueprint for Awesomeness
Before we start drilling into our walls like mad scientists, a little planning goes a long way. Measure your space meticulously. Seriously, measure it twice, cut once – that old adage is your mantra here.
Decide on the height of your loft bed. Do you want a dramatic, sky-high sanctuary or a more modest, easily accessible perch? Consider the ceiling height and your own comfort level. Remember, you'll be sleeping up there, so it should feel like a cozy nest, not a cramped attic.
Sketch out your design. It doesn't need to be a masterpiece worthy of the Louvre, just a simple drawing to visualize how everything will fit together. This is your roadmap to loft bed glory!
Locating Those Mighty Studs
This is where we get serious about our wall-attached friends. You'll need a stud finder, a magical device that reveals the hidden treasures within your drywall. Think of it as a treasure map for your construction project.
Once you've located the studs, mark their positions clearly. These marks will be your guiding stars as you begin to attach the main supports for your loft bed. Precision is key here, like a surgeon performing a life-saving operation, but with more sawdust and a lot less stress!

If you're unsure about your wall's structural integrity or locating studs, don't be afraid to consult a friend who's a bit more DIY savvy or even a professional. Better safe than sorry, as the saying goes, and we want your loft bed to be a haven, not a hazard.
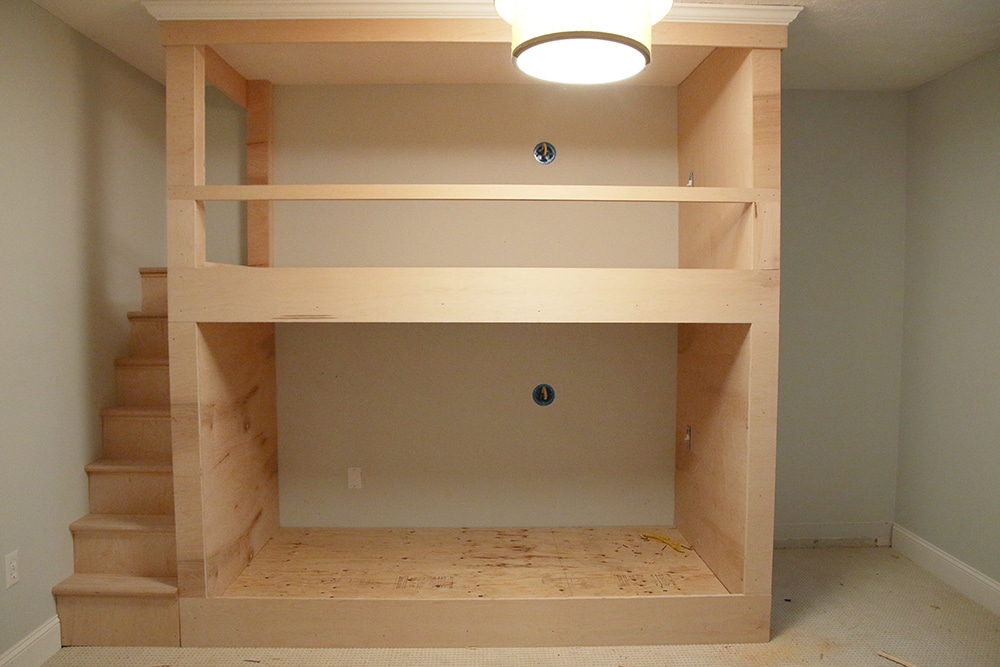
Constructing the Bed Frame
Now for the exciting part: building the actual frame of your loft bed! We'll start by creating the primary support beams that will be attached to the wall studs. Think of these as the sturdy arms that will cradle your sleeping platform.
These beams will likely be made of strong lumber. Choose wood that's appropriate for the weight it will need to bear. You don't want your loft bed to groan and creak like an ancient pirate ship!
Secure these beams to the wall studs using your powerful drill and those trusty screws. Ensure they are perfectly level – a crooked beam can lead to a crooked bed, and nobody wants that!
Adding the Legs and Support
While our bed is primarily wall-attached, a little extra support never hurt anyone. Depending on your design, you might opt for one or two additional legs at the front of the bed. This is like giving your loft bed a strong pair of legs to stand on, even if it's mostly leaning on the wall.

These legs will also be attached securely to the frame. Think of them as the trusty sidekicks that ensure ultimate stability. They're there to add that extra layer of confidence, making you feel as safe as a baby bird in its nest.
Make sure the legs are the same height as your wall-mounted supports. We're aiming for a perfectly flat sleeping surface, not a thrilling rollercoaster ride!
The Sleeping Platform: Your Cloud Nine
With the frame in place, it's time to create the actual sleeping platform. This is where your mattress will rest, your dreams will be dreamt, and your morning coffee will be enjoyed. This is your personal sanctuary in the sky!
You can use sturdy plywood for this. Cut it to the exact dimensions of your frame. Think of it as the canvas upon which your comfortable mattress will be painted.
Secure the plywood to the frame with screws. Make sure there are no gaps or wobbly bits. We want a solid, dependable surface for your slumber.

Adding the Finishing Touches
Now for the fun part: making it look fabulous! You can sand down any rough edges and give your loft bed a fresh coat of paint or stain. Let your personality shine through!
Consider adding a sturdy ladder or even some stylish stairs to access your elevated abode. Safety and aesthetics go hand-in-hand here. Make it easy and elegant to ascend to your sleeping paradise.
Don't forget a good quality mattress. After all, all this hard work deserves a supremely comfortable place to rest your weary head. Sweet dreams await!
Remember, this is your chance to get creative! Think about railings for safety, decorative elements, or even under-bed storage solutions. The possibilities are as vast as your imagination!
You've done it! You've built a wall-attached loft bed, a testament to your DIY prowess and your desire for a more organized, functional, and downright awesome living space. So climb up there, get cozy, and enjoy your newly acquired floor space. You've earned it!