Ah, the well pump. It's the unsung hero of rural living, the silent guardian of your refreshing showers and the steadfast provider of that much-needed morning coffee brew. But like any trusty sidekick, sometimes it needs a little… tweak. And when that tweak involves the humble pressure switch, well, let's just say it can feel like trying to defuse a bomb with a butter knife. But fear not, intrepid homeowner! We're here to guide you through this surprisingly manageable (and dare I say, occasionally amusing) process of adjusting your well pump's pressure switch. Think of it less like brain surgery and more like… tuning up your lawnmower, but with more water. And less oil. Hopefully.
You know that moment, right? The one where you're mid-shower, enjoying a luxurious lather, and suddenly the water pressure decides to take a dramatic nose-dive, turning your spa-like experience into a dribble? Or perhaps you've noticed your pump kicking on more often than a teenager needing snacks, humming away like it's training for a marathon? These are the classic symptoms that your pressure switch might be a little… off its game. It's like your well pump has a personality disorder, and the pressure switch is its therapist. And right now, the therapist needs a tune-up.
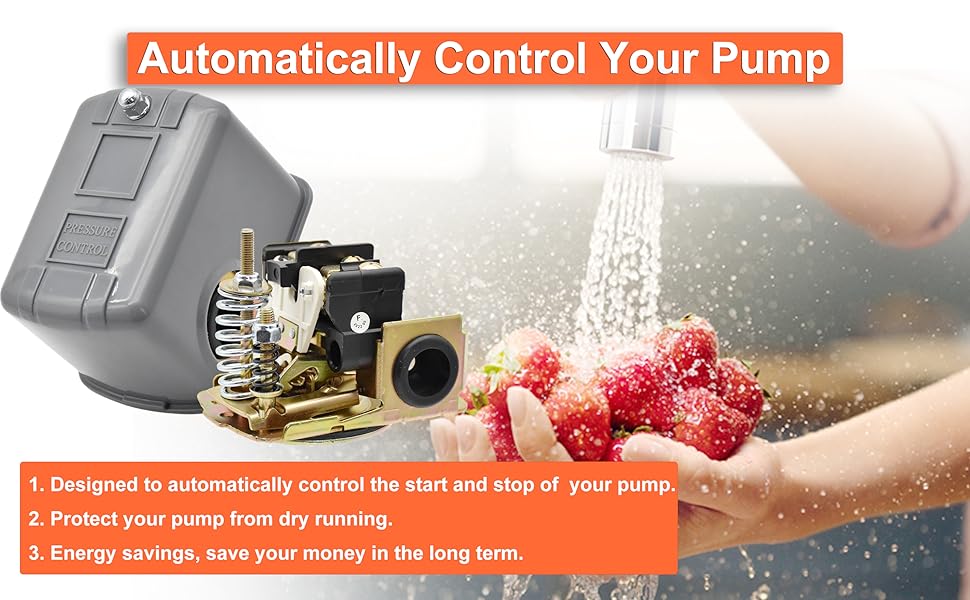
So, what exactly is this magical pressure switch? Imagine it as the bouncer at your well pump's nightclub. Its job is to tell the pump when to start working (when the pressure drops too low, like the club hitting its capacity for patrons) and when to take a break (when the pressure is high enough, telling the patrons the party's over for now). It's a pretty crucial role, ensuring your water system runs smoothly without overworking itself or leaving you parched. It’s the gatekeeper, the traffic cop, the… well, you get the idea. It’s important.
Now, why would you want to adjust this little guy? Two main reasons, usually. First, you might want to increase your overall water pressure. Maybe your old showerhead feels like it's spitting out raindrops, and you're yearning for that invigorating "power wash" sensation. Second, you might want to decrease it. This is less common, but sometimes it's about saving energy or preventing leaks in older plumbing. More often than not, though, it's about that sweet spot: a good, strong, consistent flow without the pump running constantly.
Before we get our hands dirty (or, you know, slightly dusty), let's have a quick chat about safety. This is paramount. Think of it like telling your kids not to touch the electrical outlet – important, and non-negotiable. You absolutely, positively must turn off the power to your well pump at the breaker box. Don't just flip the switch on the pump itself; go to the source. This is not the time to be a daredevil. We want happy water, not a shock therapy session. Trust me, a mild electric shock is not the spa experience you're aiming for.
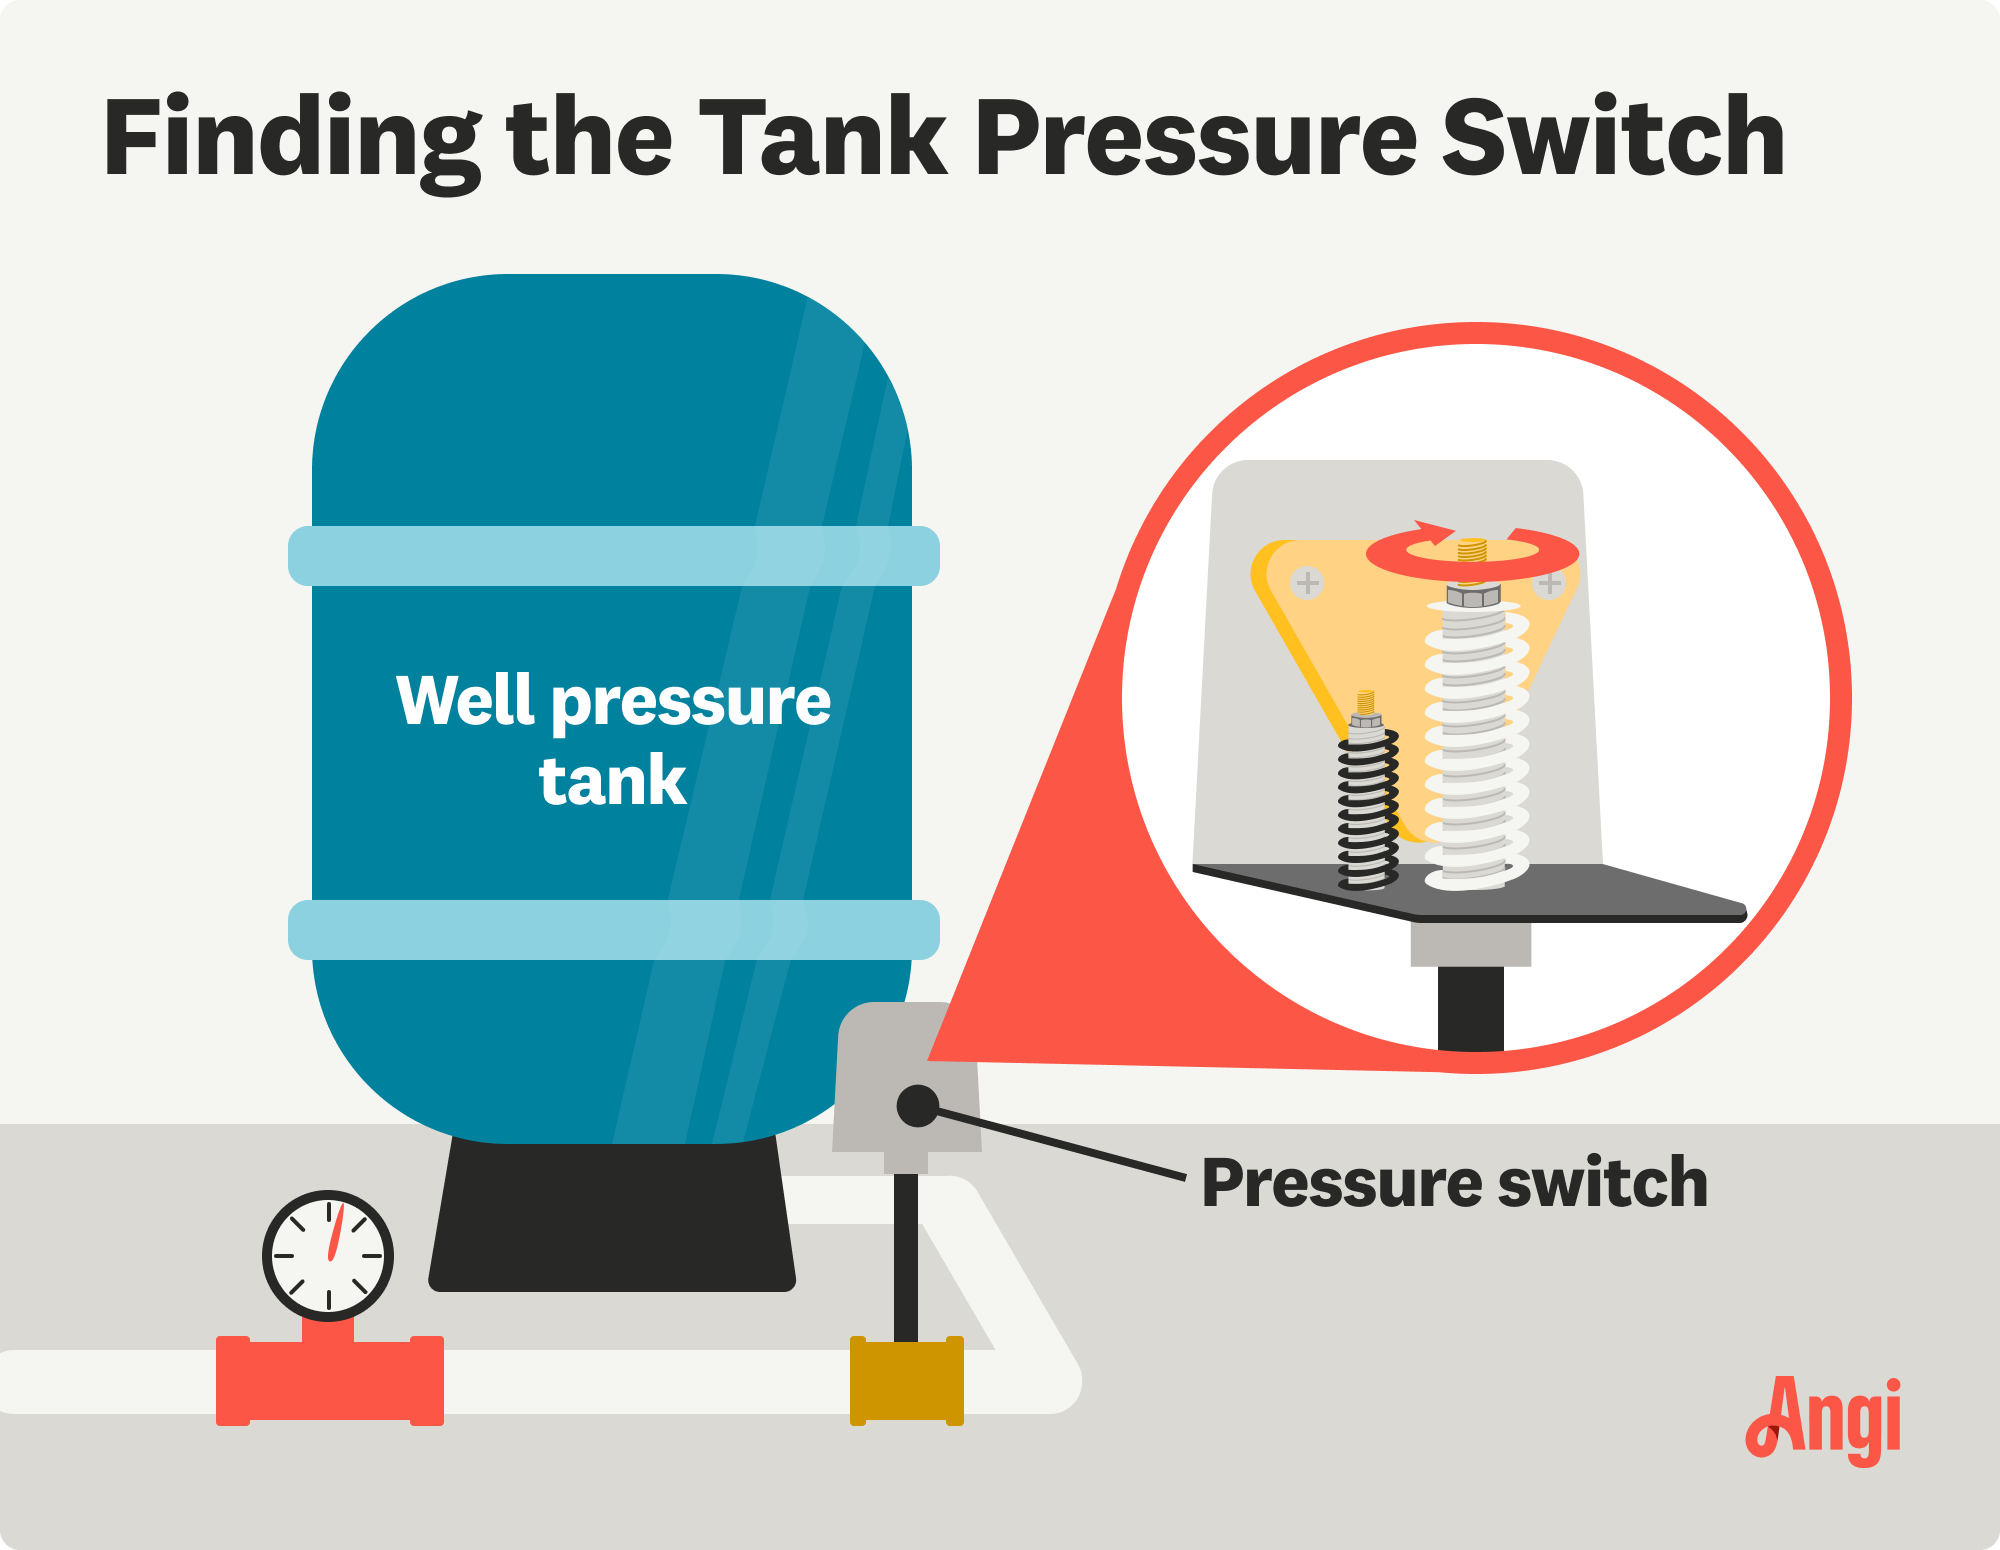
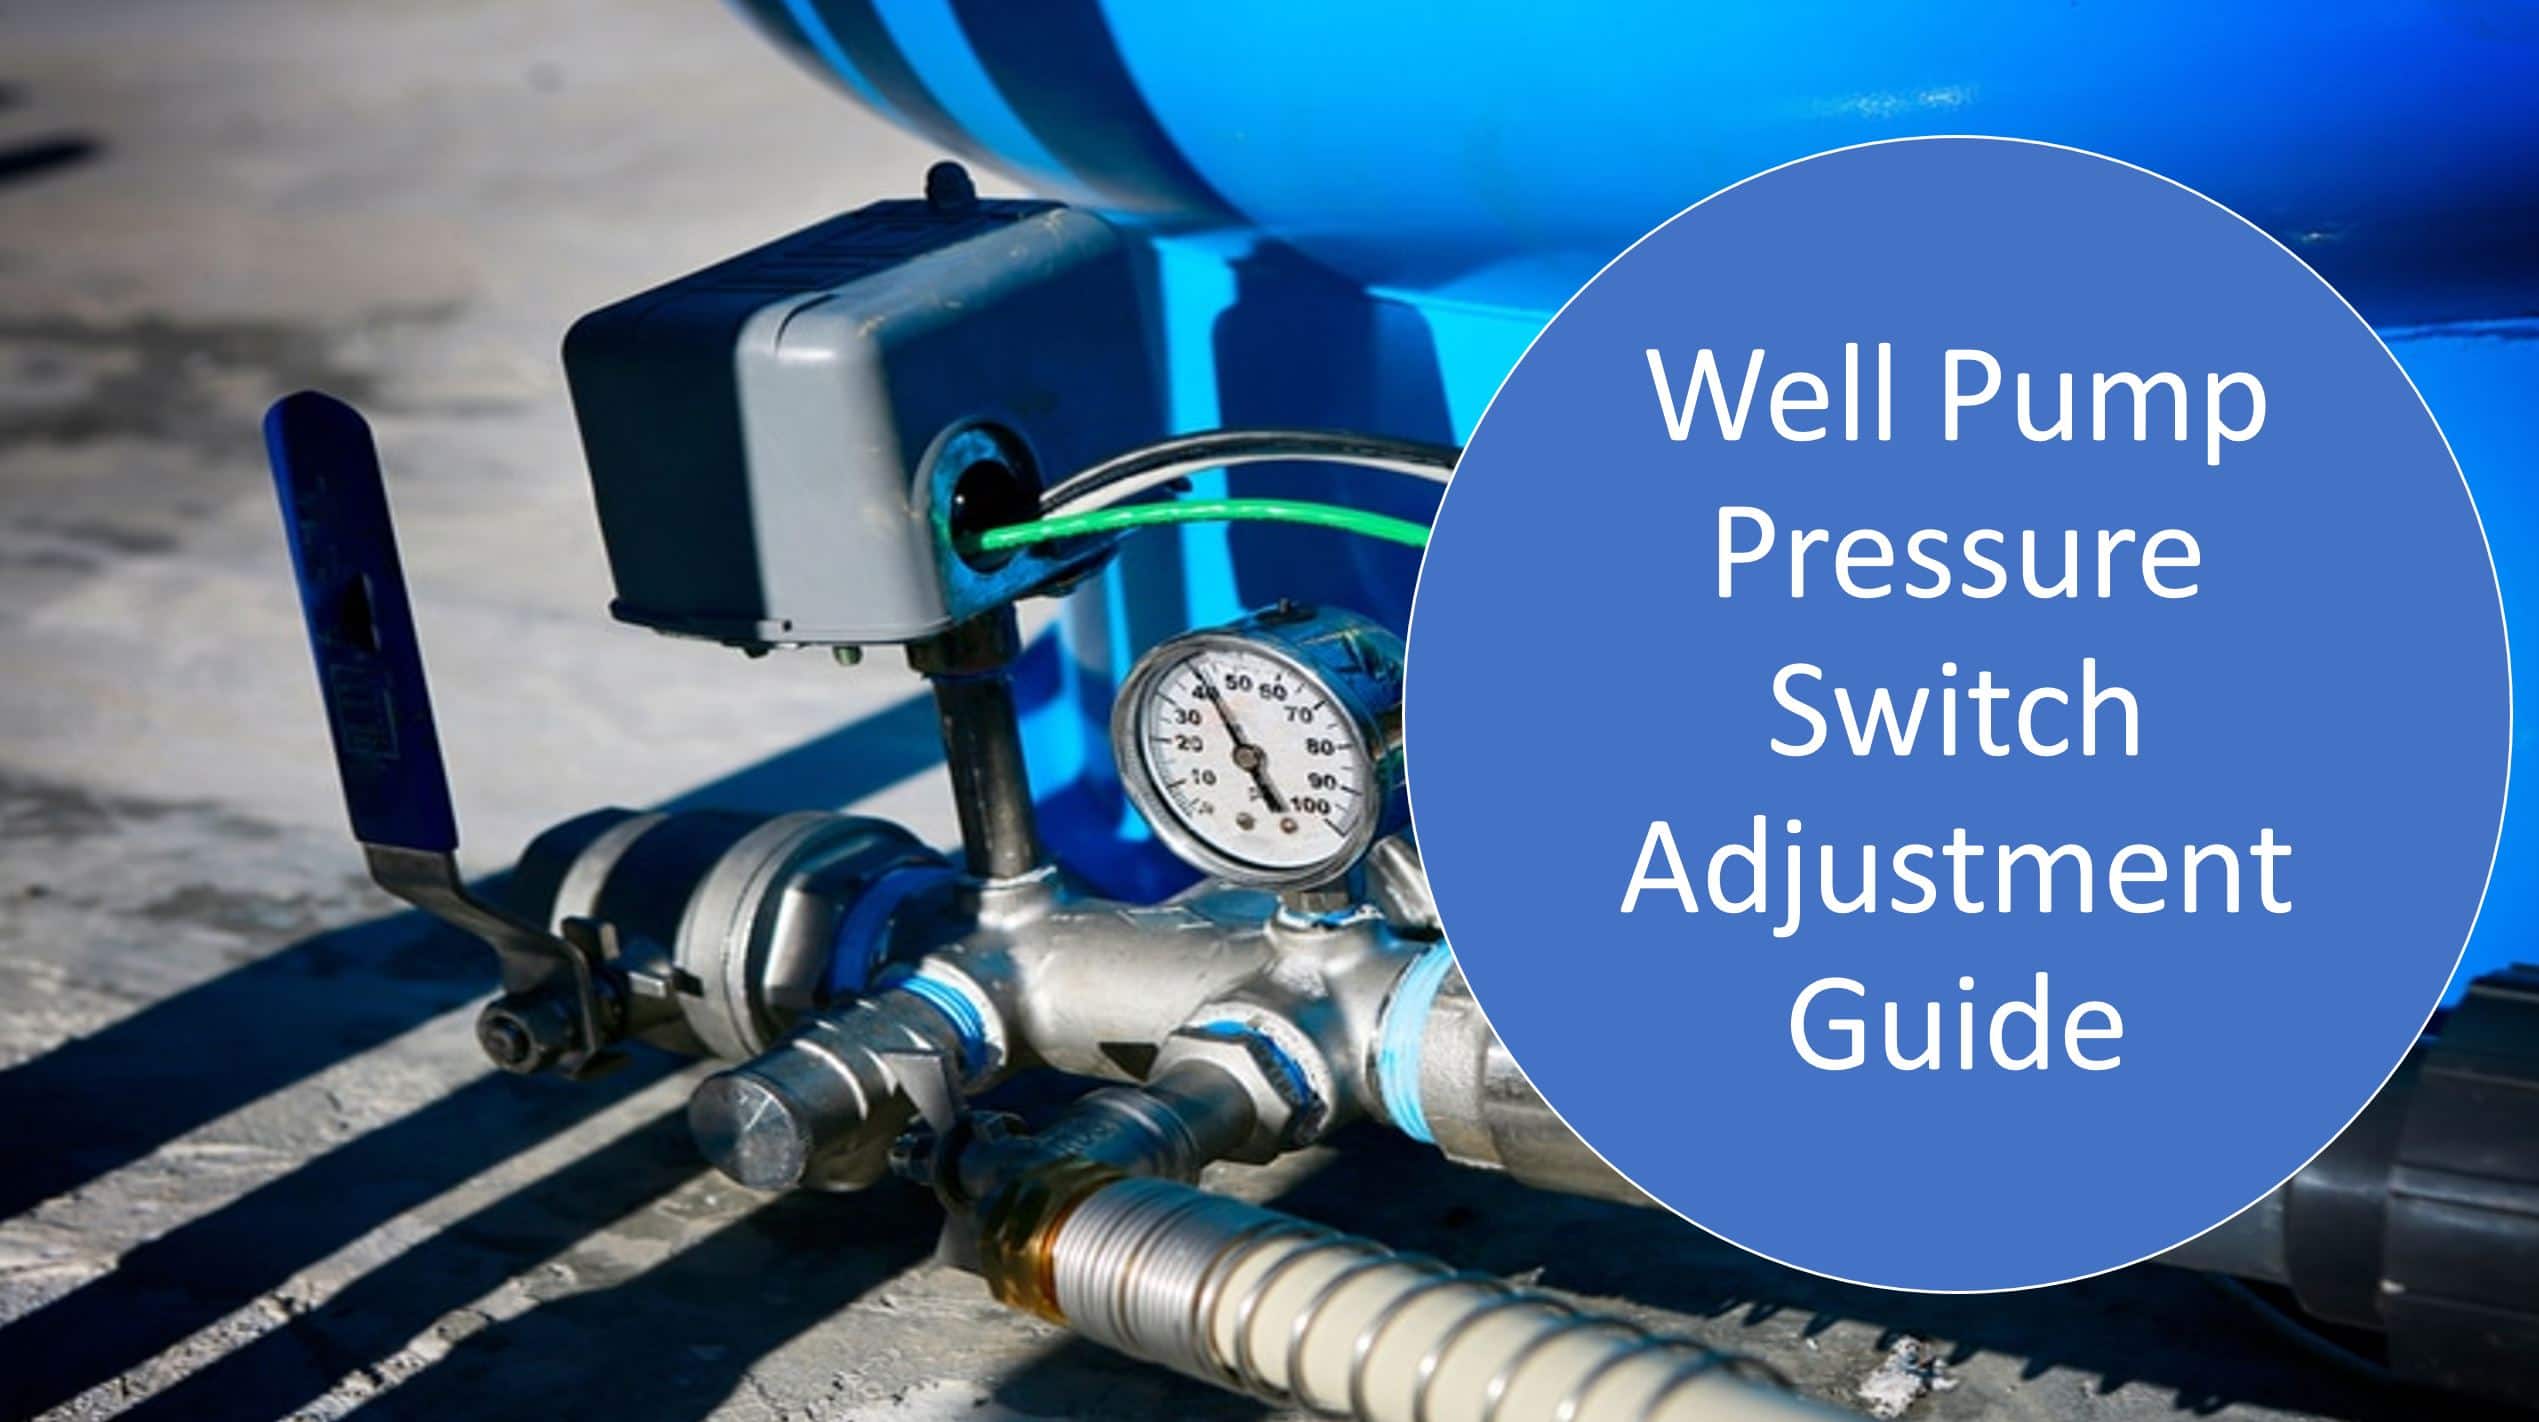
Okay, power’s off. Deep breaths. Now, let's locate this elusive pressure switch. It's usually mounted on the side of your pressure tank, that big, often rather… industrial-looking tank that sits near your pump. It’s typically a black plastic box with a lid, and it might look a little intimidating. Don't let its stern facade fool you. It's just a bunch of springs and levers, really. Like a very important, very electrical, tiny robot butler.

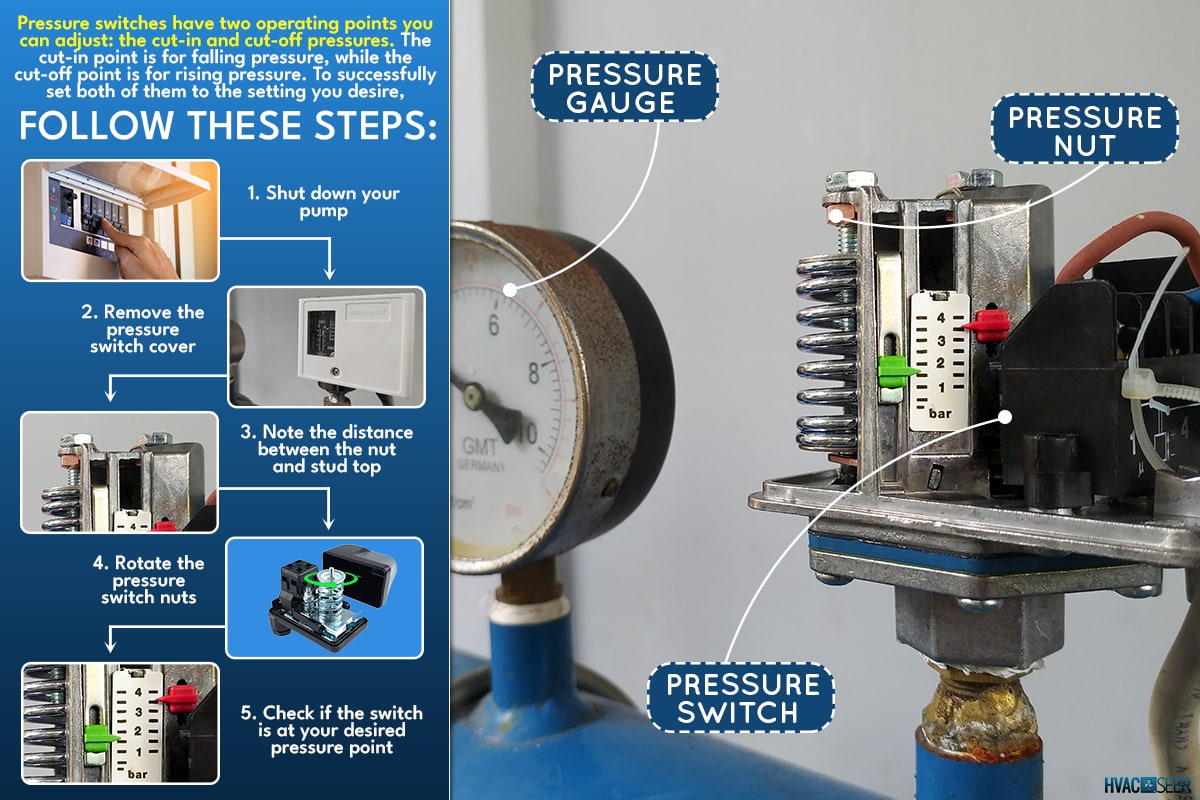
Once you've found it, you'll want to carefully remove the lid. Sometimes it just snaps off, other times there might be a screw or two. Go gently. We're not performing open-heart surgery here, just peeking under the hood. Inside, you'll see the magic. There are usually two adjustment screws. One is typically larger and often labeled with a plus (+) and minus (-), or sometimes just has a spring attached to it. This is the cut-in pressure adjustment. The other, smaller screw, often controls the cut-out pressure. Think of these as the "start" and "stop" buttons for your pump's workday.
Let's talk about the big screw first, the one that controls the cut-in pressure. This determines when your pump starts working. If your pump is kicking on too frequently, you might want to increase this pressure. This means the pump won't start until the water pressure drops a bit lower. Conversely, if you're getting that dreaded mid-shower pressure drop, you might want to decrease the cut-in pressure slightly, so the pump kicks in a bit sooner.
To adjust it, you'll typically turn this screw clockwise to increase the pressure and counter-clockwise to decrease it. Now, here’s the crucial part: make small adjustments. We're talking a quarter turn, maybe half a turn at most. Think of it like seasoning your food. You don’t dump the whole salt shaker in at once, do you? You taste, you adjust. Same principle here. Over-adjust, and you might find yourself with a whole new set of problems. We're aiming for a subtle improvement, not a water-world revolution.

Now for the smaller screw, the cut-out pressure. This is the point where your pump shuts off. This is often linked to the cut-in pressure, and there's usually a specific pressure difference (called the differential) that the switch is designed to maintain. If you're increasing the cut-in pressure, you'll likely need to adjust the cut-out pressure as well to maintain that differential. Again, small adjustments are key.
The trickiest part here is understanding the relationship between the two. If you're aiming to increase your overall water pressure, you'll generally want to increase both the cut-in and cut-out pressures. This effectively raises the "operating range" of your system. It’s like giving your whole water system a gentle nudge upwards. Just remember that the differential between the two screws is important for smooth operation. If they're too close, the pump will cycle on and off too rapidly, which is bad for the pump. If they're too far apart, you might notice a significant pressure drop before the pump kicks back on.
So, how do you know where to set these things? This is where your handy-dandy pressure gauge comes in. Most pressure switches have a built-in gauge, or you might have a separate one on your pressure tank. You'll want to turn the power back on (carefully!) and observe the gauge. Note the pressure when the pump kicks on (cut-in) and the pressure when it shuts off (cut-out). This is your baseline. If the cut-in pressure is too low for your liking, turn the big screw a tiny bit clockwise. Then, turn the power off again, and let the pressure drop to see if it kicks on at the new setting.

When you're adjusting the cut-out pressure, you'll want to let the system build pressure and observe when the pump stops. If you need to adjust it, turn the smaller screw a tiny bit. It’s a dance, really. A delicate, slightly damp dance. You’ll repeat this process, making small adjustments and testing, until you find that sweet spot. It’s like Goldilocks and the three bears, but with water pressure. Not too high, not too low, but just right.
A common scenario is wanting to increase the pressure because your shower feels like a lukewarm drizzle. Let's say your pump is currently cutting out at 40 PSI (pounds per square inch) and cutting in at 20 PSI. A good target might be to increase the cut-out pressure to 50 or 60 PSI, and the cut-in pressure accordingly (maintaining a 20-PSI differential, for example, would mean cutting in at 30 or 40 PSI). This gives you a higher operating pressure throughout your house.
However, there are limits. Your pump has a maximum operating pressure, and your plumbing system does too. Don't try to push it beyond what it's designed for. Over-pressurizing can lead to leaks, burst pipes, and a very expensive trip to the plumber. It’s like trying to make a dainty teacup hold a gallon of water – it's just not going to end well. Consult your pump’s manual if you’re unsure of its limits.
Another tip: make sure your pressure tank is properly pre-charged with air. This is a whole other can of worms, but a tank with too little air will cause your pump to cycle on and off much more frequently, even if the pressure switch is set perfectly. Think of the air bladder in the tank as a cushion for the water. Without enough cushion, every little bit of water usage makes the pump work overtime.
Once you think you've got it dialed in, turn off the power, put the lid back on the pressure switch box, and enjoy your newly improved water pressure! It’s a satisfying feeling, knowing you've tamed the wild beast that is your well pump’s pressure. You've wrestled with the springs, deciphered the cryptic screws, and emerged victorious. You’re basically a water pressure whisperer now.
Remember, this isn't a race. Patience is your best friend here. Take your time, make those small adjustments, and test thoroughly. If at any point you feel unsure or overwhelmed, it’s always better to call in a professional. They’ve seen it all, and they can often sort it out in a jiffy. But for those who enjoy a bit of DIY and a good challenge, adjusting your pressure switch can be a rewarding and practical skill. You've conquered the pressure switch! Now go enjoy that glorious, unhindered shower. You’ve earned it.