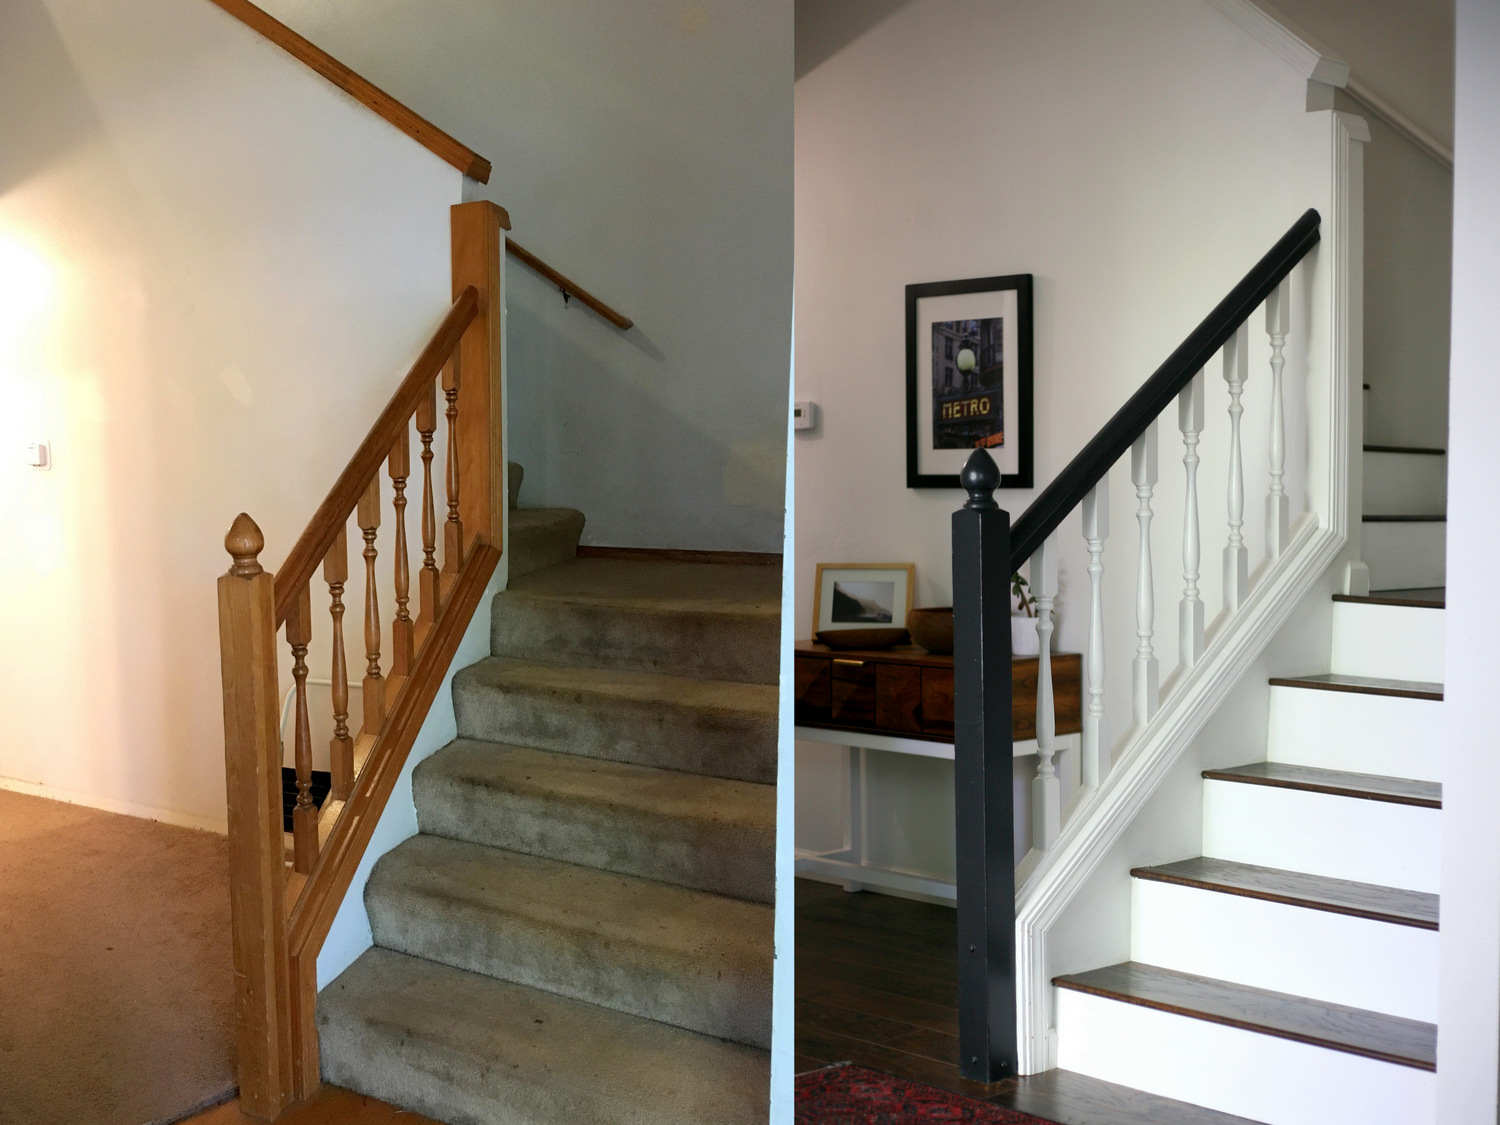
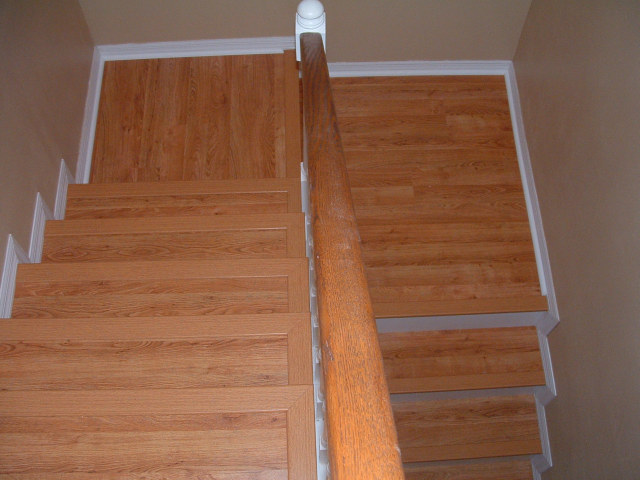
So, you’re looking at your stairs, right? Maybe they’ve seen better days, a little worn, a little… blah. And you’re thinking, “Hey, what if I spiced these bad boys up with some of that cool laminate flooring?” Good news, my friend! You totally can. It’s not some super-secret contractor-only job. Think of it like giving your stairs a stylish makeover, like dressing up a plain ol’ t-shirt with some snazzy accessories.
Now, before we dive headfirst into this DIY adventure, let’s just take a breath. Installing laminate on stairs might sound a little daunting, like trying to teach your cat to do the tango. But honestly, it’s more about patience and a little bit of planning than anything else. We’re going to break it down, step-by-step, so you can feel totally confident about tackling this project.
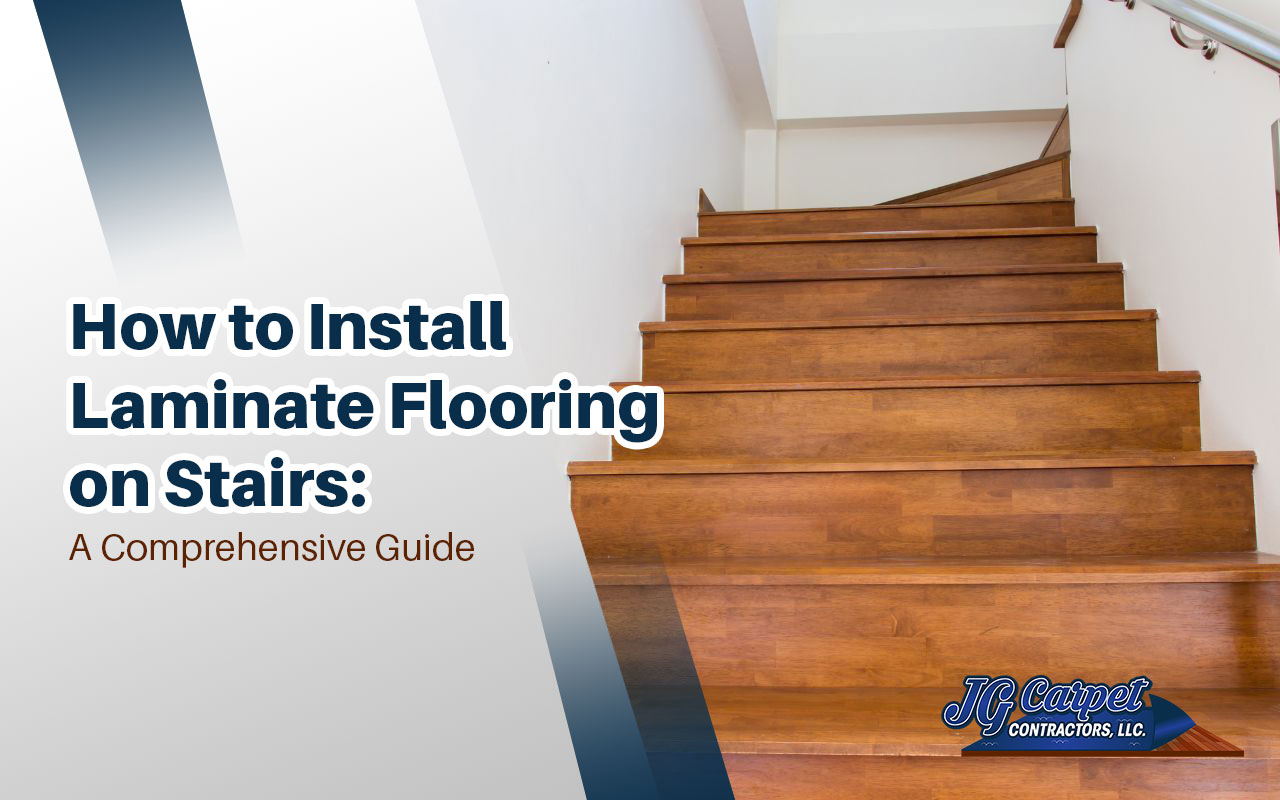
Why Laminate on Stairs, Anyway?
You might be wondering, “Why not just stick with carpet or wood?” Well, laminate flooring has some seriously awesome perks, especially for stairs. For starters, it’s super durable. Think of it as having a superhero cape for your treads. It can handle all those feet pounding up and down, dropped toys, maybe even the occasional rogue roller skate (though we don’t recommend that last one!).
And let’s talk about looks. Laminate comes in a gazillion different styles, from a classic wood grain that’ll fool even the most discerning eye, to some pretty wild and modern patterns. You can totally transform the feel of your entryway or hallway with just a few planks. It’s like giving your home’s personality a major upgrade!
Plus, and this is a biggie for many of us, it’s often more budget-friendly than solid hardwood. So you get that high-end look without emptying your entire savings account. Pretty sweet deal, right?
Gathering Your Gear: The Pre-Game Huddle
Before you start, it’s important to get all your ducks in a row. Think of this as your pre-game huddle. You don’t want to be halfway through a step and realize you’re missing a crucial tool, that’s like trying to bake a cake without flour!

The Essential Toolkit
Here’s a rundown of what you’ll likely need:
- Laminate flooring: Obviously! Make sure you grab enough, plus a little extra for mistakes or tricky cuts.
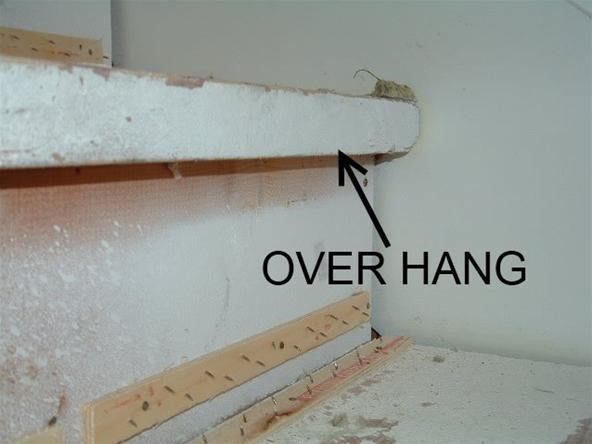
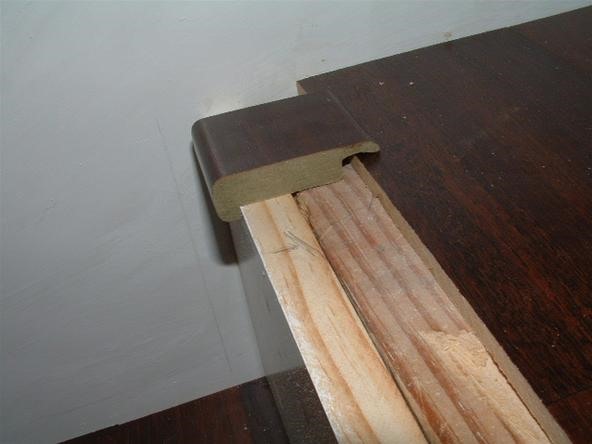
- Stair nosing or trim: This is the special piece that goes on the edge of each step to give it a finished look and protect the laminate.
- Underlayment: This adds cushioning and can help with soundproofing.
- Measuring tape: Accuracy is key!
- Utility knife: For those precise cuts.
- Jigsaw or miter saw: For cutting the planks. A miter saw is usually best for clean, angled cuts.
- Pry bar: Handy for nudging pieces into place.
- Construction adhesive: Your sticky best friend for securing the laminate.
- Nail gun or small finishing nails: To secure the nosing.
- Sandpaper: For smoothing any rough edges.
- Gloves and safety glasses: Because safety first, always!
- Pencil: For marking your cuts.
And, of course, a good playlist to keep your spirits up!
Prep Work: The Foundation of Awesomeness
Okay, so you’ve got your supplies. Now it’s time for the crucial prep work. This is where the magic starts to happen, but it’s all about getting the canvas ready.
Clearing the Stage
First things first, you need to remove any existing flooring on your stairs. This could be old carpet, vinyl, or even worn-out wood. Get it all off, down to the bare wood or concrete. If you’re dealing with carpet, you’ll probably want to pull up the tack strips too.
A Smooth Operator
Once everything is removed, you need to make sure the surface of your stairs is clean and smooth. Sweep, vacuum, and then sweep again. Any debris or bumps will make it harder to get a nice, flat finish. If there are any loose boards or nails sticking out, secure them or pull them out. We’re aiming for a surface that’s as smooth as a well-oiled slide.
Level Up (Literally!)
Check to see if your stair treads are level. If they’re significantly uneven, you might need to use a leveling compound. This is a bit more advanced, but a level staircase is a safe staircase. You don’t want anyone tripping because their foot lands on an unexpectedly angled surface!
The Installation Tango: Step by Step
Alright, the prep is done. You’re ready to start laying down that beautiful laminate. This is where the real fun begins!
Measuring Twice, Cutting Once (You Know the Drill!)
This is the golden rule of DIY. For each stair tread, you’ll need to measure its width and depth. You’ll then cut your laminate planks to fit. Remember, you want the laminate to cover the tread, and the stair nosing will overlap the front edge. It’s like fitting a puzzle piece – it needs to be just right.

When you cut, think about how the pattern of the laminate will flow. You don’t want a bunch of mismatched patterns on each step. Try to make it look as seamless as possible. This might involve cutting pieces from different planks to achieve a more natural look.
Laying the Foundation (The Underlayment)
Before you lay the first piece of laminate, you’ll typically want to lay down your underlayment. This is usually a thin foam material that comes in rolls. Cut it to fit the treads and risers (the vertical part of the stair). It’s like putting on a comfy sock before your shoe – it just makes everything better.
The Sticky Situation (Adhesive Time!)
Now, let’s get that laminate down! You’ll apply a generous bead of construction adhesive to the back of the laminate plank or directly onto the stair tread. Then, carefully place the plank, ensuring it’s flush with the back of the tread and extends to the edge. Gently press it down to secure it.
Work your way across the tread, fitting pieces together snugly. If you’re using a click-lock system, make sure the edges are properly engaged. You might need to use your pry bar to gently tap pieces into place. It’s like nudging Lego bricks together – a satisfying little click!

The Grand Finale: Stair Nosing
This is the final touch that really makes your stairs look professional. The stair nosing will overlap the front edge of the tread, covering the raw edge of the laminate and providing a smooth transition. You’ll typically attach the nosing with construction adhesive and then secure it with your nail gun or finishing nails. Be sure to countersink the nails so they aren’t visible. This is the cherry on top of your DIY sundae!
A Word of Caution (And Encouragement!)
Okay, so this isn’t going to be a walk in the park. There will likely be moments where you question your life choices. You might have a few wonky cuts, or a plank that just won’t cooperate. That’s totally normal! Think of it like learning to ride a bike. You might wobble a bit, you might even fall, but you get back up and try again.
The key is to take your time. Don’t rush the process. And if you get stuck, there are tons of great videos online that can show you specific techniques. You’ve got this! Imagine the satisfaction of looking at your newly transformed stairs and saying, “Yep, I did that!” That’s a feeling that’s almost as good as the new flooring itself.
So, are you ready to give your stairs the stylish upgrade they deserve? With a little patience, the right tools, and a can-do attitude, you’ll have beautiful, durable laminate stairs before you know it. Happy DIYing!