Hey there, DIY dynamos and kitchen adventurers! Ever looked at your trusty laminate countertop and thought, "You know what this space needs? A little... drama." Or maybe, just maybe, you've got a brilliant new sink that's just begging to be installed, and your current setup is, shall we say, a tad uninspiring?
Well, buckle up, buttercups, because we're about to dive into a project that sounds a bit intimidating at first, but I promise you, it's more exciting than a spontaneous karaoke session at the grocery store. We're talking about cutting a sinkhole in a laminate countertop! Yes, you read that right. We're going to be wielding tools and transforming a perfectly functional, yet perhaps a bit vanilla, surface into a custom-designed culinary command center. Isn't that just the tiniest bit thrilling?
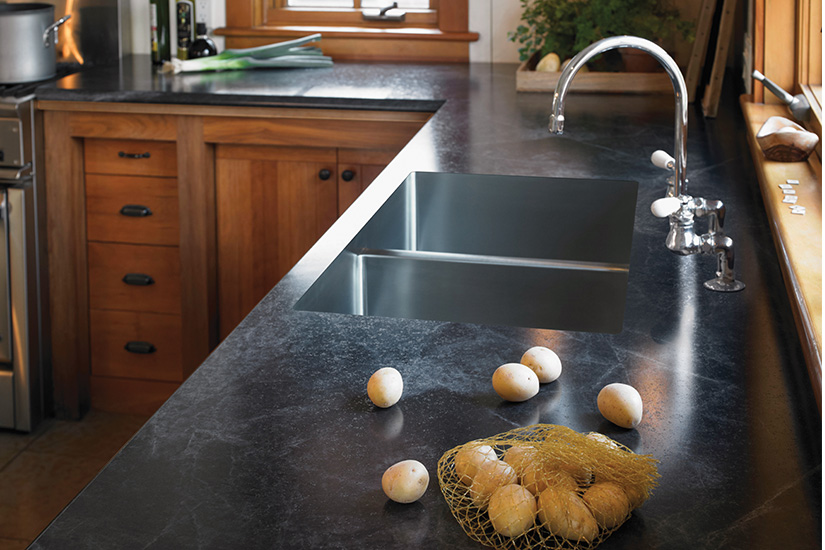
Now, I know what some of you might be thinking. "Cutting a hole? In my countertop? Isn't that like... permanent?" And to that, I say, "Precisely!" But think of it not as destruction, but as creation. You're not just cutting a hole; you're opening up a world of possibilities! Imagine a sleek new undermount sink that makes wiping crumbs straight into the abyss a delightful reality. Or a gorgeous farmhouse sink that instantly elevates your kitchen's aesthetic from "meh" to "magnificent!"
This isn't about regretting a past decision; it's about embracing a future upgrade. It’s about taking charge of your space and infusing it with your own personal flair. Forget those cookie-cutter kitchens you see in magazines. Yours is going to have a little you baked right into it. And let's be honest, there's a certain satisfaction, a secret thrill, in knowing that you were the one who made it happen, armed with nothing but a little courage and the right tools.
Why Laminate? It's Not as Scared as You Think!
Okay, so why laminate for this little adventure? Well, laminate countertops are fantastic for a few reasons. For starters, they're generally super affordable, which means you can go for that dream sink without your wallet doing a dramatic faint. Plus, they're surprisingly resilient and, dare I say, forgiving. While you wouldn't want to treat it like a concrete slab, a little careful cutting with the right approach will have your laminate singing a happy tune.
Think of it this way: if you were to attempt this on, say, granite, you'd need some seriously specialized (and expensive!) equipment and a whole lot of nerve. Laminate, on the other hand, is like the approachable, friendly neighbor of countertop materials. It's ready to be shaped and molded into your vision, with a bit of gentle persuasion, of course.

And the best part? It’s a project that really empowers you. In a world where we often outsource everything, tackling something like this yourself builds a wonderful sense of accomplishment. You’ll be looking at your new sink, the perfectly cut hole, and thinking, "Yep, I did that!" And that, my friends, is pure gold. It's a confidence booster, a conversation starter, and a fantastic way to make your kitchen feel truly yours.
Prepping for Your Countertop Creation
Before you even think about picking up a saw, let's talk prep. This is where the magic really begins, in the planning and precision. Skipping this stage is like trying to bake a cake without measuring the flour – a recipe for disaster, and we’re aiming for delight here!
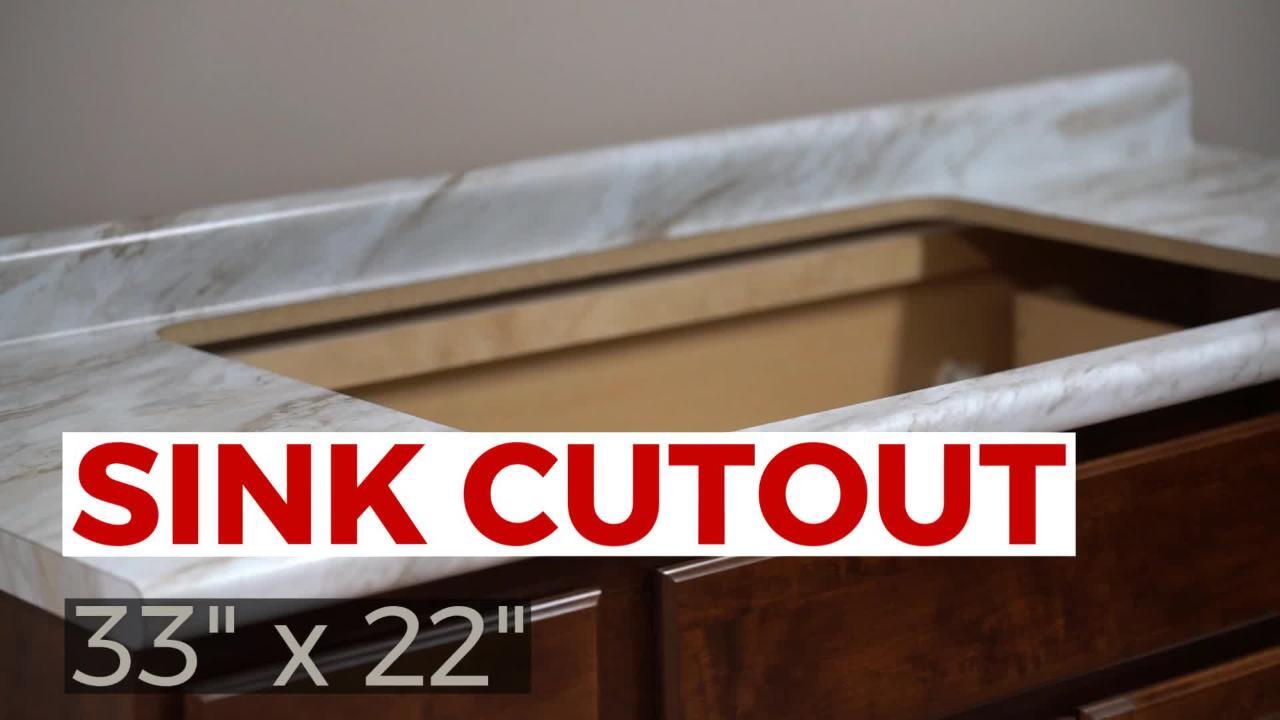
First things first: get your hands on the template for your new sink. Most sinks come with one, and it’s your best friend in this whole operation. It’s basically a cheat sheet for success. Trace it onto your countertop with a pencil. Be precise! This is not the time for artistic interpretation. Measure twice, cut once, as the old adage goes, and it’s never been more relevant.

Next, you’ll want to gather your trusty sidekicks: the tools. A jigsaw is your primary weapon of choice here. Make sure you have a fine-tooth blade designed for cutting laminate or wood. You’ll also need a drill with a bit that’s slightly larger than your jigsaw blade. This is for creating the starter holes, the little doorways for your blade to enter.
Safety first, always! Goggles are a non-negotiable. Seriously, folks, protect those peepers! Gloves are a good idea too, to keep your hands clean and provide a better grip. And if you're particularly prone to dust, a dust mask is your pal. We're aiming for a beautiful new sink, not a coughing fit!
The Moment of Truth: Let the Cutting Commence!
Alright, the moment you've been waiting for! With your template traced and your tools ready, it's time to bring your vision to life. Don't be nervous; be excited!
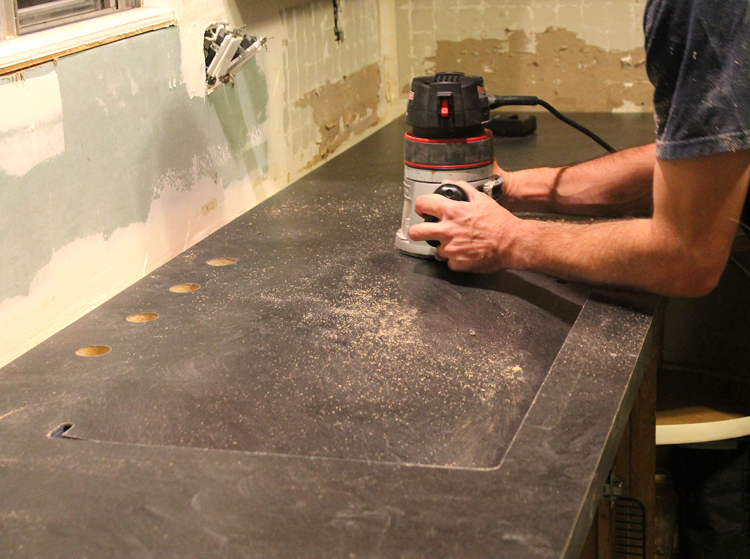
Start by drilling your starter holes in each corner of your traced sink area. These holes need to be inside the cut line, but not too far in. Think of them as little launchpads for your jigsaw. Once those are drilled, insert your jigsaw blade into one of the holes.

Now, here’s the crucial part: guide your jigsaw slowly and steadily along your pencil line. Don't force it. Let the tool do the work. You want a clean, controlled cut. It’s a dance, really, between you and the laminate. Feel the rhythm, maintain your balance, and keep that blade right on the line.
As you’re cutting, you might notice a little bit of chipping on the surface. Don't panic! This is a common occurrence with laminate. The key is to keep the blade moving and try to minimize it. Sometimes, a piece might try to break off prematurely; just hold it gently with your other hand until the cut is complete. Once the entire sink opening is cut out, gently push the piece of laminate through. Ta-da! You’ve done it!
The Finishing Touches: Making it Shine!
You’ve conquered the cutting, and that’s a HUGE win! But we’re not done yet. Now it’s time for the finesse, the little touches that take your project from "done" to "wow!"

Take some fine-grit sandpaper and gently sand down the edges of your newly cut hole. This will smooth out any rough spots and give it a clean, professional finish. You want it to be smooth enough to not snag anything, but not so smooth that it loses its grip for the sink’s mounting hardware.
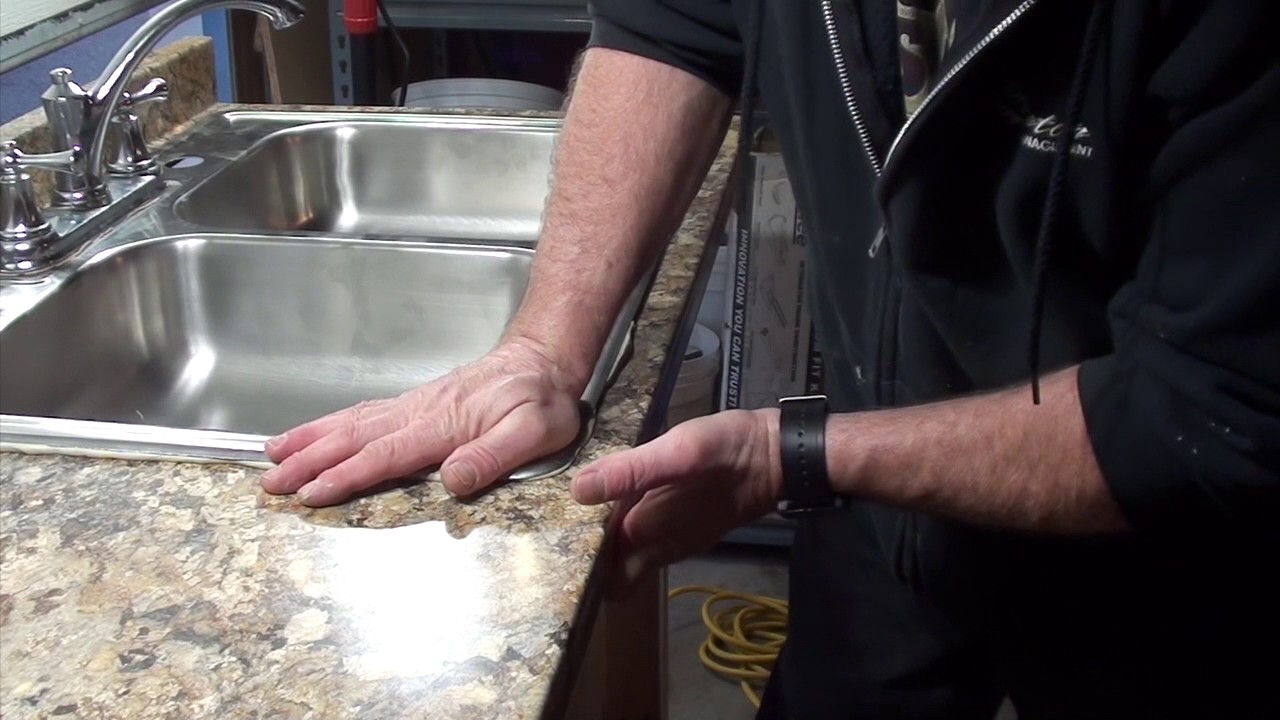
Now, it's time to test-fit your sink! Lower it into the opening. Does it fit snugly? Are there any tight spots? If so, a little more gentle sanding might be in order. This is where that precision we talked about earlier really pays off.
Once your sink fits like a glove, you’ll proceed with the actual installation according to the manufacturer's instructions. This usually involves silicone sealant to create a watertight barrier and clips to secure the sink from underneath. And then… drumroll, please… you’ll have a brand-new, beautifully installed sink!
Imagine the pride you’ll feel every time you wash a dish or fill your beautiful new sink. It’s more than just a functional upgrade; it’s a testament to your willingness to learn, to try, and to create something wonderful for your home. So go forth, brave DIYers! Don't be afraid to get a little hands-on. You might just discover a hidden talent, a new passion, and a kitchen that truly sings your praises. Who knows what other countertop transformations await you? The world of DIY is your oyster, and you've just taken the first, exciting bite!